There are so many reasons that I love Christmas. It’s cold and crisp. There are twinkly lights and sparkles everywhere. The food is so good. There’s so much great music. But today I want to talk about the joy of the organisational challenge that is Christmas.

You all know that I’m an organisation nerd. I love a good to do list, and Christmas can come with so many to-dos if you want it to. Now I’m not saying you need to get Monica from Friends level intense. But I feel like most of us have a few more social occasions and a few more jobs to do than normal, and it takes a little bit of planning to keep on top of it all.

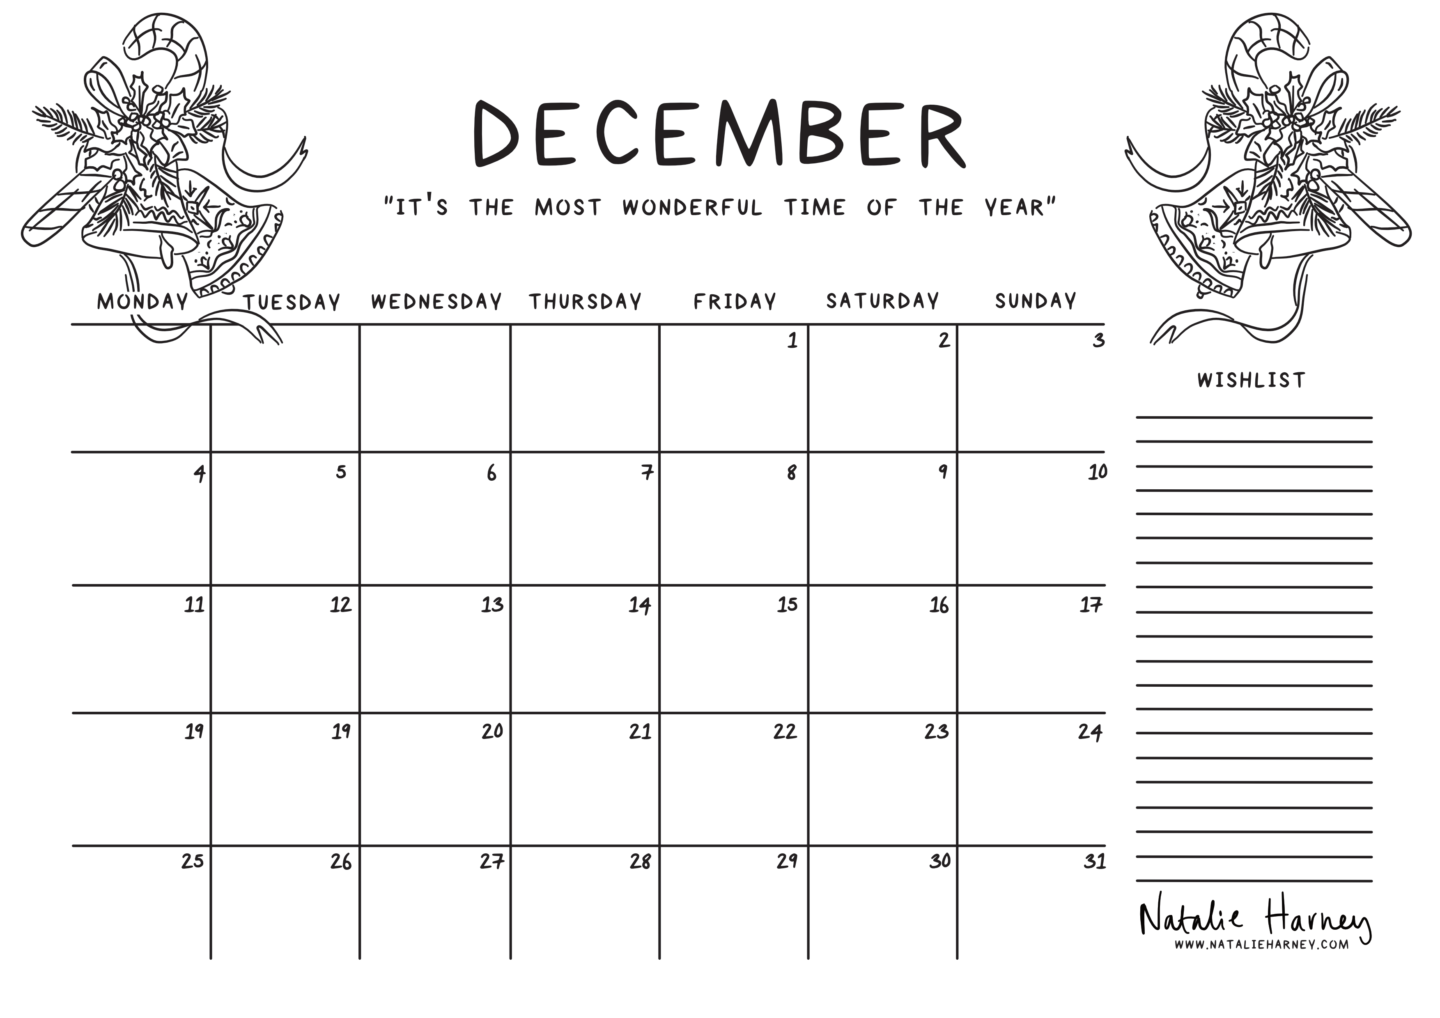
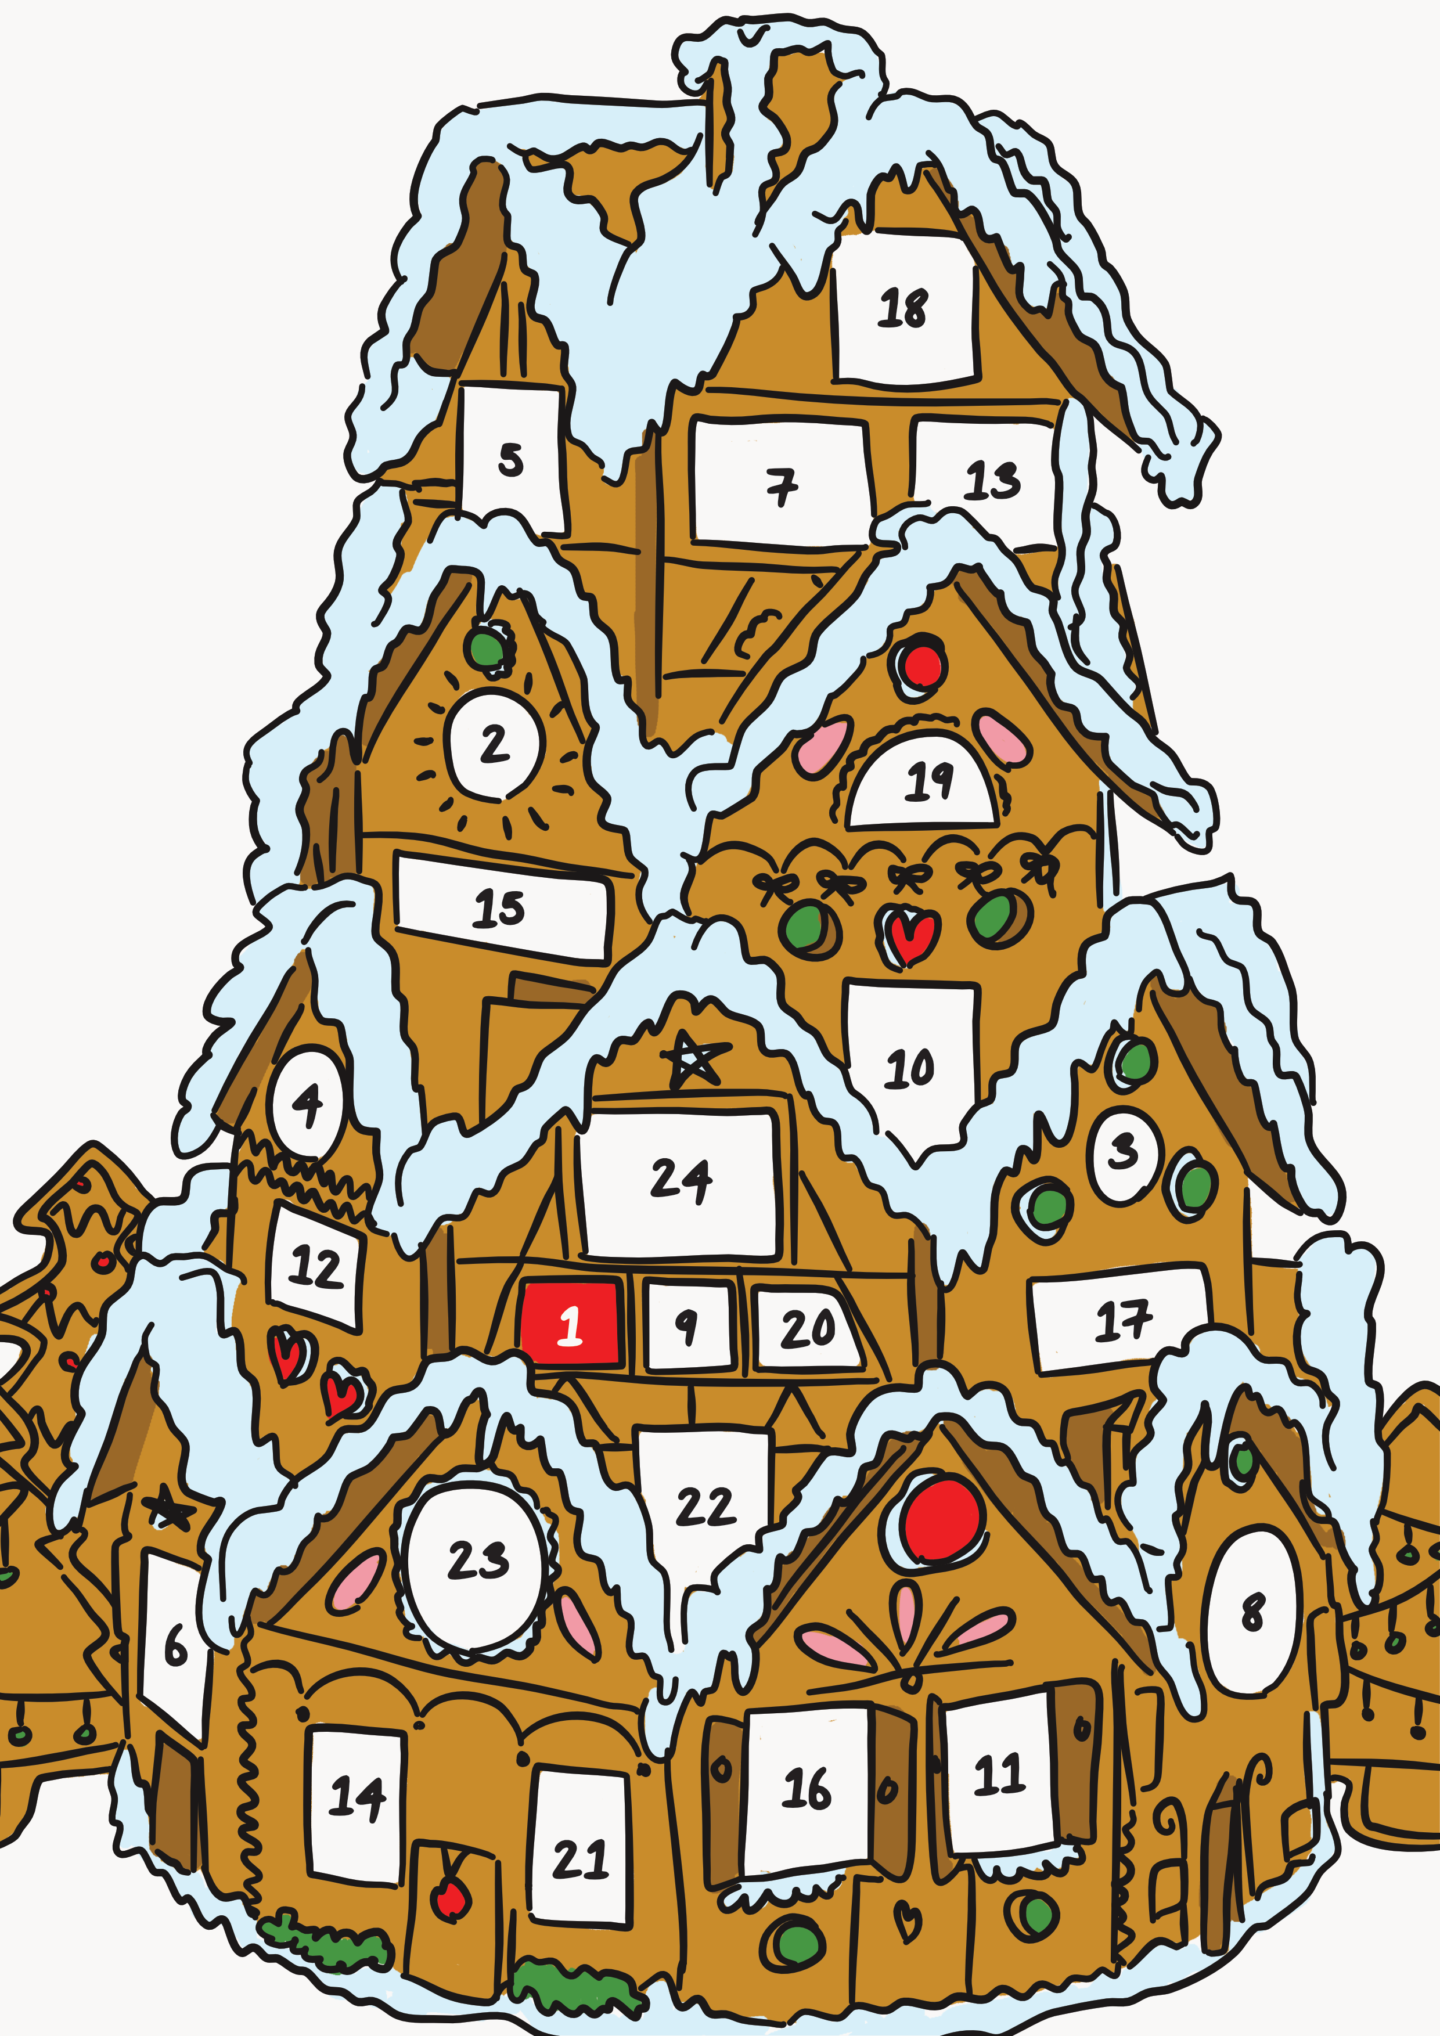
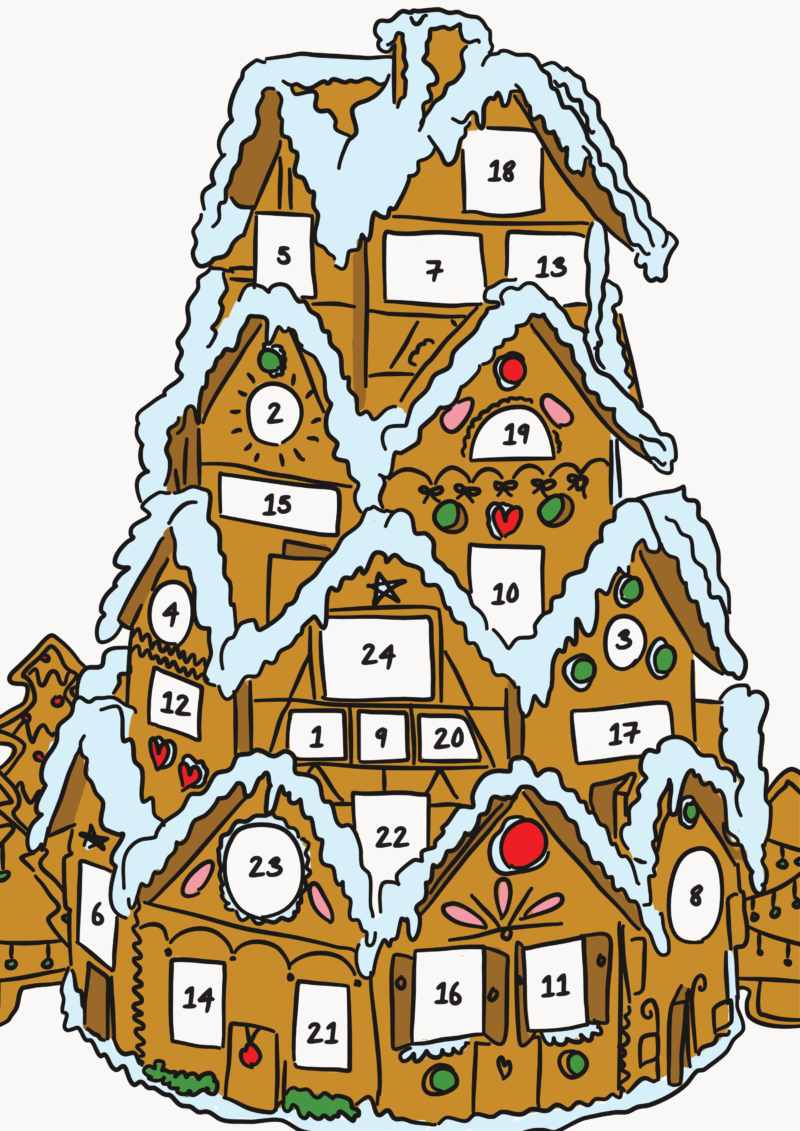
So here are my top tips, or rather the things that I’m super excited to get going with, to keep control of the holidays. There’s also a cute little December calendar you can print and keep at the bottom of this page.

GET YOUR DATES IN ORDER

First things first you need to know what’s happening when. It’s super basic but it works. As far as possible mark down all of the things you have to do. This year I’m dividing up the must dos and the can dos so that if I’m feeling a bit overwhelmed I can cut something. Knowing when things have to be done, and when you’re out and about from the start should help you get a little bit of balance, and ensure you don’t try to cram everything in all at once. This is where my handy illustrated calendar comes in.

SCHEDULE IN EXTRA TIME

Whatever your plan is add in some buffer days for things to go wrong, for gifts not to ship, for you to get that inevitable cold. Also, make sure you plan in some time for you, it’s a season to be enjoyed not sprinted through as far as I’m concerned.

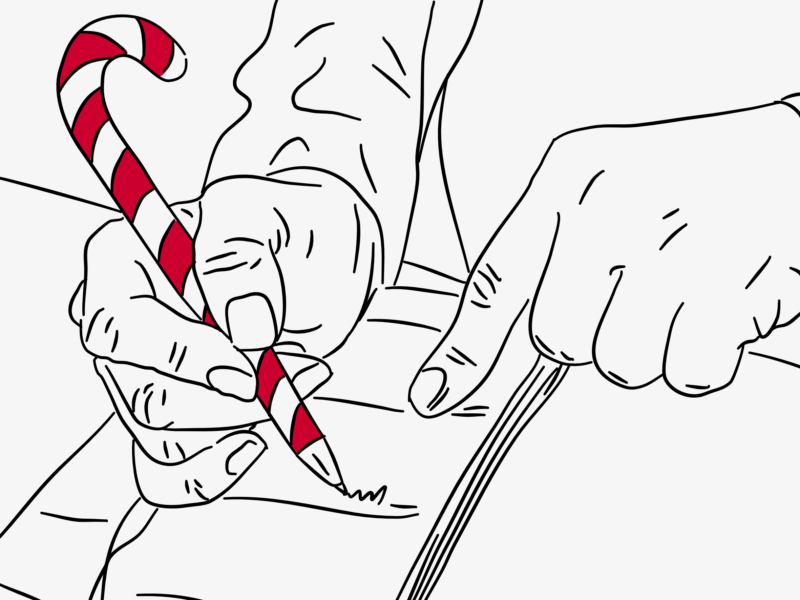
WRITE YOUR CARD LIST

Early in the season (aka I did this in early November because I got way too excited) get a list together of all of the cards and bits and pieces you’ll have to send out. That means you can buy the right amount, plus a few spares. It also means you can work out when you need to send everything out, the further away it’s going the longer it’s going to take. Also, you might want to stay tuned for my card writing guide in the next week or so!

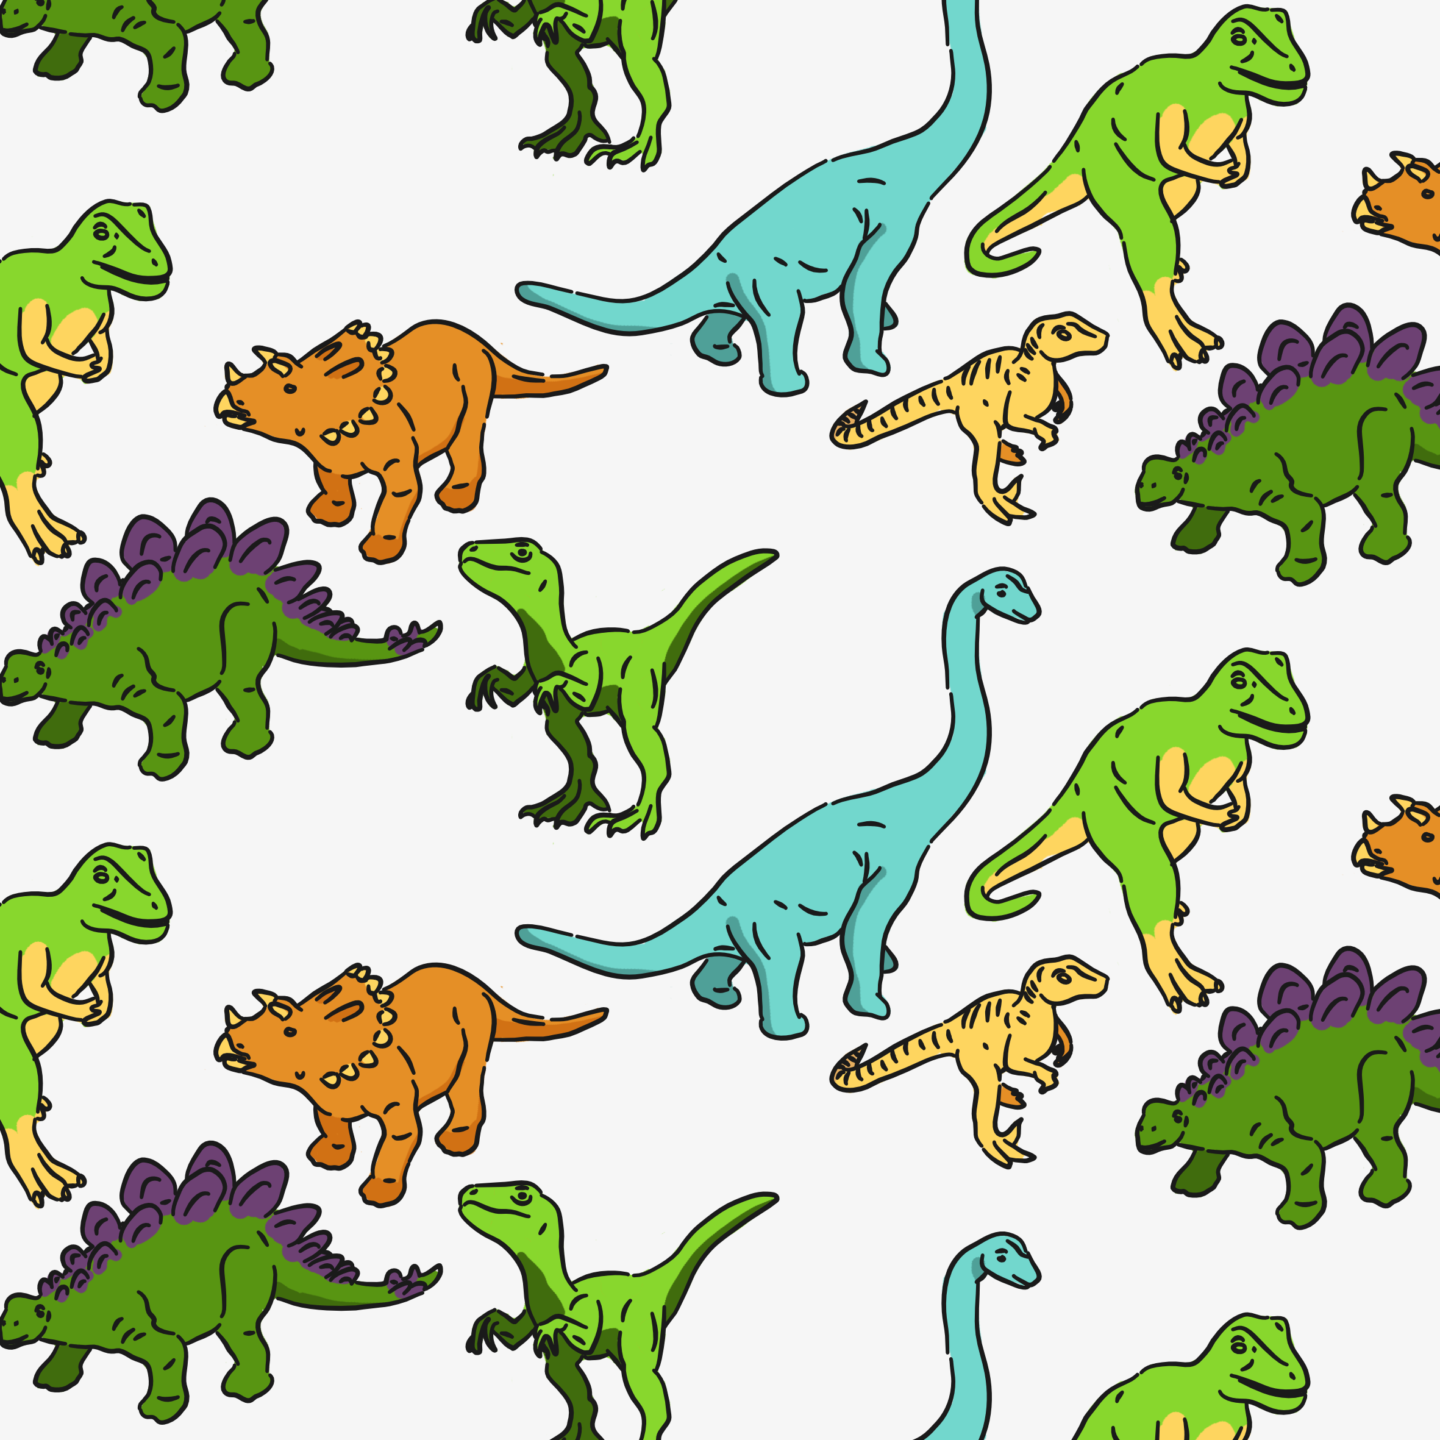
MAKE YOUR GIFT GUIDE

Along with your card guide starting your season with a list of gifts you want to buy or at least people you want to buy for can make the month feel like it’s going a little smoother. I’m the kind of person who likes to have a plan before they head out to the stores/start buying online, but you should just go where the Christmas muse takes you. As with cards, I’d always recommend having an emergency secret Santa style gift in the wings too. This year I’m making hampers which has taken a bit of extra planning too.

GET A TO DO LIST TOGETHER

Again, this is a very obvious one but no planning session is complete without a good old to do list. Write down everything that has to happen for you to feel like you’re on top of the festivities. If you have a lot of different things to do I’d suggest dividing them up by time rather than just subject, I’ve left cooking prep on a separate list and then realised I hadn’t actually bought anything I needed to beforehand.

MAKE A WISH LIST

As I said, Christmas is to be enjoyed. This year I’ve made a wish list of things I’d like to do from markets I’d like to visit, to movies I want to watch, and walks I want to go on, to make sure that when the new year arrives I feel like I’ve had the Christmas I wanted. My calendar has a little list space on the side where you can write these in, so you’re always reminded to make time for the fun things when you’re looking at your schedule.

Download the calendar here! If you use it please do let me know, I’d love to know where it gets to in the world.

Christmas gifts are always best when they’re personal, which is where my new commission options come into play. If you’re looking for something special for someone you love, giving them a piece of art they can treasure, display, and use is really lovely.

In my store, you can now buy pattern, and illustration commissions as well as portraits so the options are really endless. My prices start at just £15, so you should be able to find something within your budget whatever it is. Plus, I have a few spaces left in time for the holidays too!

I’ve had a couple of questions, so I thought it was worth sharing my process for individual pieces*, even though it’s super-duper simple.

*If you have something bigger you’d like to work on please do get in touch and I can let you know what else will happen!


GET IN TOUCH

Step one is always you getting in touch with me. You can do that by buying a set commission like a portrait or a pattern through my shop, or sending me an email (or even tweet me) if you’ve got something a little different in mind or if you’d just rather reach out that way.

LET’S HAVE A CHAT

Then we’ll have a chat about what you want, I do this no matter how you’ve got in touch. This stage is really important to me because I want to make sure that you end up with something you’re really happy with. I’ll ask you what you’re planning on doing with the commission so we get all of the tech specs right, I’ll ask you about what kind of an outcome you’re after, and depending on the kind of piece I might end up asking you about the kinds of work you like and what your style is. This is where I’ll send you a contract if it’s a bespoke commission, and if it’s a large piece ask for a down payment.

SEND IN YOUR REFERENCE PHOTOS, IF NEEDED

If you’ve bought a portrait commission, I’ll ask you to send me some reference photos, because I unfortunately can’t sense through the computer what you or your friends look like. I’ll probably mainly work from one, but I prefer to have a couple to choose from so that I can properly get a sense of who I’m drawing.

I GO AWAY AND DO SOME DRAWING

This is the stage I enjoy the most if I’m honest. I can’t tell you exactly how long it will be here, as it depends on the kind of piece and how busy I am, but it’s something I’ll let you know in our initial discussion. As a general rule of thumb, most portraits or simple black and white (grey) illustrations will take about 3-5 working days.

I’LL PING YOU A PROOF

Once I’m done I’ll send you over a proof to check you’re happy with it. While 99% of people are because of that up front discussion, but if you’re not I’ll do the necessary tweaks, and then send you back another proof.

YOU GET YOUR ILLUSTRATION

Once everything is signed off I’ll send you your illustration.

If you’ve bought a set commission like a pattern I’ll mark the product as shipped, so only then will the PayPal payment be finalised. If you’ve set up something bespoke I’ll send you an invoice.

As I made a Christmas wallpaper last year, I’m hoping that this is going to become something of a tradition on the blog, because I love having a tradition, especially if it’s festive. Plus, it’s really nice to see how my work and style changes year on year. The difference between this year’s and last year’s is huge, and as much as I still appreciate the stuff I made this time last December, I’m personally really excited about how my work has evolved.

This year I wanted to go with a wreath based design. Wreaths have been a Christmas tradition since the 16th century, and I love the idea of being a part of that running history in a slightly more modern way. While the religious symbolism of a wreath perhaps isn’t as important for a lot of people now, the actual makeup of the wreath hasn’t changed all that much, although we don’t use the candles as much. They’re still made up mainly of evergreens, offering a sense of life in the cold months. Personally, I really like the way that wreaths are a public symbol of embracing the season. As soon as you start to see wreathes out on people’s doors you know that your neighbourhood is getting into the Christmas spirit.

That’s what I wanted to do with this wallpaper, because I’m planning on using it at work as an official notice that I am fully embracing the festivities. Hopefully, it can be your symbol too and we as an online community can hang our wreathes on our digital doors (backgrounds) and use it as a reminder to others and ourselves that we’re letting the Christmas spirit in.

Download the background for your desktop or for your mobile.

If you do end up using it please let me know/share a picture on one of my social pipes – it would honestly make my day!

It’s Christmas!

I’m so excited!

I feel like I’ve waited a whole year for it to be December again and I’m so ready.

This year I’m going to be doing Blogmas again. That’s right I’m going to be posting every day up until the 24th. I’m not quite sure why I’m doing this to myself again, especially as I am busier than ever, but I love Christmas and it seems like a good idea now.

Each day I’ll be opening a new door on this advent calendar to reveal a new piece a brand new post. So, feel free to come back and check to see what’s new and see the doors change colour because I’m going to pin this post to the side bar. I’ll also be sharing some extra bits on my Instagram stories, as well as more behind the scenes bits and pieces because I really want to get back into using Instagram for fun.

But unlike last year, I’m going to be varying my content a bit more. My usual posts (Tuesdays, Thursdays, and Sundays) will still be my normal content, we’re talking design, work, and a few random thoughts. That still leaves Mondays, Wednesdays, Fridays, Saturdays for festive content, which I have been working up in secret for months.

Even though I’m doing fewer days of festive content than last year, this blog is going to be jam-packed full of Christmas-y inspiration, illustrations, and perhaps even a recipe or two. I’m hoping there will even be a slight spiced cinnamon scent that just radiates from the page!

What’s behind the windows?

One of the goals I set myself for the next year (of my life, rather than calendar) was to learn some new skills. There are a whole range of things I want to learn about from calligraphy to how to create animations digitally, but I’ve started with taking some time working on my design thinking skills. Along with a lovely group of colleagues I started Ideo’s human-centred design course.

The course is an introduction to design thinking essentially. It covers everything the theory of design thinking as well as leading you through a test project where you get to gain some hands-on experience of every stage of the design process from research to concepts to prototyping and actually making the thing. IDEO, a global design company who create positive impact through design, lead you through each step and give you tips and advice from their years of experience. It’s a completely free online course, that runs quite a few times throughout the year, so if you find anything in this post interesting at all I’d recommend it. It’s intended to be done as a group, so you might need to round up some friends too.

But what is human-centred design? According to Ideo it is a “process that starts with the people you’re designing for and ends with new solutions that are tailor-made to suit their needs. Human-centred design is all about building a deep empathy with the people you’re designing for; generating tons of ideas; building a bunch of prototypes; sharing what you’ve made with the people you’re designing for; and eventually putting your innovative new solution out into the world”. I’ve done a whole post on design thinking more generally that goes into a bit more depth, but in a nutshell, that’s the crux of what you need to know.

The human-centred design process follows 3 stages, that Ideo call inspiration, ideation and implementation. Where I work we call them discovery, design and delivery, but they cover the same ideas, as explained in the diagram below.

The first stage in making people the centre of your design universe is to engage with them. This user research phase is the part of the process I’ve had the most experience with at work, so I thought I’d walk you through it a little bit and give you some ideas for how you can apply the techniques to your own life, even if you’re not running a big design project.

User research can come in many forms with the most basic you might think of being desk research and interviews. But there are so many other ways to find out how people really behave. Observing how people go about their day to day lives can give you real insight into their unfiltered actions. You can also create diaries and have people share their thoughts and feelings, or work with your users to build something really hands on to see how they think. As well as researching the direct users of whatever you’re working it can also be fruitful to look for people doing whatever you’re looking to change well already in different sectors – find a group shows great team work, or an education process that’s really effective, or a product that service that caters really well to people with a specific need.

Human-centred design can be used to help you create products, services, spaces and systems. Those four areas cover a whole range of things that are super interesting, even if you’re not doing this for work. Here are just three:

  1. Could you use human-centred design to make your home work better? If you kept a log or a map of how you/your family use your space, you might find out that some areas are working better than others, and that there are some pain points that might be easily fixed. I’ve done this in my room in my bit of kitchen space, and little things like rearranging my cupboard so the things I use the most are easiest to reach has made such a difference.
  2. Could you use these methods to improve your commute? One of the first tasks in the course is to research your team’s commutes and work out how they could be improved. This is something anyone could do, either on your own by mapping out your journey or by getting someone else’s perspective by having a friend interview and vice versa.
  3. Could you improve how you, and your team work by researching the way that people actually handle their day to day tasks? Is there a better way to fulfil their needs so that everyone is at their best?

I’m planning on turning this into a bit of a running series/theme, so I might go into a bit more depth on how to get useful information out of people interviews, as well as some thoughts on the other stages of the design process. Let me know if there’s anything else you’d like to read about though!