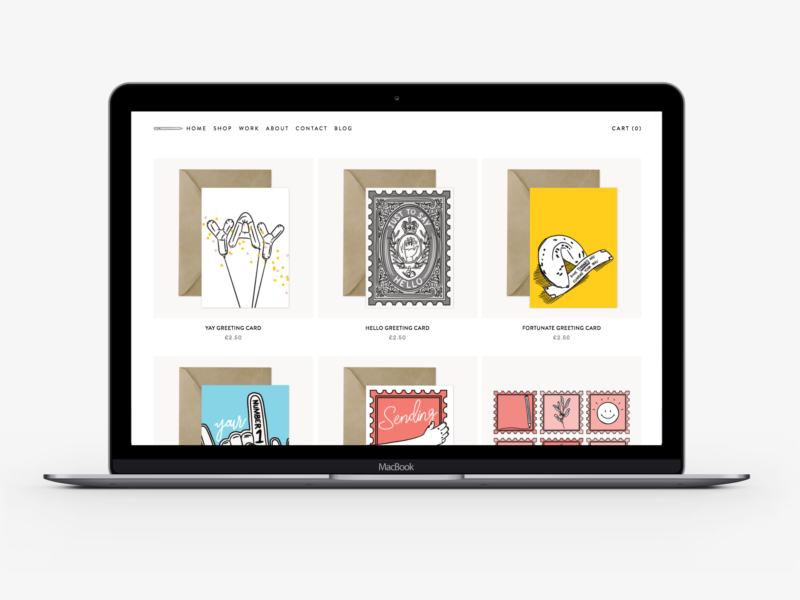
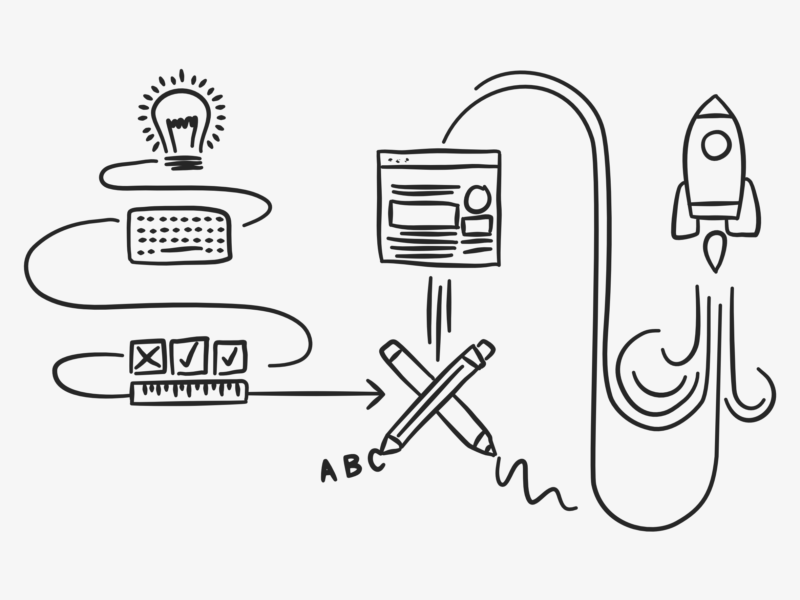
If you don’t know already I recently redesigned my portfolio and opened a store over at natalieharney.com. Because this blog is all about sharing everything I’m learning as an illustrator and designer (and human) I thought it would be worthwhile sharing the redesign process with you. Plus, it’s the kind of post I like to read, so I thought it might be the kind of post other people might enjoy too.

When I made my old portfolio, I was an English student, the work I was creating was very different, the skills I had were very limited and I didn’t need a portfolio all that much – or at least I didn’t share the link all that often. So, I thought it was about time I had a portfolio and personal site that really showed off the work that I’m doing and that I was proud to share when emailing people about commissions or even when my colleagues ask what I do outside of work. Plus, I really wanted to start selling some pieces on my own terms. Both of those meant that the time was right for me to build a new portfolio.

Once I’d come to the decision I needed a redesign, it took me a good month or so to actually find the time to do anything about it. Or rather I procrastinated because I had a blank slate, and there’s nothing scarier than a blank piece of paper.

So, my first stage was to try and build some boundaries into that blank sheet of paper. I created a list of the basic things I would need from my portfolio:

  • a short but engaging landing page
  • a grid portfolio page
  • flexible individual project pages
  • a store page
  • product pages
  • an about/contact section
  • all of the extra information sections that come with running a store

Then I gathered some inspiration by going through the sites of people who are doing similar work to see what they had included and how they’d laid out their content. Thankfully I feel like I’m digitally surrounded by so many incredible artists and makers with wonderful portfolios like Kitkat Pecson and Katie Suskin, which meant I was spoiled for choice. I also did a run through of the classic design inspiration Pinterest, Behance, and one page. Through that research as well as picking up a few new cards, I started to have an idea of how I wanted my new site to work and look.

After some more research, I decided that I wanted to use Squarespace to build my new site. I use WordPress for this blog, and it’s great, but I’ve used WordPress for previous portfolios and found it cumbersome and inflexible as someone who can’t code.* I’d heard good reviews of Squarespace and it seemed to tick all of the boxes I needed.

With Squarespace (as you probably already know) you have a selection of themes to choose from to base your site template on. I chose Brine as it fulfilled all of the basic criteria I established at the start, and seemed to offer me more than enough flexibility so I could make it my own.

Rather than just jumping into designing on Squarespace, I chose to start with pencil and paper. I wrote a list of all of the design capabilities and options I had with Brine and then I tried to imagine what I would do with all of those options instead of tweaking the options on site and getting a cookie cutter portfolio. I think I did okay.

The next step was obviously to build the thing, which thanks to Squarespace was really easy and didn’t take much time at all.

This might have been the wrong way to have done things, but I didn’t start making content until I had that framework in place. It worked for me because I know my own body of work pretty well, so from the start, I was already imagining how best to display it. I do think I underestimated the amount of time it would take me to turn a few years of work into a set of concise project case studies. Plus, it took me a good warm-up period to get over the discomfort of writing another about section. But once I’d powered through the curating, writing, editing, and uploading process I was left with a selection I’m pretty happy with and I think shows off a good range of the things I can do. It has also given me a lot of food for thought on the kind of work I want to do more.

Before sending it live, and sharing it with you, I tested it on a couple of friends and colleagues to get their feedback and to have an extra few pairs of eyes to spot typos. I’m still gathering feedback and improving and I think I will be for a long time, but that’s all part of the process to isn’t it?

All in all, it took me about a month to sort out my new portfolio (whilst still doing my 9-5, working on the products for my store and posting on the blog).

I think it’s hugely important in this day and age to have a portfolio you are proud of, and somewhere you can direct people to that explains what you do. If I can do it, I think anyone can, especially with the number of tools out there to help.

Please do head on over to my new portfolio and leave me any feedback you have on the site, or if you like what you see pick up some new stationery!

*I have also used Wix for other projects, but it just didn’t offer the level of control I wanted.

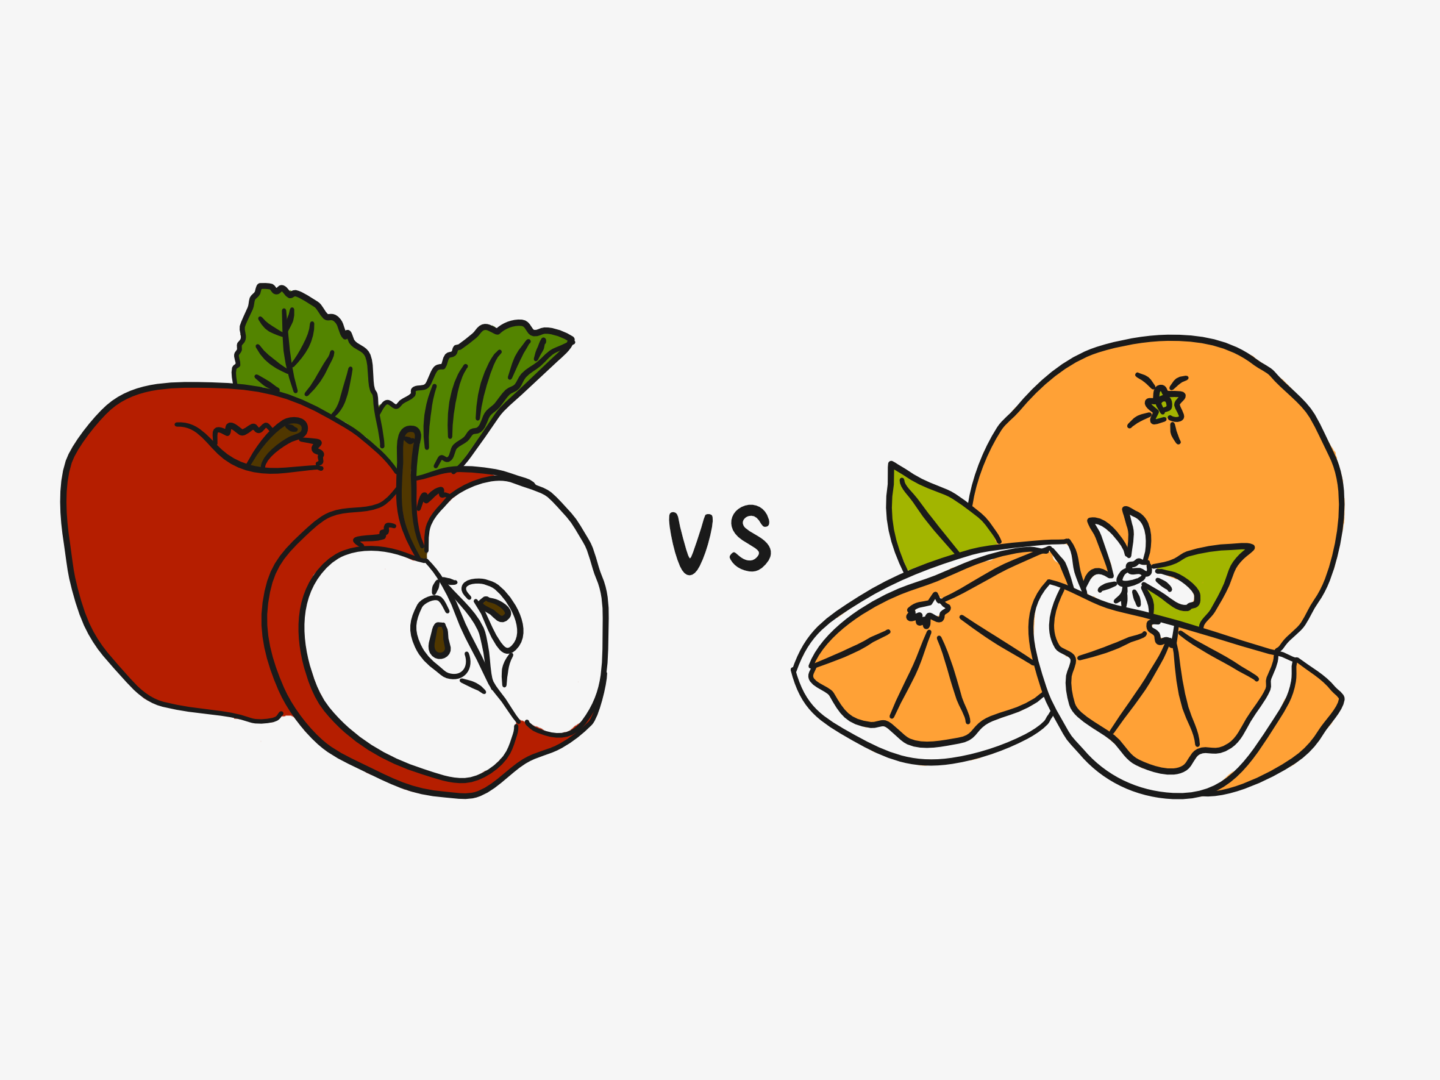
I’ve been thinking a lot about comparison recently, mainly because I’ve been comparing myself to people on social media way more than is healthy. I know that what I see on social media isn’t the whole story, and I know that everyone is on their own path, but I still compare myself (99.9999% of the time negatively) to the images I see in an even more extreme way than I do irl. And it’s making me sad.

But comparison isn’t really something you can quit in the way you can quit eating coco pops for breakfast. We all compare ourselves to other people. We might compare ourselves more or less. We might compare different things. But we all do it. We all also know that comparing ourselves to others isn’t the most beneficial habit too. So, I don’t quite get the shaming that’s starting to come with comparing yourself. It’s like the shaming that comes from not “choosing” to be happy, or loving your body. Sure, I’d love to be happy, decide I look great, and never look at someone else’s Instagram and go damn I wish I’d made that. But I’m human. You can’t just turn off those feelings all of the time.

Instead of trying to stop comparing myself to others, I am recognising the fact that other people are quite often my frame of reference and I am never going to be comparison free. So, I’m trying out some techniques to mean that comparing myself to someone else doesn’t always have to be a negative experience.

COMPARE WITH YOURSELF

I’m trying this thing where whenever I compare myself to someone else, I also try and compare myself to my past self. It’s been a good way of reminding me I’m growing no matter where I am compared to someone else, and how the difference in life stage/experience/opportunity can make such a big difference to where you’re at. If you’ve just finished your A-level in biology you’re not going to have as much knowledge as someone who’s just finished their PHD, but that doesn’t mean you won’t or can’t or don’t know way more about something else. The only person who’s at exactly the same stage as you, who’s had the same opportunities, is you so you’re the main person you should be comparing yourself to.

REACH OUT

Every time you see someone do something so good and you compare yourself and feel a little bad, tell them. Well, don’t tell them you feel awful but do tell them you like what they’re doing and it’s impressed you. Pick out what in particular it is that’s caught your eye and let them know. That way you’re turning your negative feeling into a positive and sharing it. As well as just sharing compliments, reach out to start a conversation where appropriate (don’t ask anyone to share their trade secrets etc. etc. etc.). Befriend that person, become their supporter. You’ll feel good. They’ll feel good. And perhaps, you’ll even be able to inspire and learn from each other.

PUSH YOURSELF INSTEAD

This is the “don’t get mad, get even” approach. If you’re consistently comparing yourself to someone who’s making something awesome – don’t feel bad that you’re not doing something, make something flipping awesome yourself. Channel that negative energy into creating and use it to drive you to make the best things you can.

FIND MEASURES YOU CAN CONTROL

I spoke about this a while ago in my goals post but it is so important to measure your success by metrics that you can control. So, while it makes perfect sense to care about and check your Instagram followers for example, measuring how successful you are by how many followers you have isn’t healthy. As much as what you post and what hashtags you use etc. can have an effect you are relying on the algorithm shining on you favourably and, ultimately, someone else performing an action. Other people shouldn’t be in charge of your success, you should be. Instead make your goals about creating content consistently or improving what you make.

DON’T FORGET THERE IS NO WINNING

When we compare ourselves we’re ultimately making life a competition, and it’s often presented that way so it makes sense that’s how we think. But life’s not a competition. We don’t all start at the same point, we don’t all stop at the same point, there is no points based system. There’s just however much fun you’re having right now. You don’t get a trophy you just get memories. So try not to forget that even if someone is “ahead” of you in some aspect, whatever that may be, you’re not competing (unless you’re in a literal race in which case ignore all of this)


Do you have any top tips for getting over comparison? I’d love to know what they are/please help me!

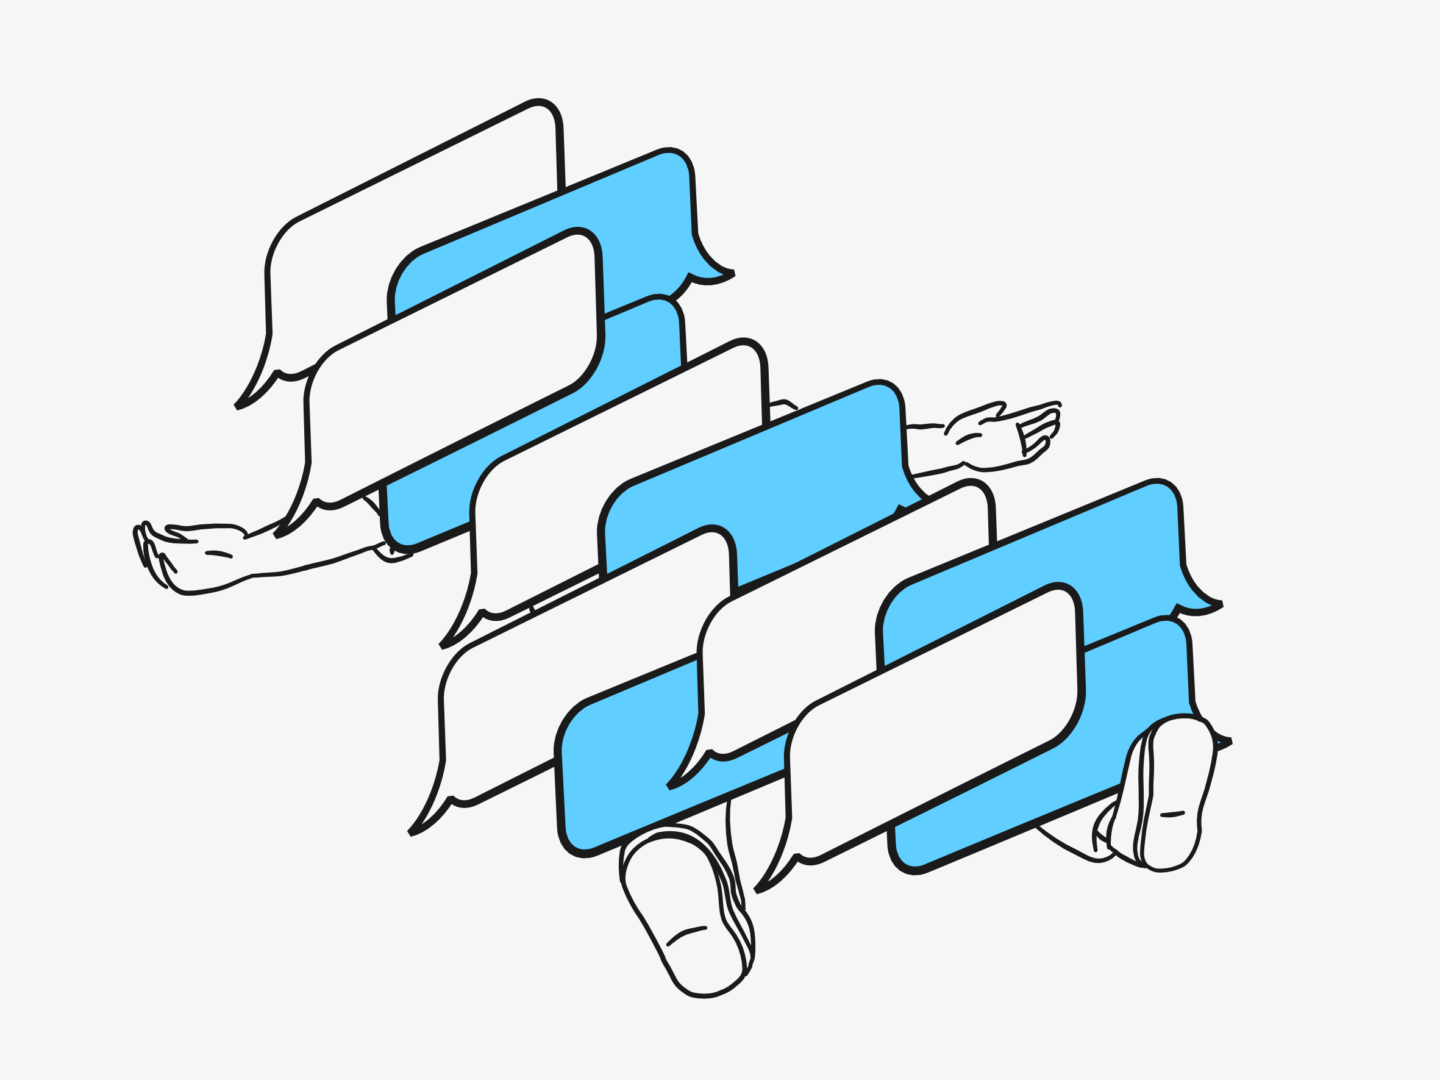
I feel like we’ve all experienced digital overwhelm at some point. It’s that feeling where you have so many screens, so much information, so many little buzzing sounds going on around you, you just don’t know what to do with yourself. You’re burned out from processing images and text and video. You’re stressed. You’re anxious. You’re experiencing digital overwhelm.

It’s something I’ve been feeling a lot recently, so I’m making a conscious effort to avoid digital overwhelm, and this is the advice I’m following.

DON’T SLEEP NEXT TO YOUR PHONE

Recently I got back into the really bad habit of having my phone on my bedside table. Having my phone just a blindly flailing hand away means that it’s quite often the last thing I see at night and the first thing in the morning. It’s not great. If you’re thinking about your phone when you sleep there really is no escape. So, as I write this post, I am vowing to leave my phone on my desk before I go to bed. No longer will I think about emails before I think about breakfast, and no longer will Twitter be the last thing I see before I sleep.

HAVE SET SCREEN/PHONE/EMAIL TIMES

You work more efficiently when you group similar tasks together e.g. answering all of your emails together. Or working on writing that report without checking your Instagram seven times an hour. I’m currently trialing having designated phone breaks when I’m at work, so I have a bit more time to scroll when I do it but I’m not constantly distracted by refreshing. It’s working. I’m more productive. I’m less anxious about constantly checking social media. I’m generally a little bit more balanced.

CUT DOWN ON THE NUMBER OF TABS YOU HAVE OPEN

As a serial tab hoarder, this is the hardest one on the list for me. But having all of that information out at once makes it harder to sort through and harder to focus on the task at hand. We’re simple, single-task creatures at our hearts and our browsers should reflect that to avoid digital overwhelm. I’ve been using Pocket to help me cut down. As soon as I want to open loads of tabs I just save them to pocket instead so that I can come back to them later.

UNSUBSCRIBE FROM THE JUNK EMAILS

I mentioned this in the digital part of my spring cleaning guide but I’m mentioning it again. The sight of 200 unread emails is a little terrifying, and spend your entire day answering and deleting is way too time-consuming. Unsubscribing from newsletters you don’t like and stores that bombard you with information means your inbox is way easier to sort through, and help cut down on impulse shopping. It also means you have more time for the emails you really like.

UNFOLLOW THINGS THAT STRESS YOU OUT

I feel like this should be obvious but the number of times I’ve found myself scrolling through someone’s twitter when I know that they just stress me out is ridiculous. Just unfollow anything that makes you feel bad. If you can’t bring yourself to unfollow or unfriend someone for fear of hurting their feelings, just mute them. Clear up your social media feeds and stop being overwhelmed by messages that make you feel worse.

TURN OFF NOTIFICATIONS

You do not need to be notified every time you gain a follower. They’ll still be there if you check back in half an hour. You do not need to be notified if you get a new email. They’ll still be there if you check back in half an hour. You do not need to be notified of everything, and certainly not with a loud ringtone. Reduce the number of notifications you have on your phone and laptop so that you check things when you want to, not when your device wants you to. Don’t forget you’re in charge in this relationship.

TRAVEL WITHOUT A SCREEN

Being bored is good for you. The easiest way to embrace boredom is when you travel. If you have a daily commute try and do it without looking at a screen (or even listening to anything). I know the tube is gross but taking some time to let your brain rest and not have to take in hundreds of images as you scroll is actually really nice. Embracing your screen free time when you commute is also nice because it helps provide a more distinctive break between work and home, and work screentime and home screentime.

One of the few good things that has come from my being anxious 80 – 90% of the time is that I have a long list of quick fixes for when I’m feeling particularly stressed. These are all things you can do just to calm you down in the moment, and to get you through whatever it is life has thrown at you. It’s obviously really important to treat the root cause of why you’re stressed, but sometimes you need a moment of relief before you can even get there, and that’s what these tips are for.

TRY AROMATHERAPY

I used to think that aromatherapy was complete bs, that was until I tried it and now I’m hooked. It really does relax you. If I’m feeling generally quite stressed or tense I like to put on my oil burner, and fill my room with the scent of lavender and geranium, and it relaxes me in a really physical (think post-massage way). Muji have some really affordable options for these if you just want to try them out. I’m also thinking of investing in one of these roller balls for a quick fix of relaxation wherever I am.

GET OUT

If you’re in a situation that’s making you feel anxious, nervous, or just down right stressed, step out of it. You can always excuse yourself from a conversation, a meeting, the office, the pool for a moment. I have hidden in bathrooms more times than I care to count so that I can have a moment to myself and regain my composure. If you’re someone that feels like they can’t breathe when they’re stressed, try and get outside. If you’re someone, like me, who gets overwhelmed by big groups find somewhere you can be alone. Find yourself a safe space and take a moment out.

HAVE A DRINK (OF WATER)

First off, we could all do with drinking a little more water. Second, having a drink (the slower and steadier the better) is a great way to sort out your breathing without having to worry about counting or being conscious of it. It is very hard to hyperventilate whilst your drinking. In fact, because you’re focused on something else, and you can only breathe through your nose, it effectively resets you back to your default. This helps calm you down and gives you time to think of more active solutions to how you’re feeling.

FIND SOMETHING TO FIDGET WITH

I am a chronic ring spinner to the extent that I’ve worn away the skin under my rings. Having something to fidget with, in my case a ring, while you’re stressed is a great way to relieve nervous energy. The best things to fidget with are the ones you have to hand, or can fiddle with subtly, that way you don’t feel like you’re drawing any attention to yourself or making yourself feel self-conscious. For example, I’m able to spin my rings whilst I’m having a conversation without detracting from what’s going on, but it still helps clam me down.

LISTEN TO SOME MUSIC

Music makes you feel good, fact. Put your headphones on or turn your speakers up and put on a song that makes you happy. For me, that means something super cheesy and probably popular in the early 2000s. Whether you have a dance, sing along, or just listen, what matters is that you have a feel good distraction.

COOL DOWN (PHYSICALLY)

I don’t know about anyone else, but when I’m really stressed or having a panic attack I start to overheat. So, I like to go and run my pulse points under cold water and it usually starts to soothe me. If I can I also like to take my shoes off. I also feel like focusing on a physical sensation is a good way to break you out of a negative mindset and remind you that you’re here, you’re present, you’re breathing and you’re okay.

SHAKE IT OUT

This is something I used to do before exams. I would chant a little mantra and then shake my entire body like I was a dancing octopus to wiggle out any nervous energy, and it worked. While flailing madly definitely works, I realise it isn’t always office appropriate. Instead, you can try shaking out your arms, having a bathroom boogie, or even just going for a walk. Moving around (dancing, octopus style or not, or having a little power walk) releases endorphins which make you happy as well as helping work of some of the extra adrenaline in your system – if it’s fight or flight, trick your body that you’re flying by boogying down like big bird.

LISTEN TO SOMEONE ELSE

Something else I’ve gotten in the habit of doing recently is calling my boyfriend when I feel like I’m on my way to having a panic attack. But instead of talking about how bad or anxious I’m feeling I get him just to talk to me about his day, or some random podcast he’s heard. Listening to someone else’s problems, or interests, is a great distraction and gets your out of the mind space where you stress yourself out even further because you’re in a negative spiral. I will say that you probably have to choose who you call carefully. For example, don’t call a co-worked who might give you more work to do, or a friend who is likely to be super emotional too. What’s best is if you tell that someone you can trust what you’re doing, and why beforehand (“I might just call you and ask you to chat to me because I’m feeling anxious and it relaxes me, is that okay?” works well) that way they know exactly what’s going on and that they’re helping you.

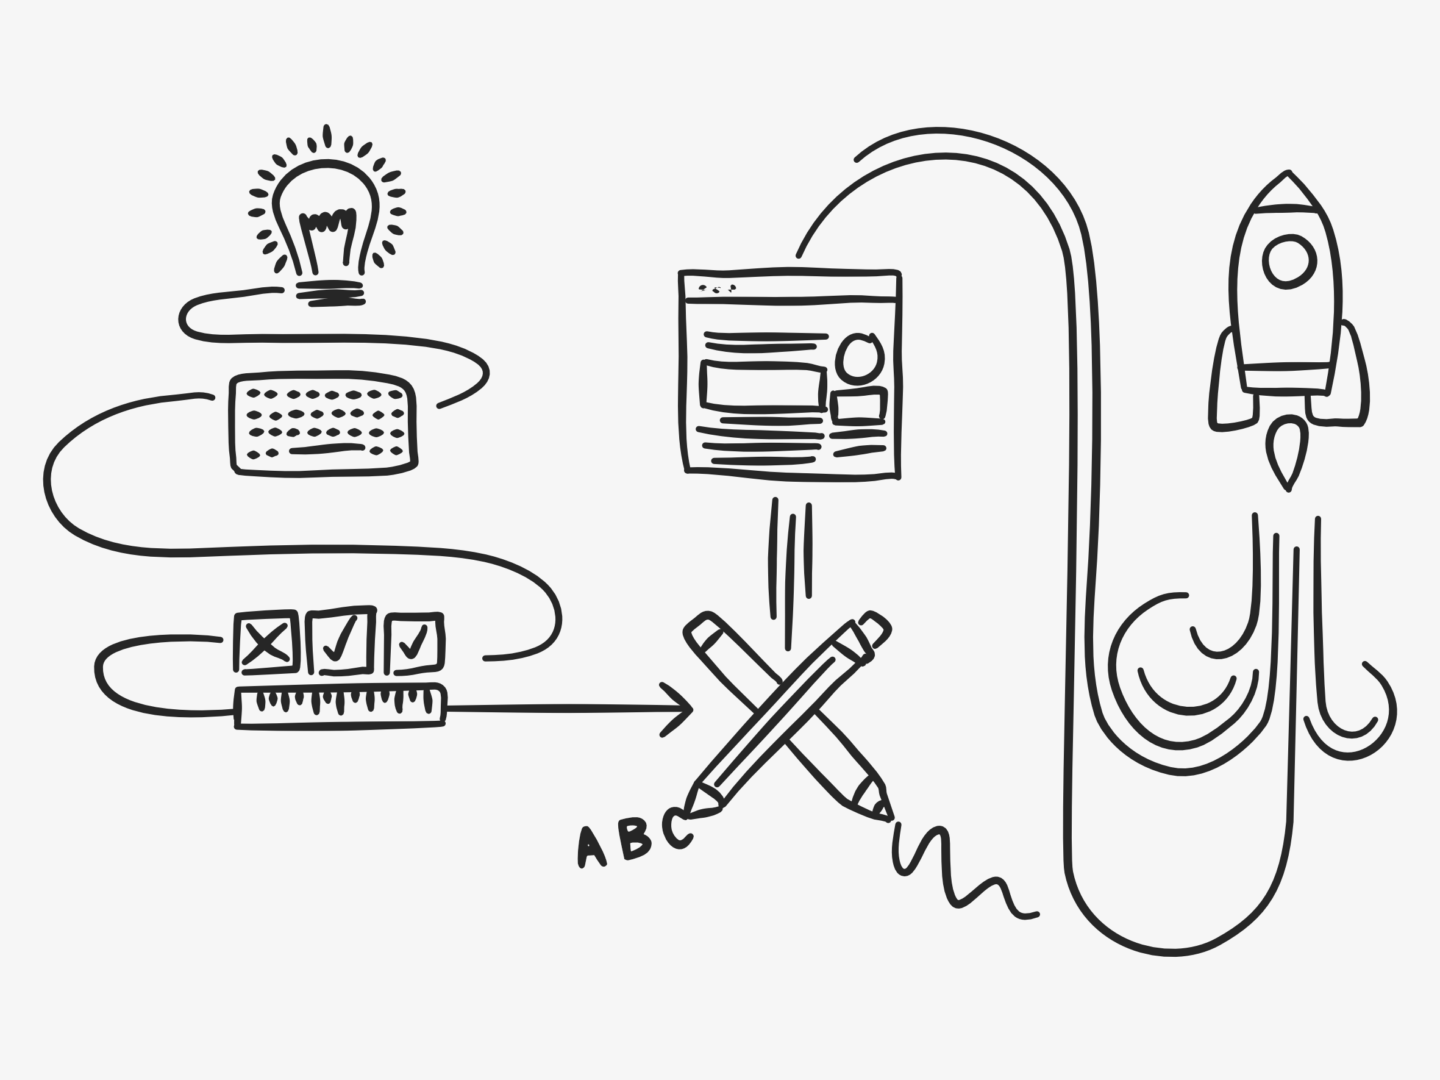
Now I’ve been blogging for a year I’ve pretty much got my post creation process down. I am a well oiled content-creation machine. Okay, I’m not, but I am happy with the system I have set up. So, I thought I’d share how I go about creating blog content, as well as the check list I use before I send anything live (it’s my version of quality control) in case it’s useful for you too!

If you want to skip straight to the list scroll down to the bottom of this page, or sign up to my newsletter for more insights and downloadables every fortnight.

PLAN

I work in quarterly cycles on my blog. That means I have a schedule of posts I’m going to write for the next 3 months. I know that might seem like a lot for some people, but I like to be super prepared and it allows me to pick and choose what I write when. I keep my list in a Numbers table, with the post’s title, date to be published, category and a set of check boxes of things to do against each post.

While I plan my schedule for 3 months at a time, I don’t come up with all of my ideas in one go. I keep an ongoing list of ideas in my planner which I add to as and when I come up with ideas, as well as having boards on Bloglovin and Pinterest for posts that I like and think I can use for inspiration. Keeping a note of ideas as I have them has been the best way I’ve found to always have a stock of things to come back to, by the time it comes to my quarterly planning session I normally have too many and end up whittling the list down.

RESEARCH

When it’s time to begin work on a post I always begin with some research. I usually have a cursory google of the topic to see what’s already out there and doing well, and what I can do differently. Then I’ll try and do some extra research into the topic. The amount of time this takes can really vary, personal posts are obviously the quickest and my design stories are the most research intensive, but things like my run down of beautiful book covers took a surprisingly long time to catalogue all of the links, images, authors, and artists.

OUTLINE

Once I’ve gathered all of my research, normally scribbled down over a side in my rough work book, I create an outline of what I need to write. This is normally just a few bullet points (I never liked planning my essays at school either) but it helps me structure my work and work in sections if I don’t have the time to write an entire post in one go.

WRITE

Then it’s time to write! I feel like this stage is pretty self-explanatory but it’s one I’ve really started to enjoy. I don’t think of myself as a natural writer, but I do enjoy just sitting down and typing out my thoughts.

TITLE

I’ve given deciding on a title its own section, because it is the bit of post creation I find the hardest, even though it’s the shortest. I am never sure how to create a catchy title – if any of you have any tips please let me know! At the minute, my process consists of rereading this handy graphic, writing and rewriting the title around five times, and then settling on the first thing I tried.

ILLUSTRATE

I almost always illustrate my posts after I’ve written them. The only exceptions are posts which are about the graphics, like my post on how to create a repeating pattern or my summer backgrounds collection. Illustrating after I’ve written the post means I can really tailor the image to what I’ve written and I also think of it as good practise for editorial work. I try to illustrate something that either draws out an image in the post, or visually summarises the content.

In order to try and make my graphics recognisable I use the same off white background, dark grey line colour, and font (either handwritten or Gotham) in all of my illustrations, but then play around with accent colours and imagery so they don’t get samey. I also create Instagram friendly versions of all of my blog illustrations, so they look their best in a square format.

UPLOAD

Once I have all of the content sorted it’s time to upload. I use wordpress for my blog so this process is pretty simple. I write all of my content in a word processor then copy it into the post editor for the sake of spell check. I then upload all of my images, and label them so they show up well in SEO. Then I select a category for the post and schedule it for the right time. I schedule all of my social media on a weekly basis, so I don’t normally do it as I upload a post.

PROOF READ

I proof read my posts in the preview section of wordpress, that way I get to see the post in the same way that you do once its live. I also use Grammarly to double check anything else I might have missed. Some things still slip through the cracks, but I feel like that’s inevitable with the amount of content I’m producing – and the fact that I’m a human with pretty bad grammar.

FINAL CHECK

Now we’re pretty much ready to go. All that’s left is to run through my blog checklist, which you can download below, and hit schedule. Then I just have to wait for it to go live and cross my fingers that you like it!

Download the checklist

Do you have a set process for producing your posts? Do you have the secret to writing good titles? If so I’d love to hear about it!