
Now I’ve been blogging for a year I’ve pretty much got my post creation process down. I am a well oiled content-creation machine. Okay, I’m not, but I am happy with the system I have set up. So, I thought I’d share how I go about creating blog content, as well as the check list I use before I send anything live (it’s my version of quality control) in case it’s useful for you too!
If you want to skip straight to the list scroll down to the bottom of this page, or sign up to my newsletter for more insights and downloadables every fortnight.

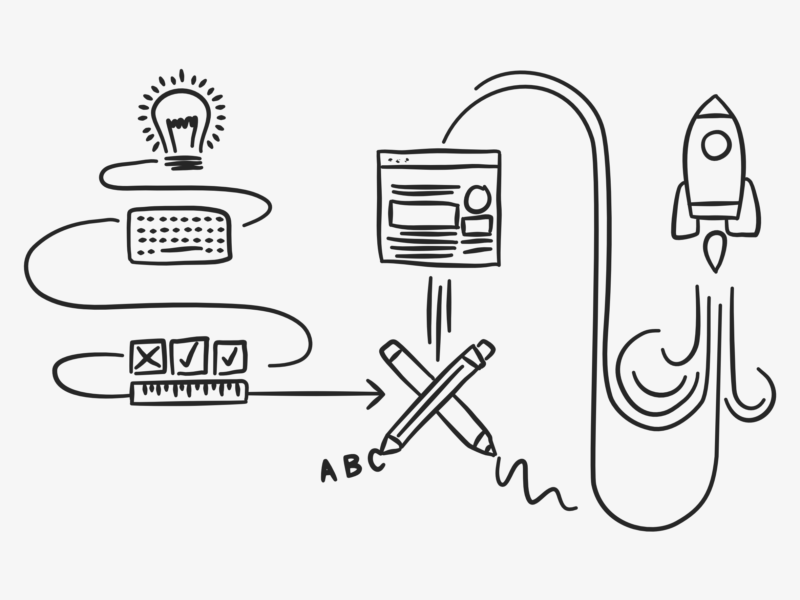
PLAN
I work in quarterly cycles on my blog. That means I have a schedule of posts I’m going to write for the next 3 months. I know that might seem like a lot for some people, but I like to be super prepared and it allows me to pick and choose what I write when. I keep my list in a Numbers table, with the post’s title, date to be published, category and a set of check boxes of things to do against each post.
While I plan my schedule for 3 months at a time, I don’t come up with all of my ideas in one go. I keep an ongoing list of ideas in my planner which I add to as and when I come up with ideas, as well as having boards on Bloglovin and Pinterest for posts that I like and think I can use for inspiration. Keeping a note of ideas as I have them has been the best way I’ve found to always have a stock of things to come back to, by the time it comes to my quarterly planning session I normally have too many and end up whittling the list down.
RESEARCH
When it’s time to begin work on a post I always begin with some research. I usually have a cursory google of the topic to see what’s already out there and doing well, and what I can do differently. Then I’ll try and do some extra research into the topic. The amount of time this takes can really vary, personal posts are obviously the quickest and my design stories are the most research intensive, but things like my run down of beautiful book covers took a surprisingly long time to catalogue all of the links, images, authors, and artists.
OUTLINE
Once I’ve gathered all of my research, normally scribbled down over a side in my rough work book, I create an outline of what I need to write. This is normally just a few bullet points (I never liked planning my essays at school either) but it helps me structure my work and work in sections if I don’t have the time to write an entire post in one go.
WRITE
Then it’s time to write! I feel like this stage is pretty self-explanatory but it’s one I’ve really started to enjoy. I don’t think of myself as a natural writer, but I do enjoy just sitting down and typing out my thoughts.
TITLE
I’ve given deciding on a title its own section, because it is the bit of post creation I find the hardest, even though it’s the shortest. I am never sure how to create a catchy title – if any of you have any tips please let me know! At the minute, my process consists of rereading this handy graphic, writing and rewriting the title around five times, and then settling on the first thing I tried.
ILLUSTRATE
I almost always illustrate my posts after I’ve written them. The only exceptions are posts which are about the graphics, like my post on how to create a repeating pattern or my summer backgrounds collection. Illustrating after I’ve written the post means I can really tailor the image to what I’ve written and I also think of it as good practise for editorial work. I try to illustrate something that either draws out an image in the post, or visually summarises the content.
In order to try and make my graphics recognisable I use the same off white background, dark grey line colour, and font (either handwritten or Gotham) in all of my illustrations, but then play around with accent colours and imagery so they don’t get samey. I also create Instagram friendly versions of all of my blog illustrations, so they look their best in a square format.
UPLOAD
Once I have all of the content sorted it’s time to upload. I use wordpress for my blog so this process is pretty simple. I write all of my content in a word processor then copy it into the post editor for the sake of spell check. I then upload all of my images, and label them so they show up well in SEO. Then I select a category for the post and schedule it for the right time. I schedule all of my social media on a weekly basis, so I don’t normally do it as I upload a post.
PROOF READ
I proof read my posts in the preview section of wordpress, that way I get to see the post in the same way that you do once its live. I also use Grammarly to double check anything else I might have missed. Some things still slip through the cracks, but I feel like that’s inevitable with the amount of content I’m producing – and the fact that I’m a human with pretty bad grammar.
FINAL CHECK
Now we’re pretty much ready to go. All that’s left is to run through my blog checklist, which you can download below, and hit schedule. Then I just have to wait for it to go live and cross my fingers that you like it!
Do you have a set process for producing your posts? Do you have the secret to writing good titles? If so I’d love to hear about it!

Heya! This is truly incredible, truly admire you for having this 3 months plan setup, definitely inpiring and it looks like you can navigate from a different vibe than the mood swings.. even though I find myself most creative in these mood swings, not sure how to express. Thank you for sharing your secrets thought. This is a great post and I mean it…. 🙂
Thanks so much Finja! Yeah I love having the plan to keep me consistent, and to weirdly give me a bit of flexibility. Creativity definitely comes in waves though!
You are so organised! Thanks for sharing 🙂
Thanks Melanie!
I agree, you are very organized. Also, I wanted to download your checklist but couldn’t find it? Thanks! 🙂
Sorry – didn’t follow my own checklist and forgot to add the link! It’s in there now!!
Love this so much! It’s a good reminder for me to get back into more regular posting.. and sticking to a content calendar. Love what you do 🙂 x
Thanks Tania! Good luck with the content calendar