This is the third and final installment of my mini-series about my room (read parts one and two). I’m closing the series, for now at least, with a bit of an insight into how I used design thinking to shape my room and make the most of the space, as well as some top rental room renovation tips.
First off, I thought it would be worth doing a quick recap of what design thinking is, in case you haven’t come across it before. Design thinking is all about taking a user-centric approach to a problem and then solving it in a hands-on iterative way. You focus on the real user to build something they actually need, rather than what you think they need. Taking this insight and working with it iteratively, prototyping and testing means you fail small and often as part of a process rather than dedicating a huge amount of time and resources to a project that might have an underlying flaw you hadn’t noticed. This process can take slightly longer at first, but it becomes more time and energy efficient overall because you work out more of the kinks at the start. If you’d like to know more about design thinking, check out the full post I wrote about it.
So how do you apply that relatively abstract concept to designing your space?
- Work out how you use a space – live in the space for a while. Where do you spend the most time? Is there anything you can’t do that you want to? Is there anything you don’t need?
- Start with the bare minimum and find out what you need as you want to reach for things – can you hack a solution to see if it will fulfill your needs, can you prototype the solution you want to see if it works?
- Test before you buy – measure your space and get a feel for what will fit, and try things in store – especially if you’re buying furniture.
- Research the most user-friendly option – write up a list of requirements and shop according to those rather than blankly looking for a chair within a certain budget – what is that chair for? What do you want it to do? Where do you want it to fit?
- Consider the future life of your space – what you need your space to do will evolve with you, make sure you consider your future needs/changes when your designing. Where possible make life easier for future you.
In practice, what this meant for me was living in my space for a while before I started really getting into designing it and buying any new pieces. There are some things in my room that are completely fixed, my bed can’t go anywhere, the shower and sink and plumbed in, I’m not sure I could fit my desk in another space even if I tried.
But when I moved in there was a second desk in what is my living area, there were no drawers in the wardrobe, there was no extra shelving, there were no towel hooks and there certainly wasn’t an armchair. For the first few weeks, I worked out what I needed and what I didn’t, and started by priority. I needed somewhere to store my socks stat. The second desk just got in my way and I never touched it because I preferred the natural light in my office. I wanted some more shelves to store bits that I reached for a lot whether that was paper or face wash.
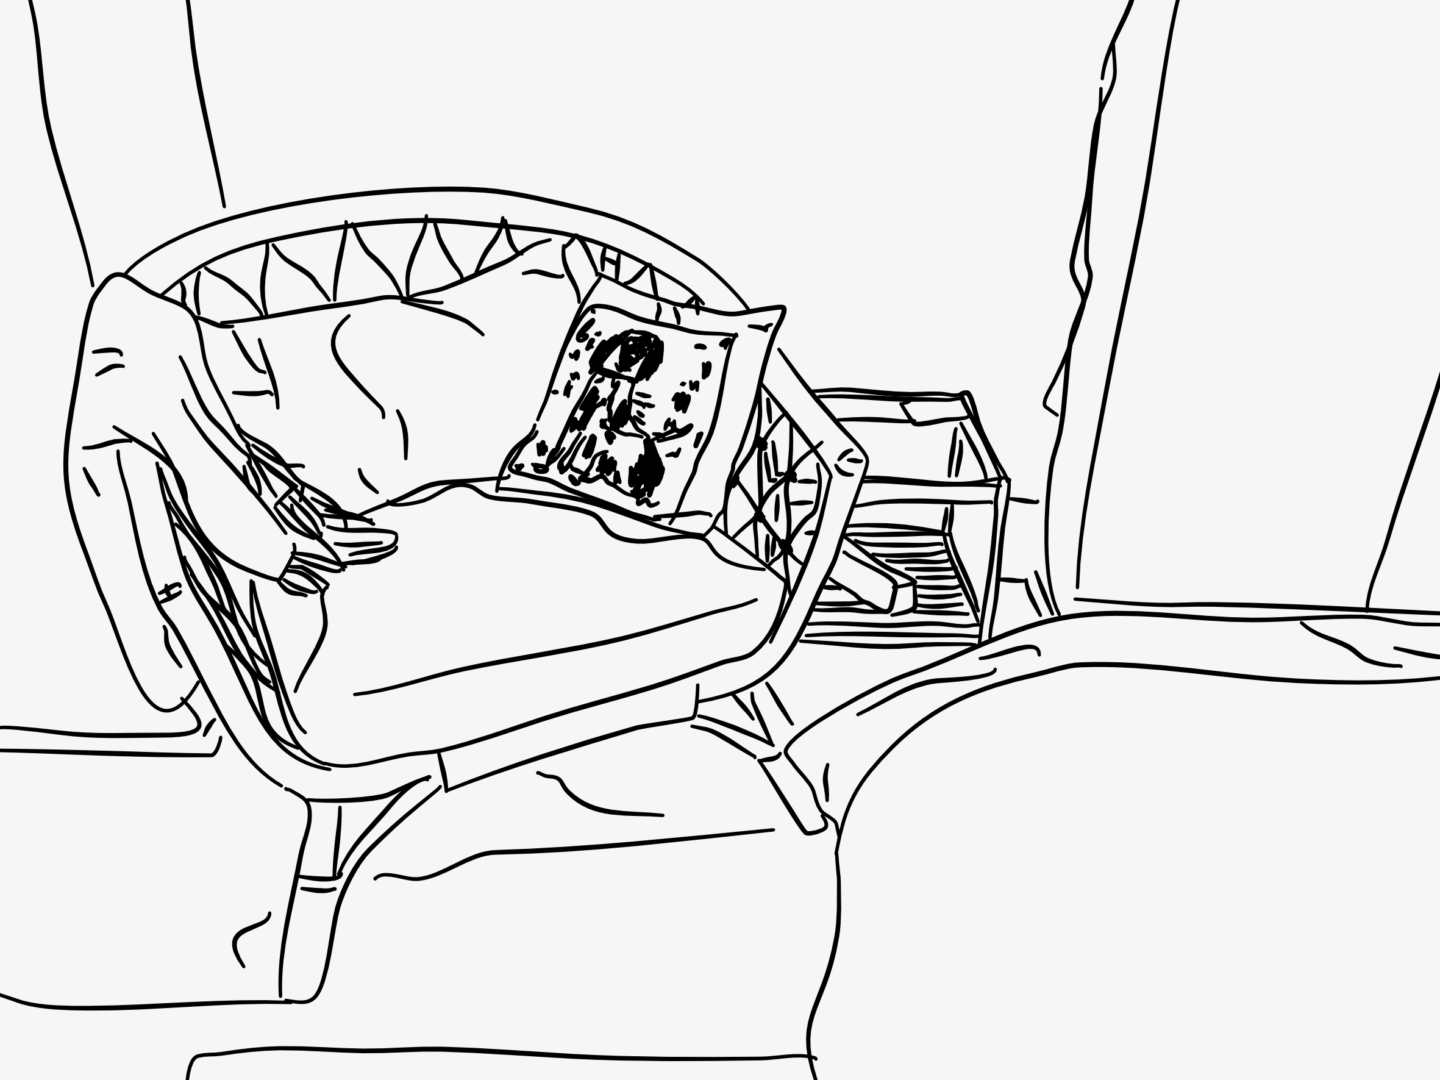
The big space design project I’ve been working on is the seating/living area. I started with a minimum viable product (MVP) solution which was a floor cushion. It gave me somewhere to sit and was easy to put away to give me extra space. But after a while, I found it wasn’t comfortable enough, and I didn’t get any joy out of sitting on the floor – I wanted to feel like a grown-up. I trialed using my desk chair but it became a pain point for me to move the chair and not to have the separation of work and rest. So, I knew I had to find another solution. I wrote a list of user (my) requirements that included: something big enough that I could tuck my feet up, something light that was easily moveable for when I leave, something that was neutral and not too bulky to fit with my space. I also knew I would need a side table for tea and books because I would always have them with me when I sat down on the floor. Then I did my research and found a chair and table I thought would work. Then I marked out the space it would fit in with washi tape and attempted to move around it for a week to check it wouldn’t hamper my routine. Only then did I buy my new chair, and you know what it’s absolutely perfect for what I needed (and within budget).
And finally…here are just a few extra rental room renovation top tips:
- Find out what you’re allowed to change – check your contract before you do anything substantial
- Command hooks and washi tape are your best friends
- There’s a lot you can do with soft furnishings – rugs make rooms more homely. Changing your bedding can change a room try something more neutral if a space is too loud or small, or picking a statement colour if the space needs a little life. New curtains (as long as you hold onto the old ones) can be used to let more light in and can almost be as good as repainting
- Measure your doors before you buy any furniture – this is just a general life thing
- Use lighting to transform a small space for different occasions – I have a working light, a daytime light, and a set of evening time lights (aka fairy lights) which help me differentiate the space for different uses without having to really change anything
How have you made your room your own? Would you like more mini-series like this?