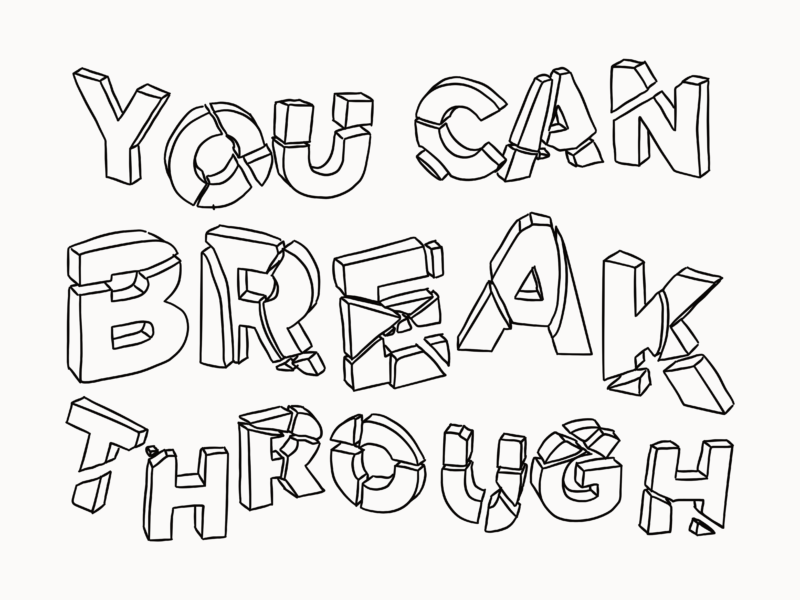
This year I want to share a bit more of the process around my work as well as few more tutorials and tips, so today I’m killing two birds with one stone and showing you how to do the exploded lettering I did for Oxford University Drama Society’s festival ‘Breaking the Fifth Wall’.
I’ve only recently started playing with lettering within my work but I’ve really enjoying it. So, when OUDS got in touch with me and asked for a graphic to go with their festival of drama centered around women breaking through the glass ceiling, I knew I wanted try something lettering based. I’m really pleased with how the final piece turned out. I think it definitely illustrates the spirit of the festival in a simple but fun way.
Here’s how I did it.
FYI I’m using Affinity Designer and a Wacom Bamboo tablet to draw with, but you could also easily use illustrator or even photoshop (with a few tweaks) to do this.
Step 1
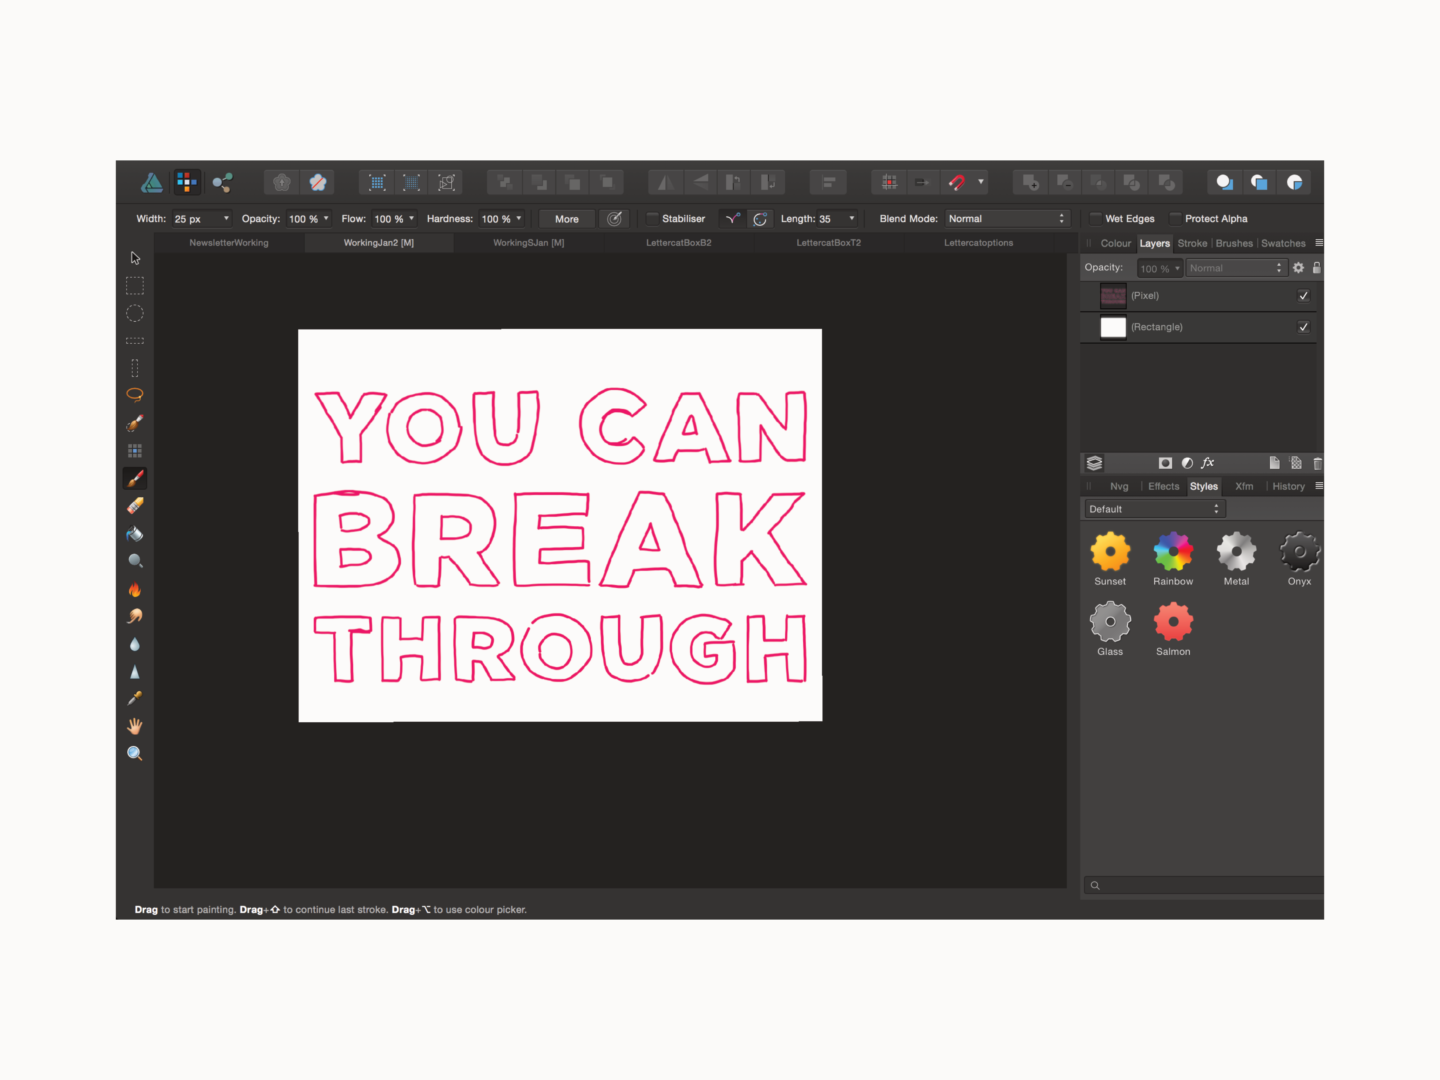
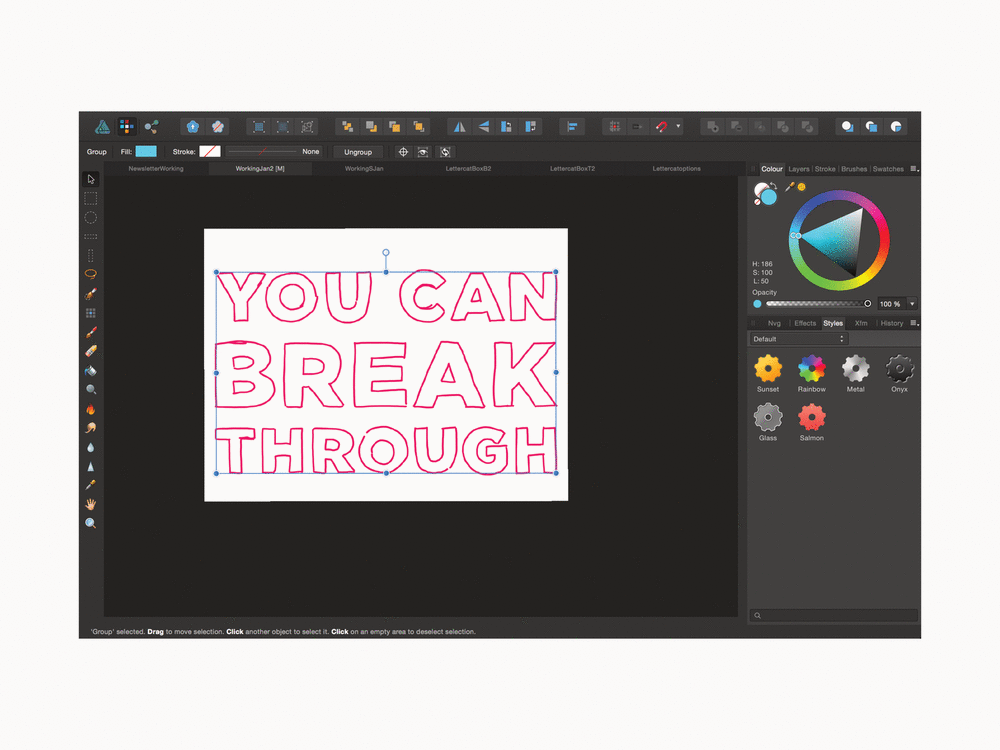
First, I just drew out the text. I used big block capitals because I knew I was going to break them up so they had to be clear and have a bit of weight to them so the text was still readable after it had been smashed.
Side note: I always do all of my rough sketches in bright colours because I find them easier to work with.
Step 2
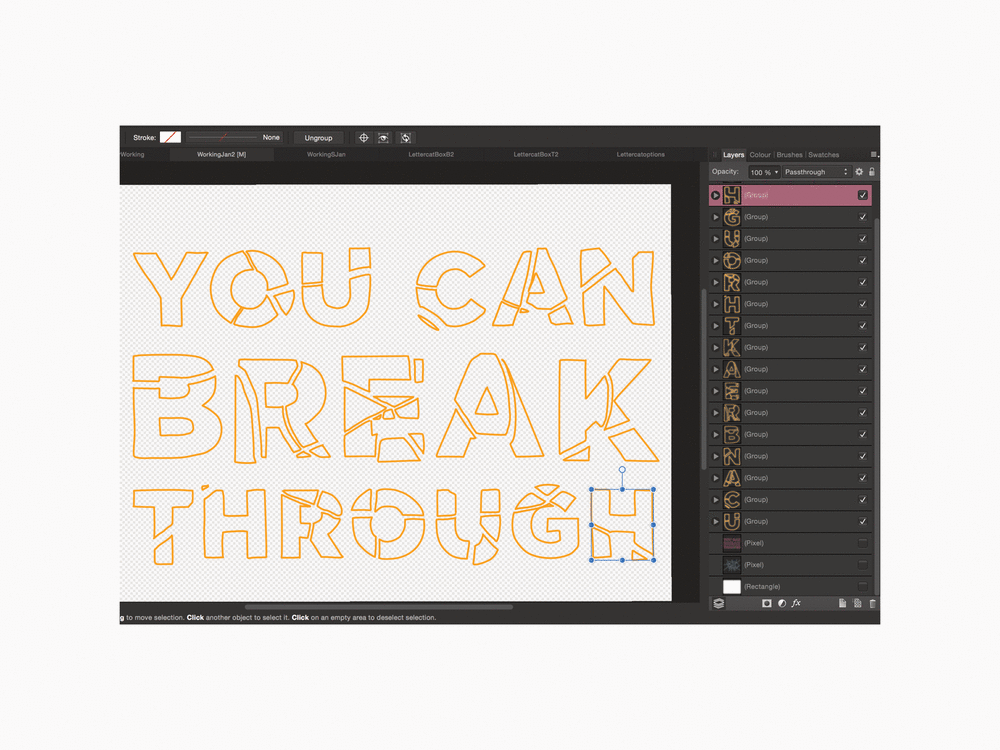
Then, I added in the smash lines. I had a look at some images of broken glass and found tried to replicate their patterns to make the smash a bit more believable.

Step 3
With all of those rough outlines in place, I traced over the individual broken sections of the letters to create vector line illustrations of the smashed letters.
Step 4
Once I had the vector illustration of the letters, I got rid of the pixel guides. I separated them out a bit more on the page to give them the feeling of really having been smashed. I made sure to try and strike a balance between exploding the individual pieces and maintaining the integrity of the letters so that you can still read the copy.
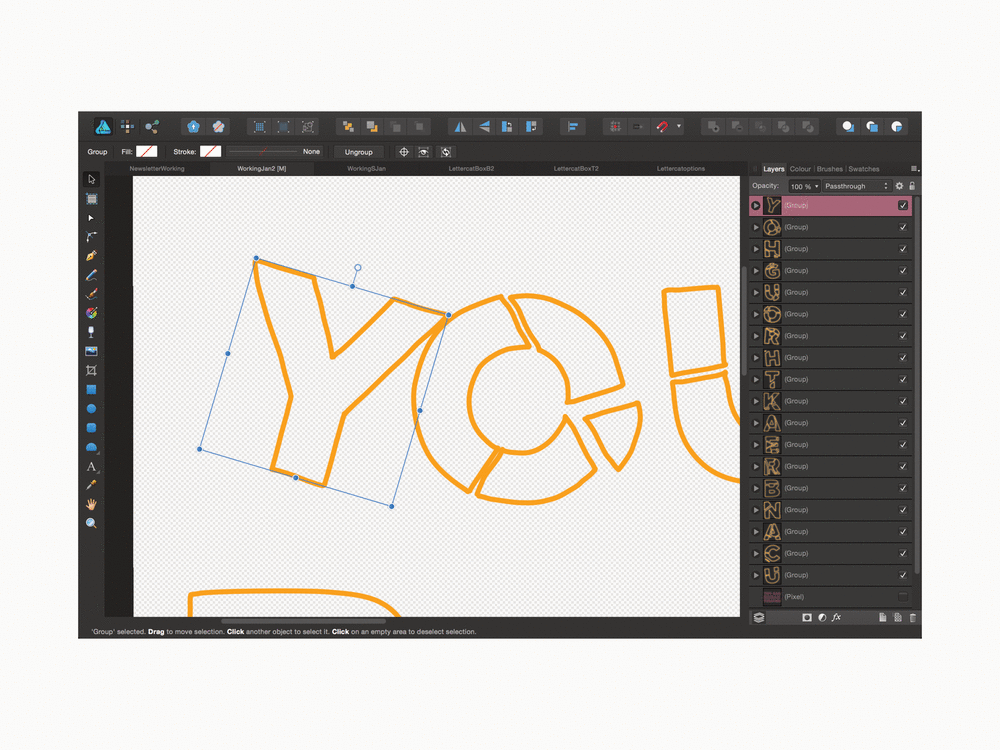
Step 5
When I was happy with the composition, I took each individual letter (by grouping sections) or individual broken piece and sheared it. To do that I rotated the vector a little and then used the shear function so that the vertical lines were still vertical – I’m hoping the imagery above explains that a bit better.
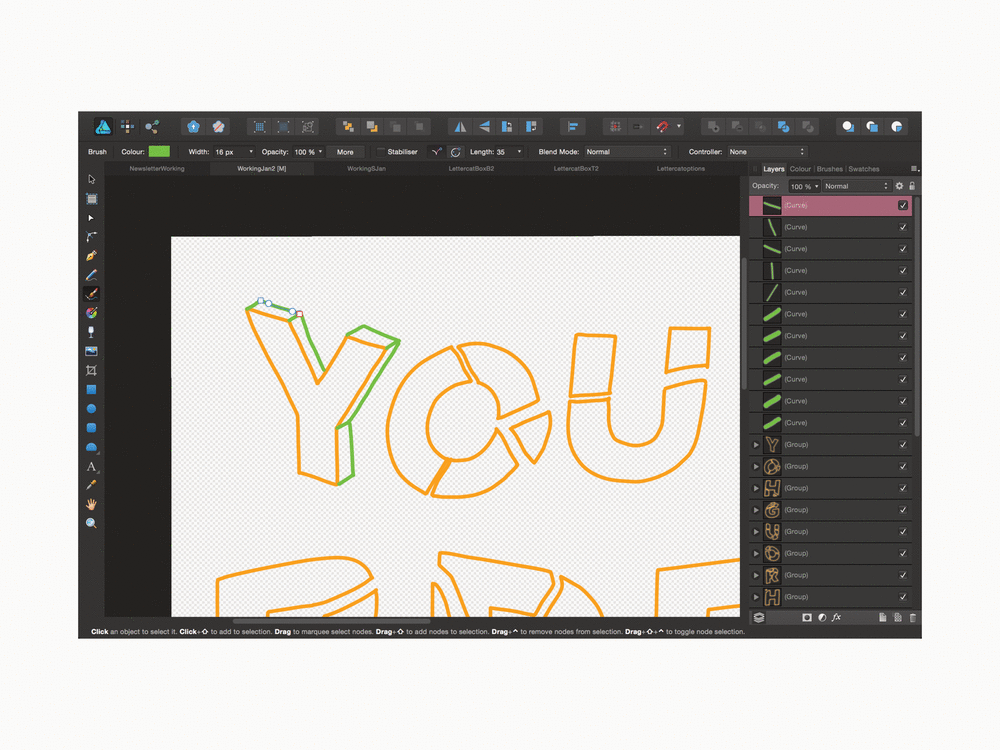
Step 6
Next, with the letters all tilted, I added in the lines that give the letters some depth and the appearance of being three-dimensional.
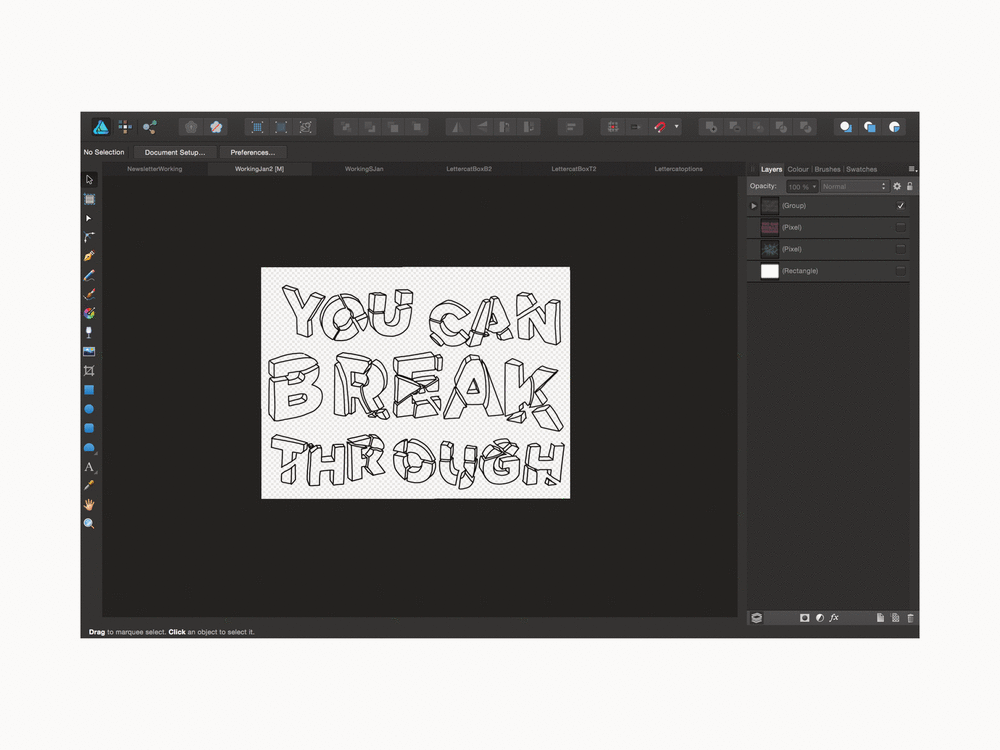
Step 7
Then, all that was left were any final adjustments.
And that’s how it’s done.
Let me know if you try out this method or style, and if there’s anything else you’d like to see how tos/tips on!