Want to make something a little special for the trick or treaters near you, or need a way to make it look like you’ve put some extra effort into that Halloween party? These DIY treat bags will do just the trick. They’re super simple, and all you need is some paper, a printer and some glue (and some goodies to put in there). All of the instructions and the free pdfs are below.
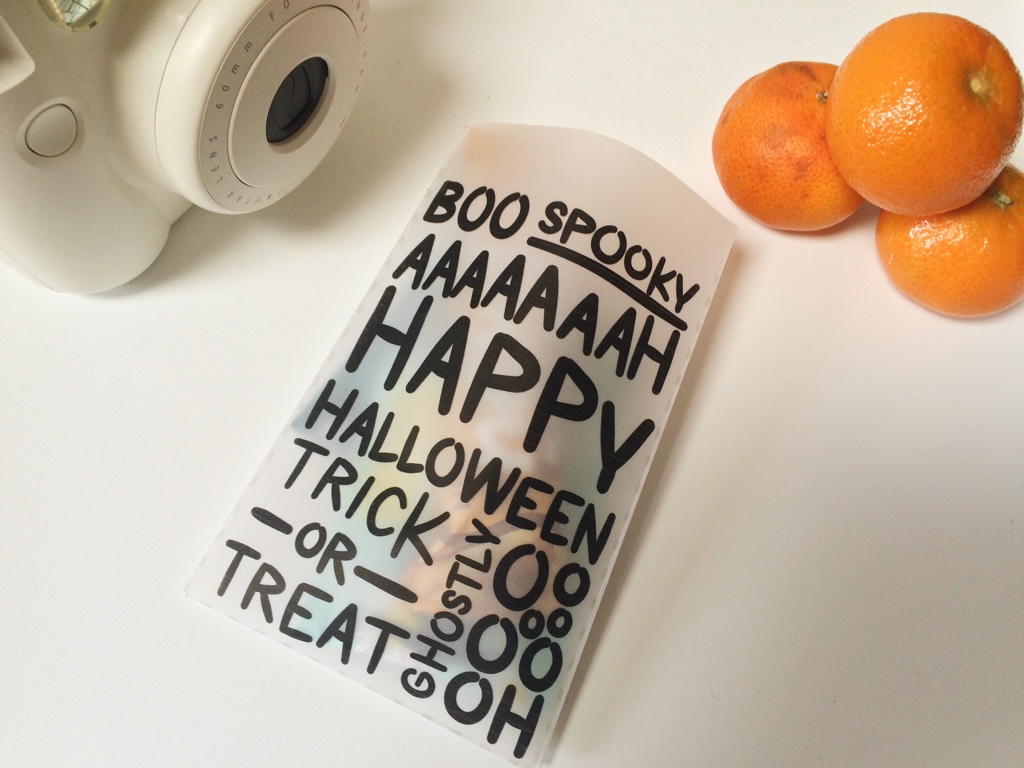
PS – yes I did have to use satsumas instead of pumpkins for the cover image because when I made this I couldn’t find any pumpkins!
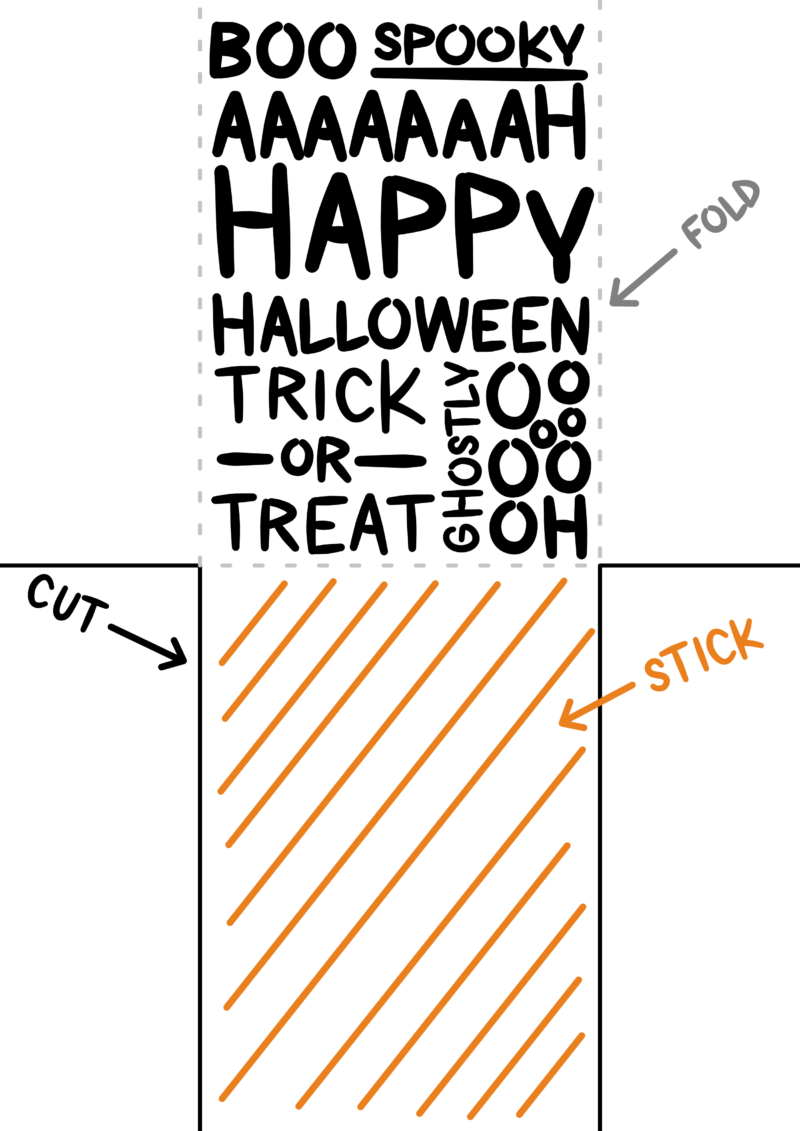
INSTRUCTIONS
- Print the pdf linked at the bottom of this page on to A4 paper, I used translucent tracing paper, but you could use any you like.
- Cut along the solid black lines.
- Fold away from the printed side along the dotted grey lines, so all 3 flaps are behind the printed side.
- The two smaller, side, flaps should be one the inside, it doesn’t matter what order.
- Stick them together where they overlap using a little glue
- Stick the larger flap to the two smaller flaps with a bit more glue.
- Stuff with goodies!
Print the bag in all black or black and orange for a little extra colour
Natalie