
If you follow me on Instagram (if you’re not, I would highly recommend it) you’ll know that I create a pattern (almost) every week. They’re something I really enjoy making, because they’re a fun little challenge. Plus, they seem to be something you enjoy too – so much so that I’ve started selling phone cases with a few of them on.
In the spirit of sharing today, I wanted to show you how I put my patterns together, and give you some top tips in case you want to make your own.As with my last how to I’m using Affinity Designer and a Wacom Bamboo tablet to draw with.
1. Find an idea
So, this is the starting point of any work really, but I thought it was worth mentioning here because there are some parameters I work within to help guide me on these patterns. The subject has to be something that either comes in a few different kinds (like with my fishes or my dinosaur patterns), is interesting to draw from a number of angles (like with my bananas pattern), or is part of a group of things (like in my stationery pattern). I keep a list of ideas in my journal so I can keep a track of them, and then just draw when I feel like it.
For this example, I’ve gone with crystals, because they give me the option to draw lots of versions, shapes and colours, of the same thing.
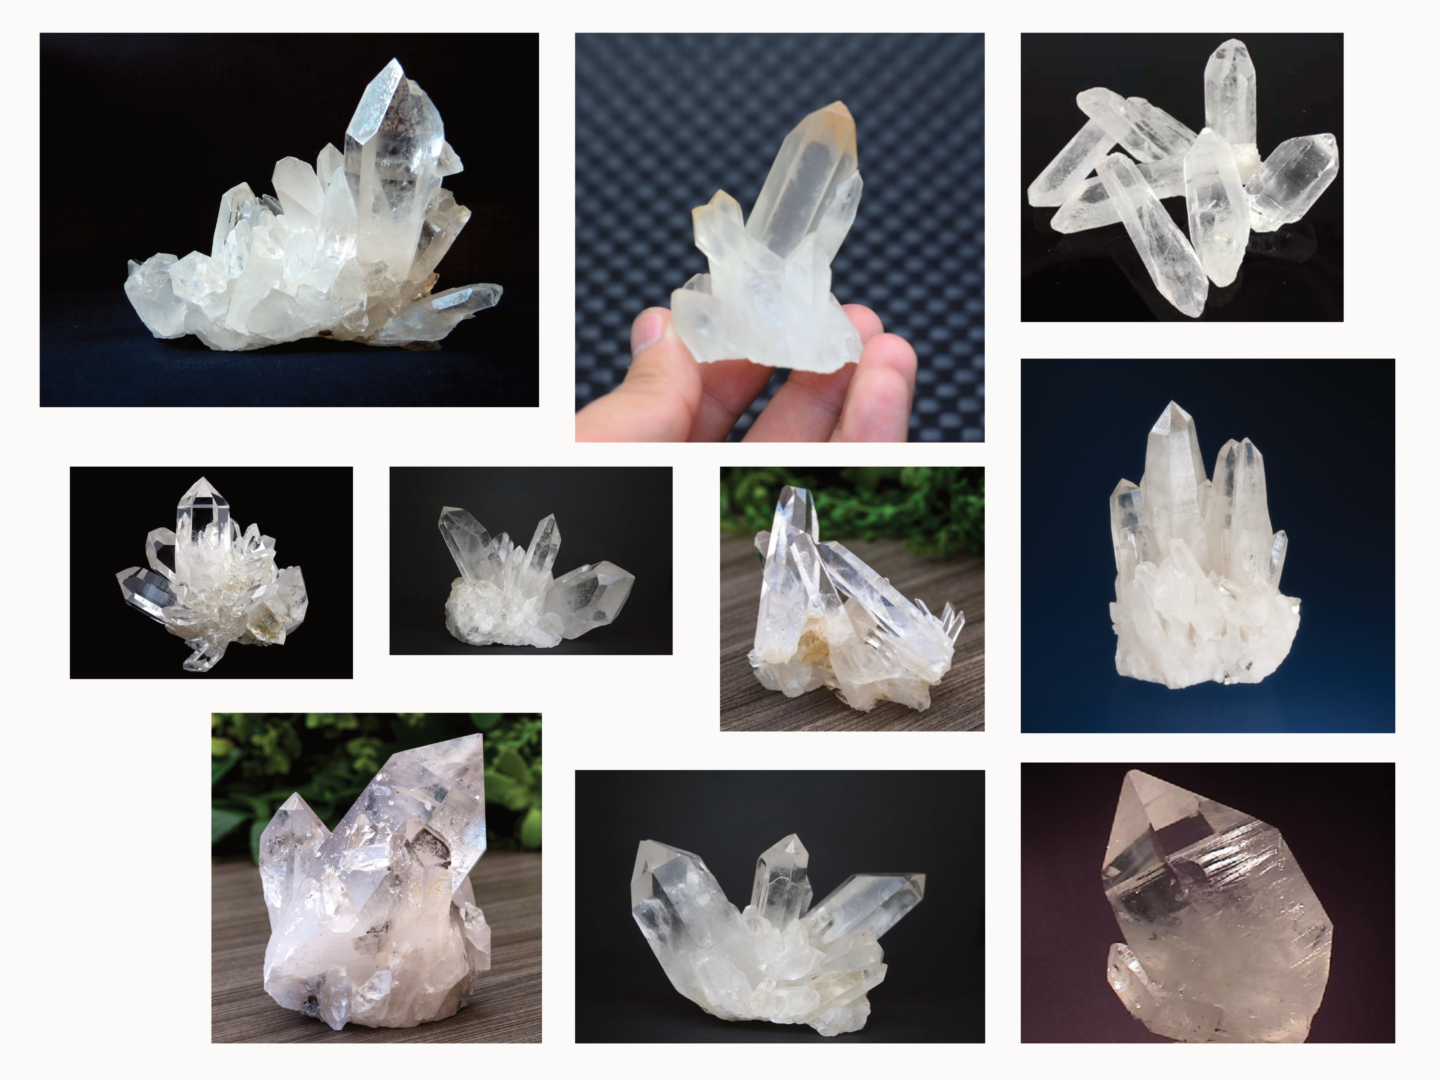
2.Collect reference images
Once I’ve chosen my subject matter I collect up a whole bunch of reference photos to guide my illustrations.
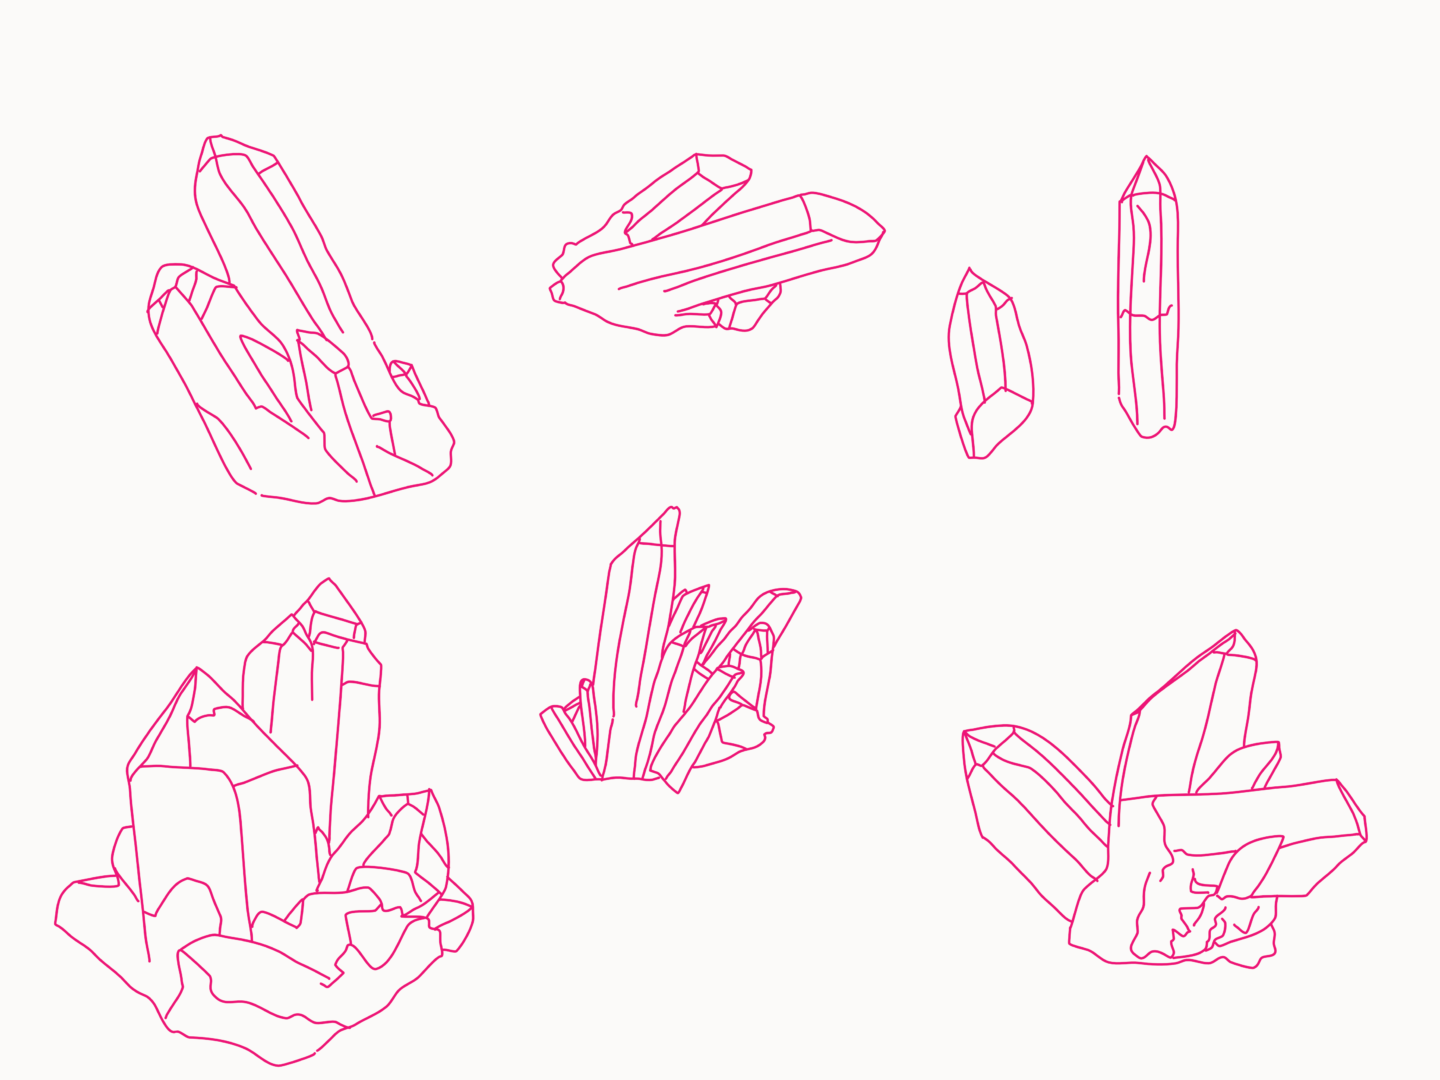
3. Outline and refine
Now we’re at the fun part – drawing. I create vector outlines of whatever I’m illustrating. I always tend to do my initial outlines in a bright colour, I’m not sure why, but I just find it easier to see how something is going to come together that way. Once I’m happy I then change the outlines to black. Through trial and error, I’ve found that between 5 and 7 different objects is normally around the right number, to provide the right time to variation ratio. But feel free to change it up however you see fit!
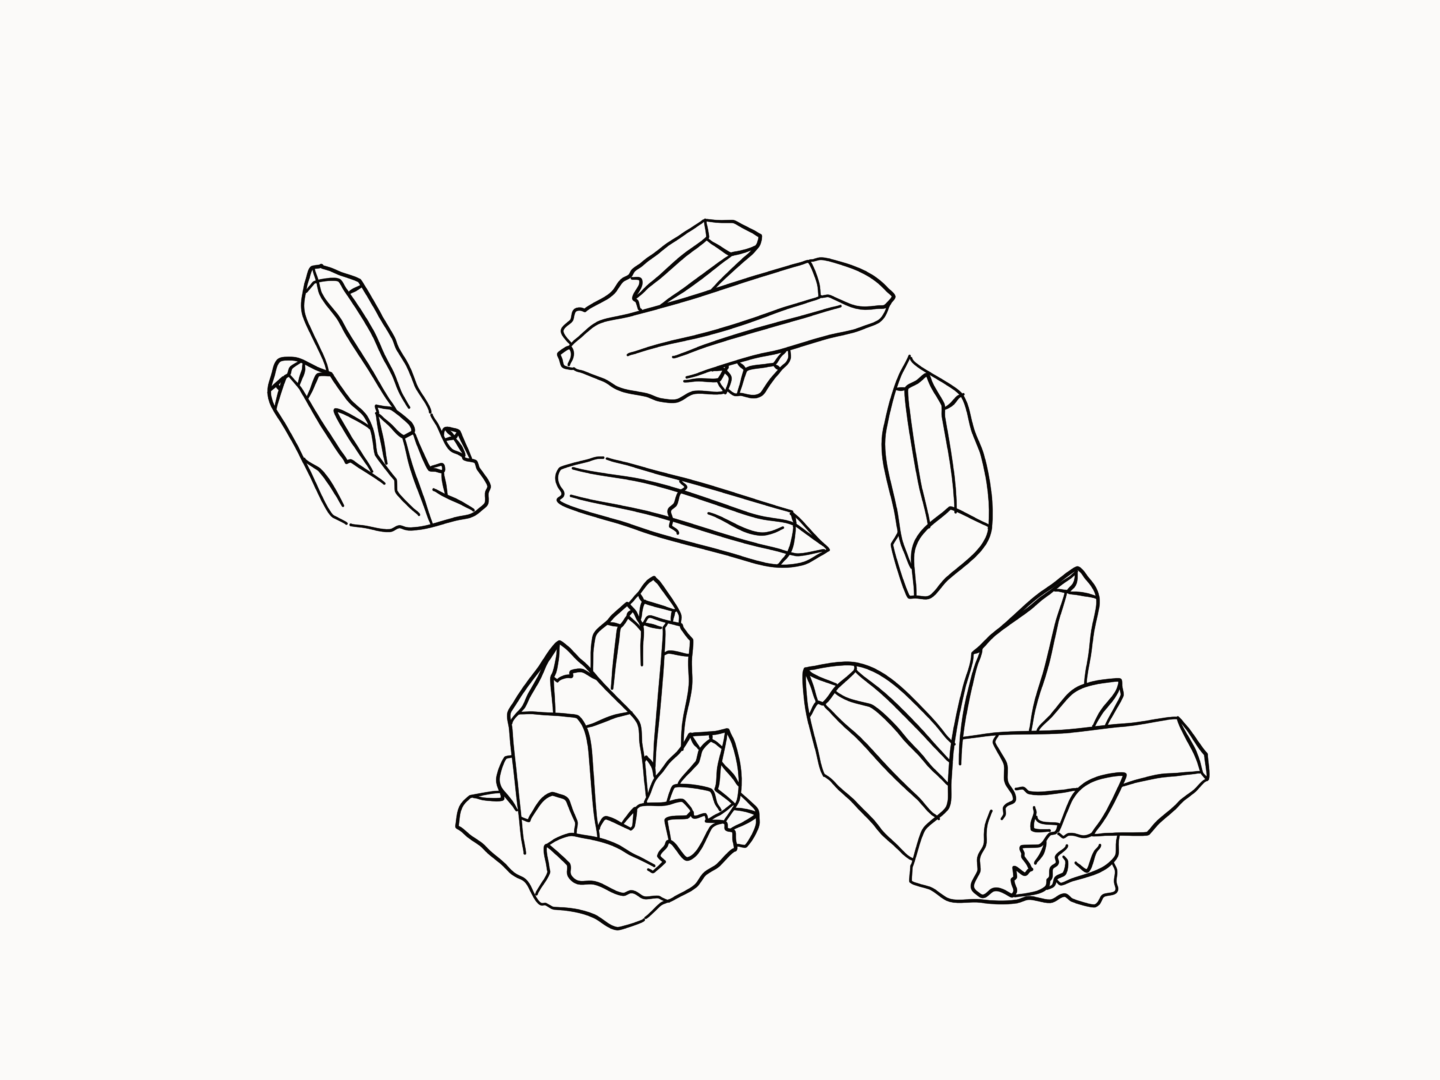
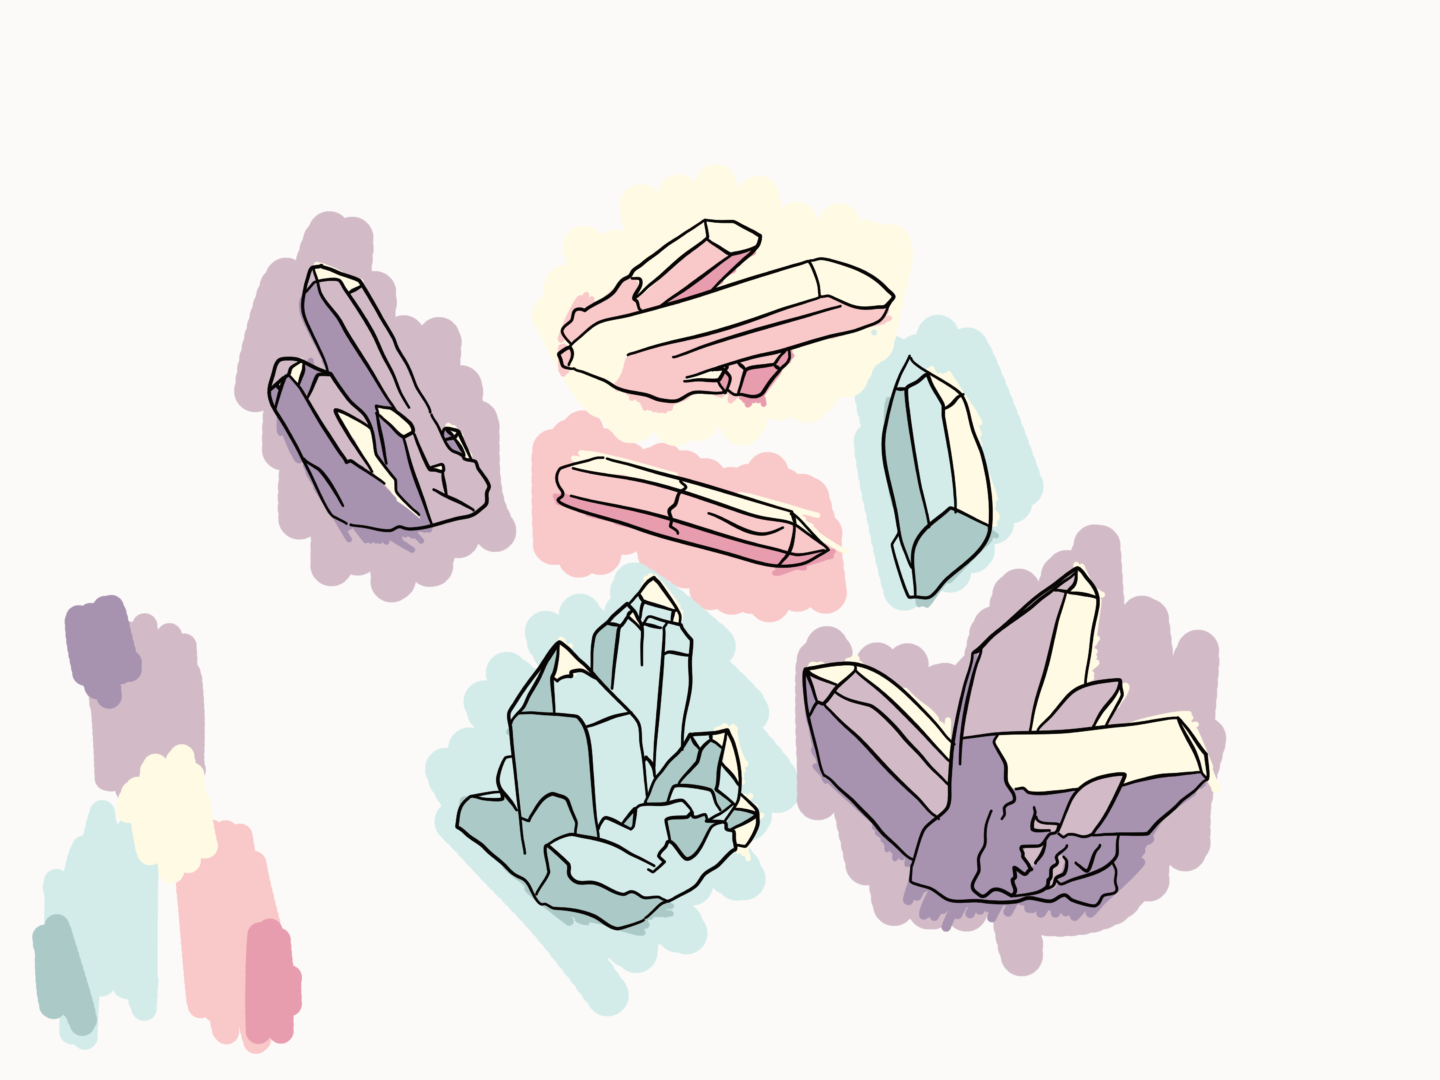
4. Arrange
I then take all of my outlines and arrange them. You can see here I decided to lose one of the sketches I didn’t like. I usually try to vary shape and size of objects that are together. When it comes to my Wednesday patterns I don’t usually put together my patterns “properly” (I have a post all about the best ways to make repeating patterns) instead I try to arrange my outlines into a format that can easily be repeated, more often than not a parallelogram (slanted rectangle).
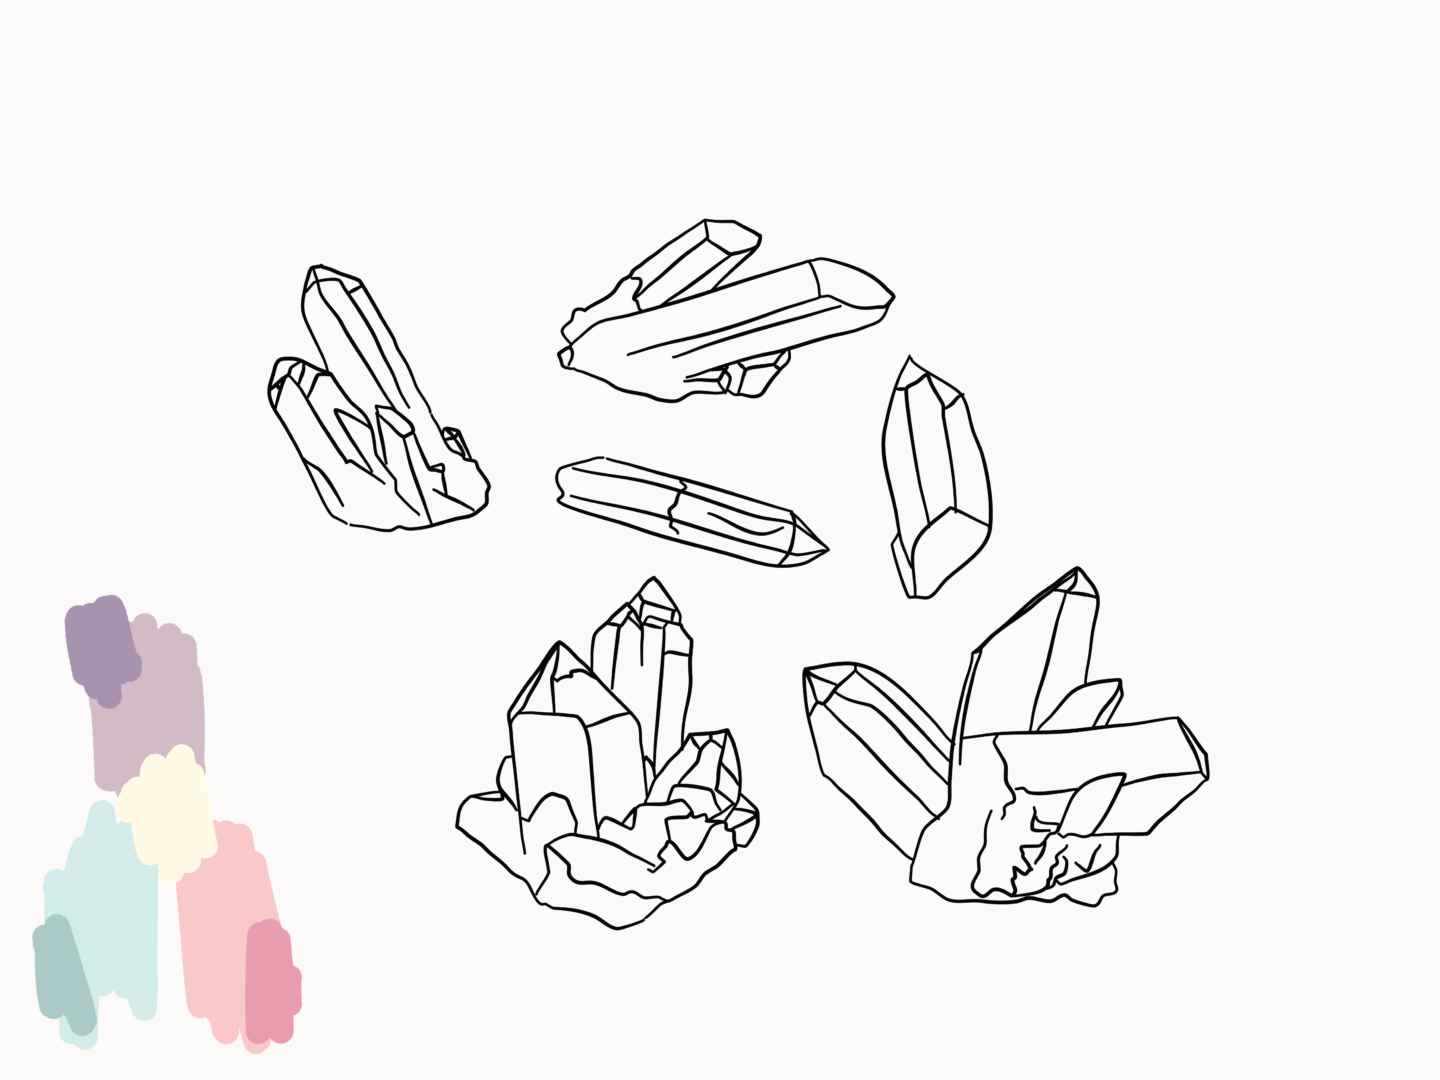
5. Choose a colour palette
This stage could come a lot sooner in the process if you wanted, but I usually wait until I’ve got the outlines sorted before I decide on any colours. I like to pick out 3-4 main colours, including one that’s a little brighter, as well as a few tonal variations as shown above
6. Add the colour
Using the colour palette I’ve just created, I colour in my images. I start by adding a broad sweep of colour to each image, trying to vary which colours are next to each other. Then I add in the more detailed bits of colour, whether that’s highlights, shadows or accents. I don’t worry too much about colouring within the lines as you can see.
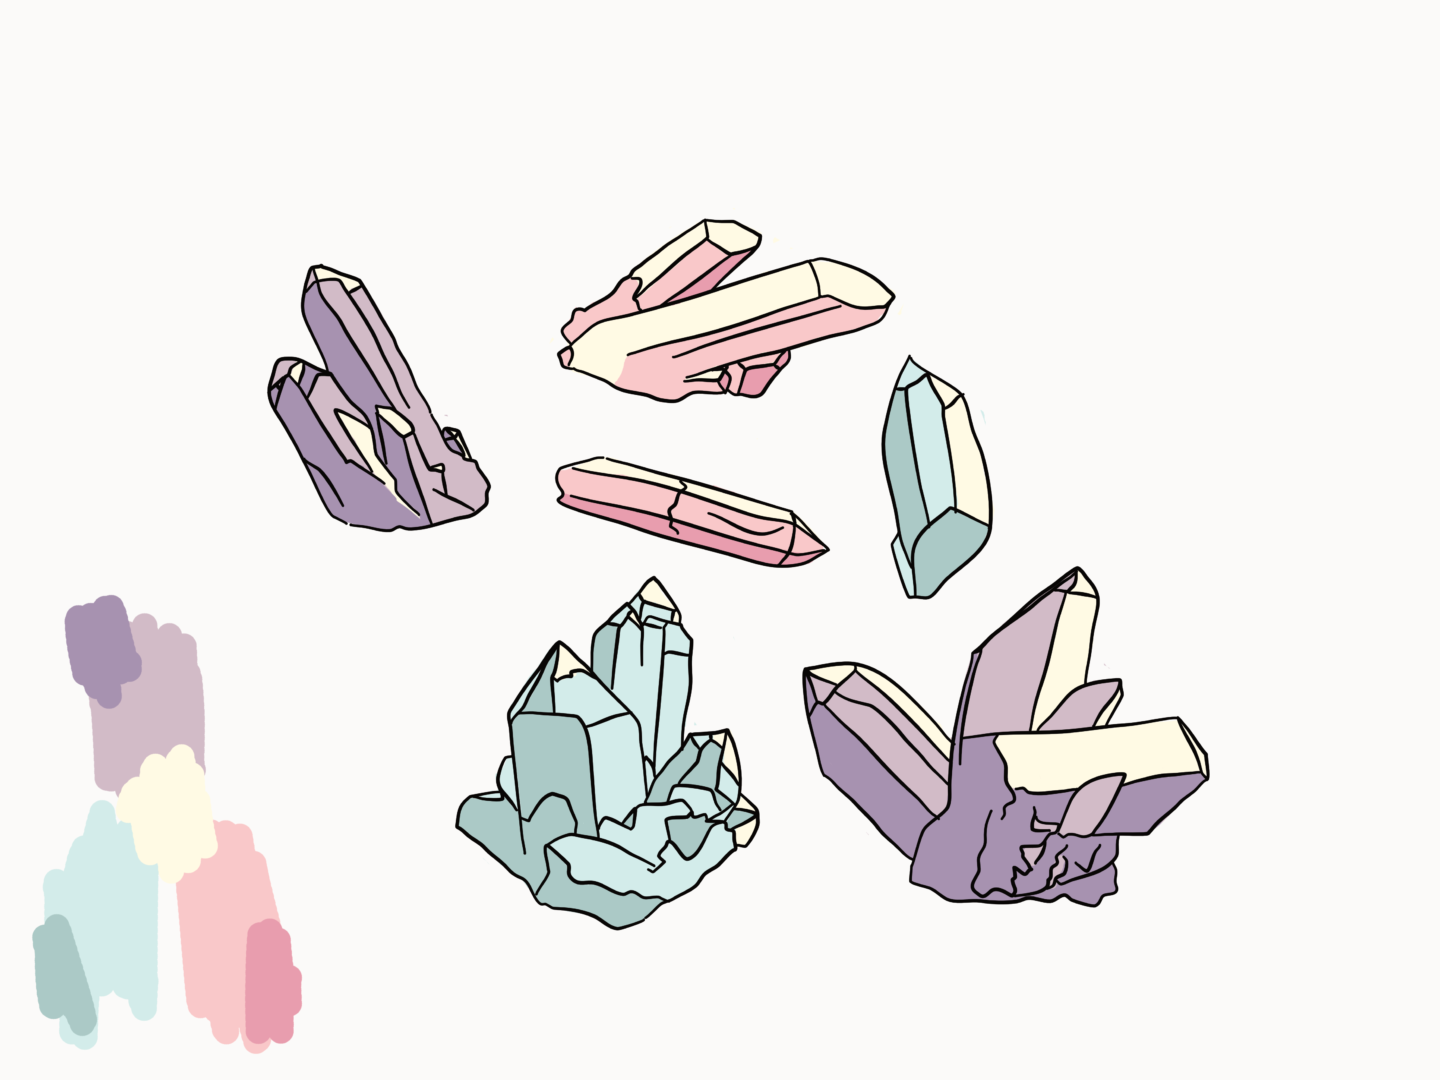
7. Erase
As I said, I don’t worry too much about colouring in the lines in step 6, that’s because I just clean up everything at the end. I erase around all of the edges of the outlines and make sure everything is looking tip top.
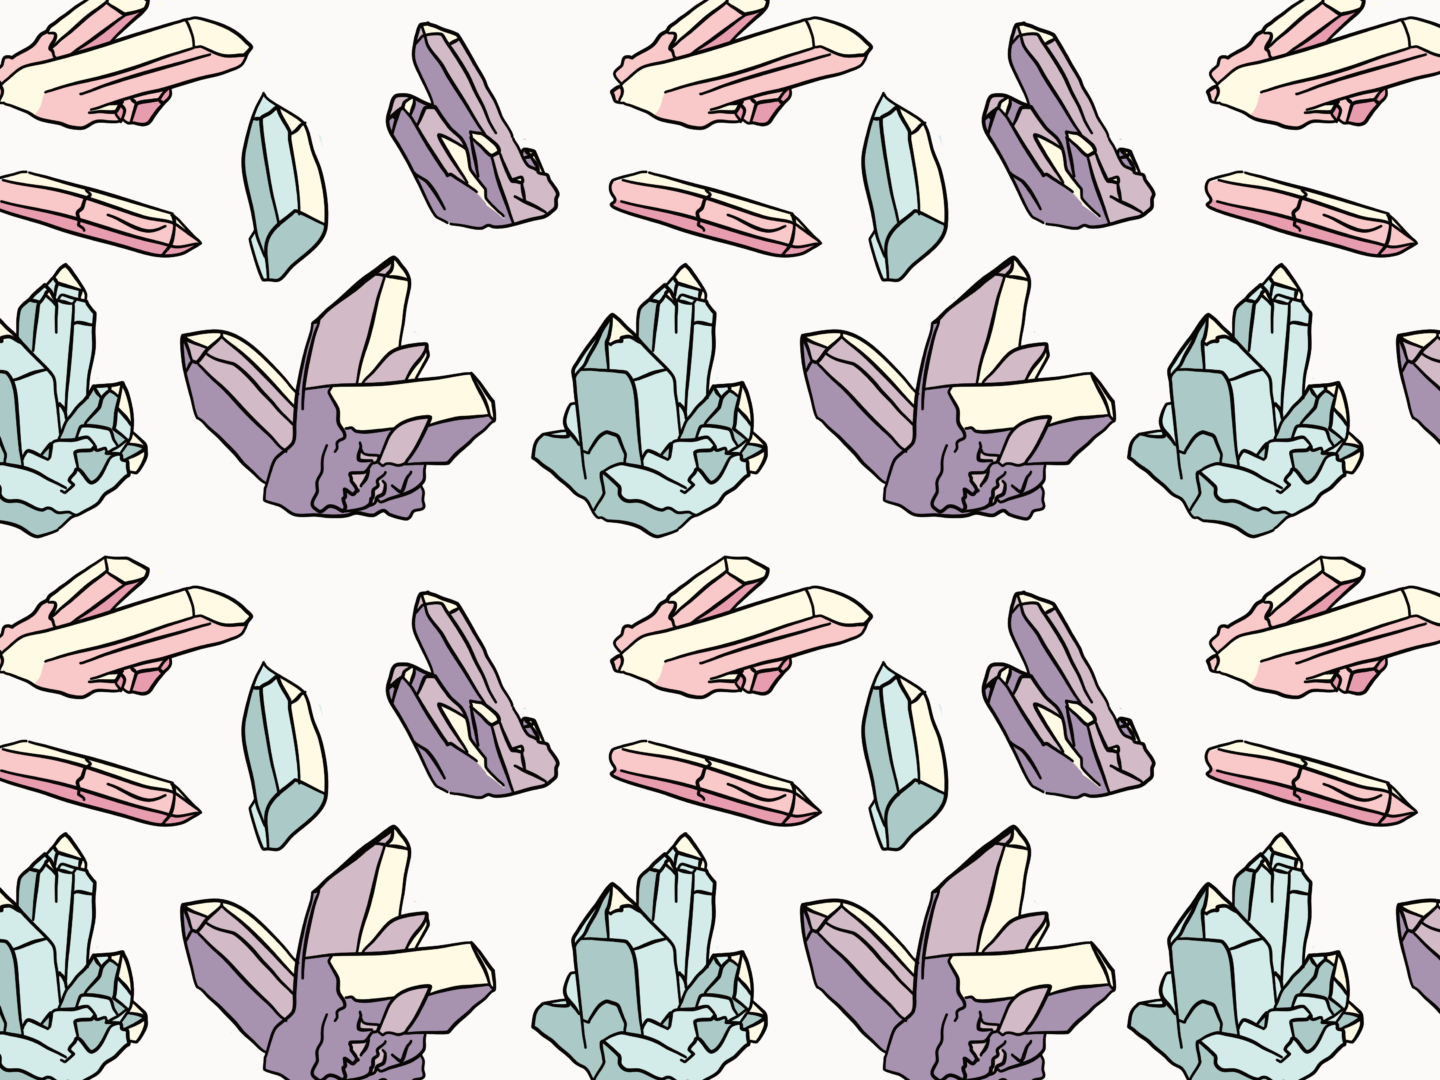
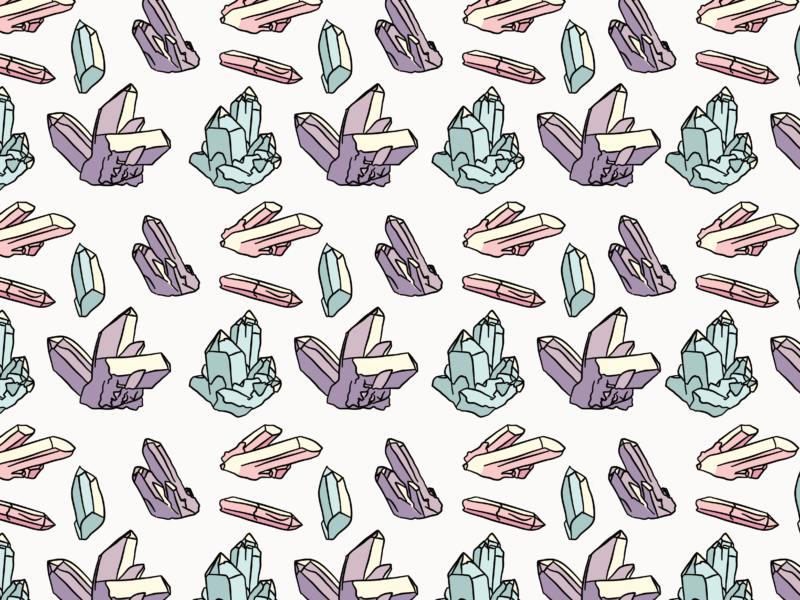
8. Repeat
All that’s left to be done once I’ve cleaned up the colouring is to regroup everything and then repeat the illustrations to make a pattern. Occasionally, I need to do a few tweaks at this stage either to fill in gaps or to vary up the arrangement, but more often than not this is all I do.So, that’s how I make my Wednesday patterns. If you give this a go yourself, please do let me know and share your images I’d love to see some more fun patterns out in the world!

Thanks for sharing, really helpful to see the different stages and your thought process!
Thanks Melanie! It was really interesting to break it out into stages because it’s normally something that just happens!