After a year of intermittent lockdowns, I’m missing doing research in person. While we’ve taken our work online and working remotely has allowed me to do research and design more easily with groups of people I mightn’t have otherwise got to collaborate with at scale, there’s something about seeing people in their natural environment that can’t be replicated.

You can learn so much by taking the time to really observe new surroundings and it adds so much context when you’re doing design research. I’ve gathered as much insight from watching how people move about their offices, the papers they keep to hand and things they choose to display as I have watching how they navigate the service I’m researching. 

Observation is a muscle. Just like every other muscle you have to train it and learn how to use it. I was worried that, just like every other muscle in my body, that it was going to get a little flabby over the months. So I’ve put myself into a training regime on my evening walks and park visits. 

I’m taking the things I used to do when I was just starting out and shadowing to train my eye and now trying to apply them not to user research but to making sure I get the most out of the tiny adventures I can still have. Oh and so that I come home confident I’ve seen every dog I can possibly see. 

It’s not only helped me reconnect with a part of my work I enjoy it’s also helped me find new inspiration and feel more connected to my environment.

These are a few of the exercises that are in my observational work out.

Before you start, put your phone down. That should be obvious. Make sure it’s on silent. We’re going for the full observational cinematic experience here.

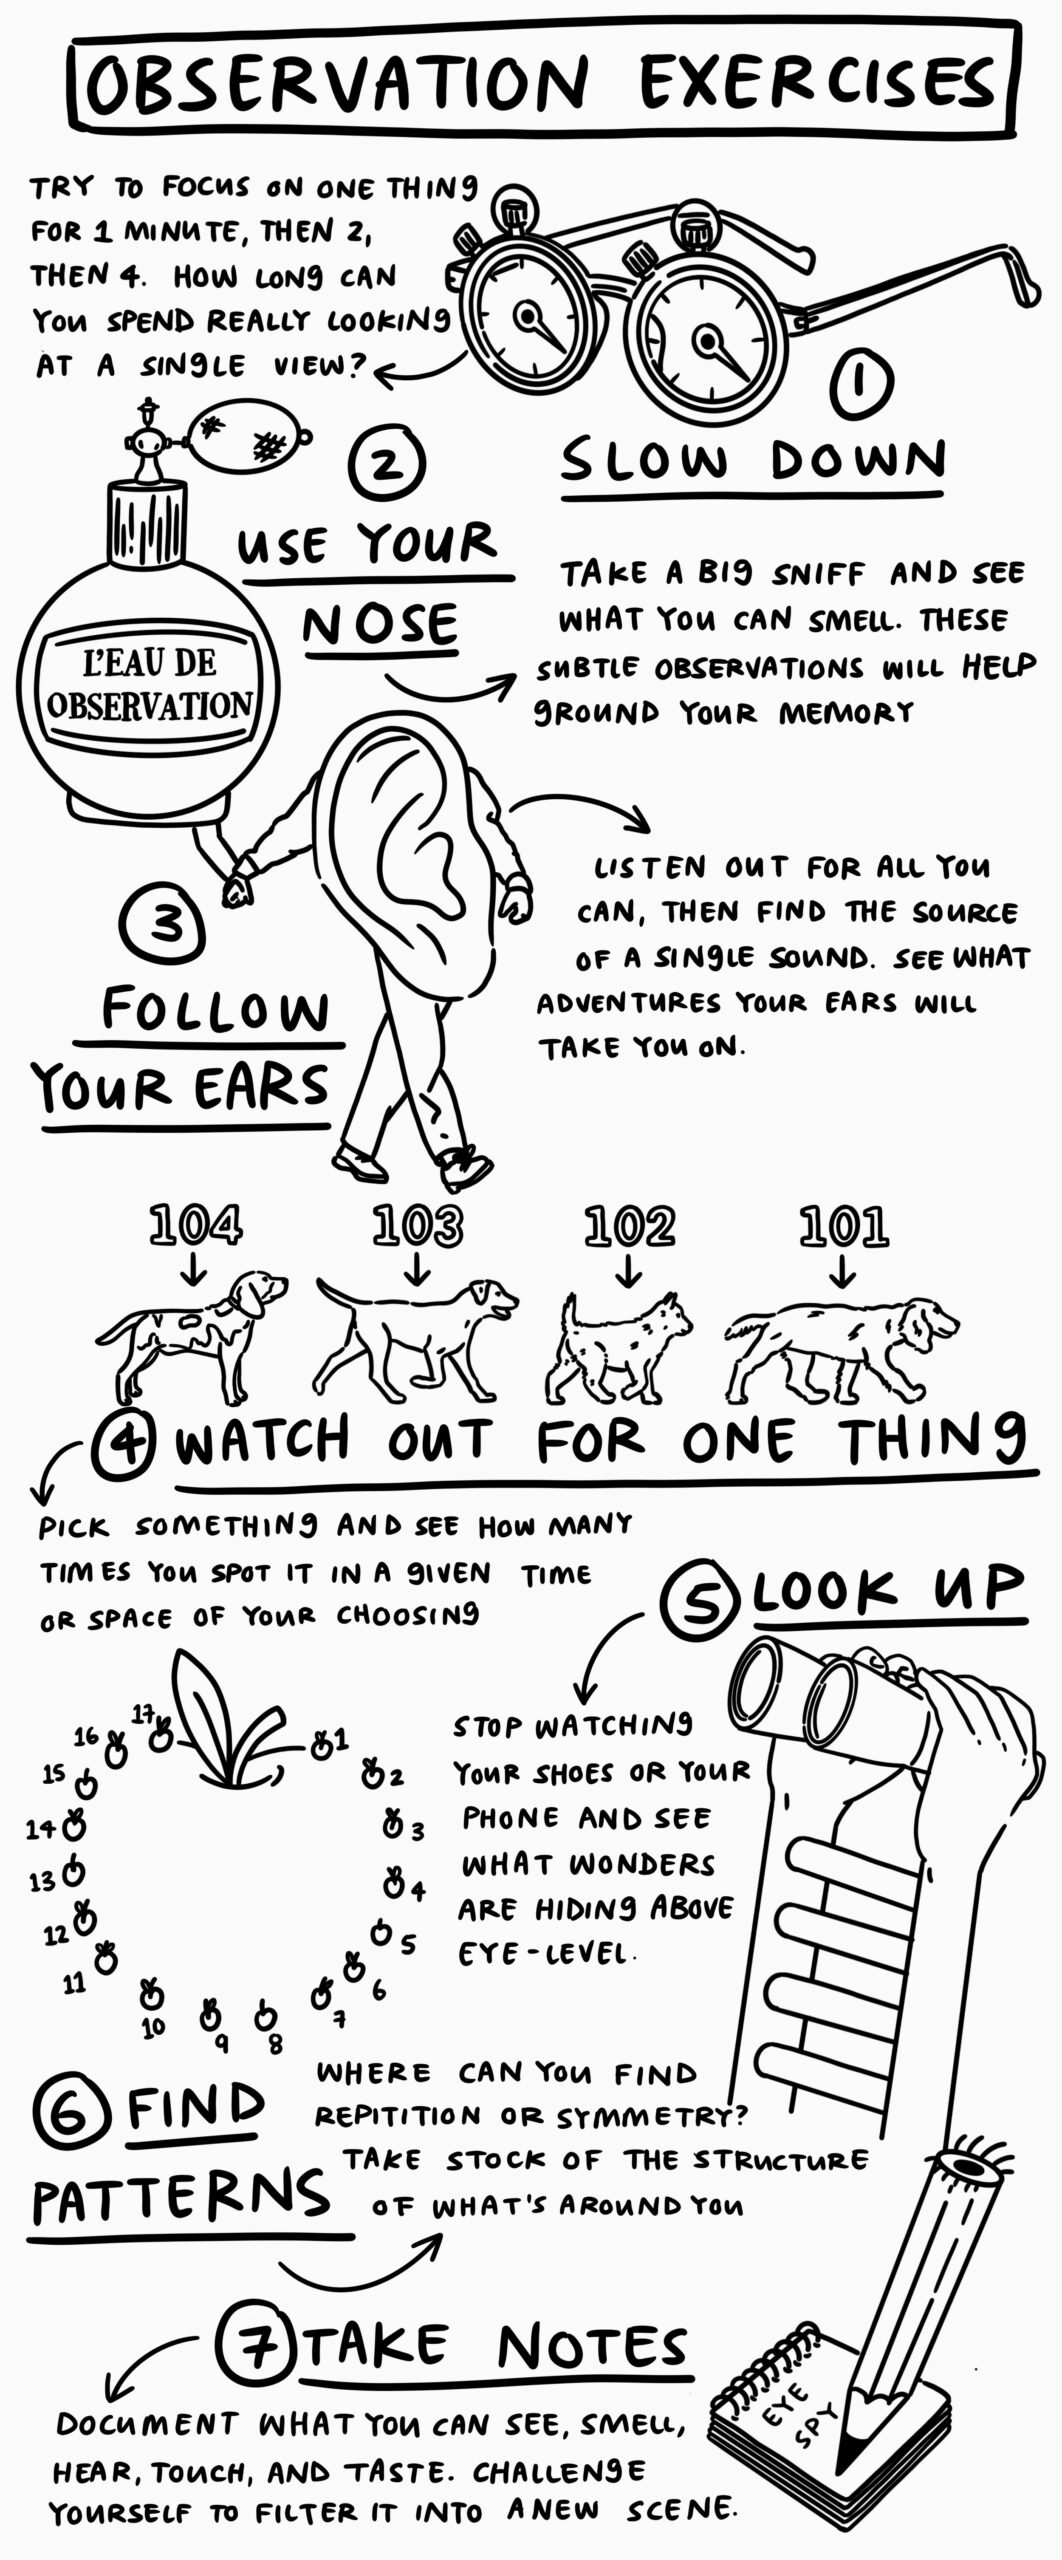
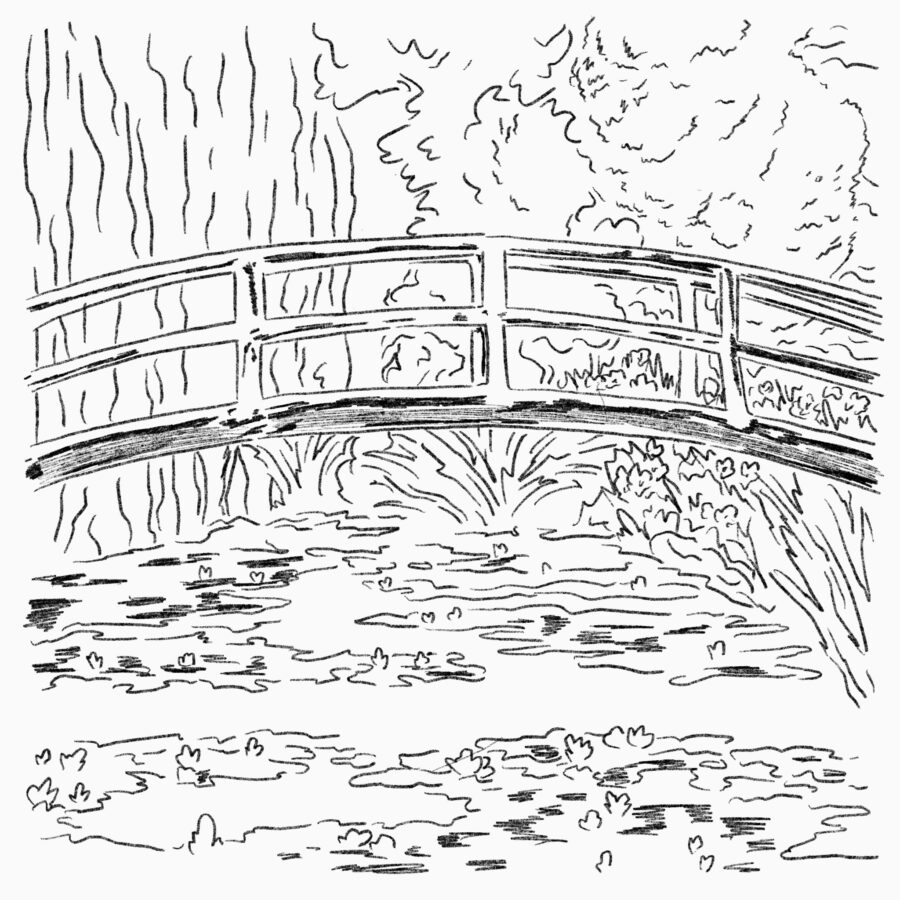
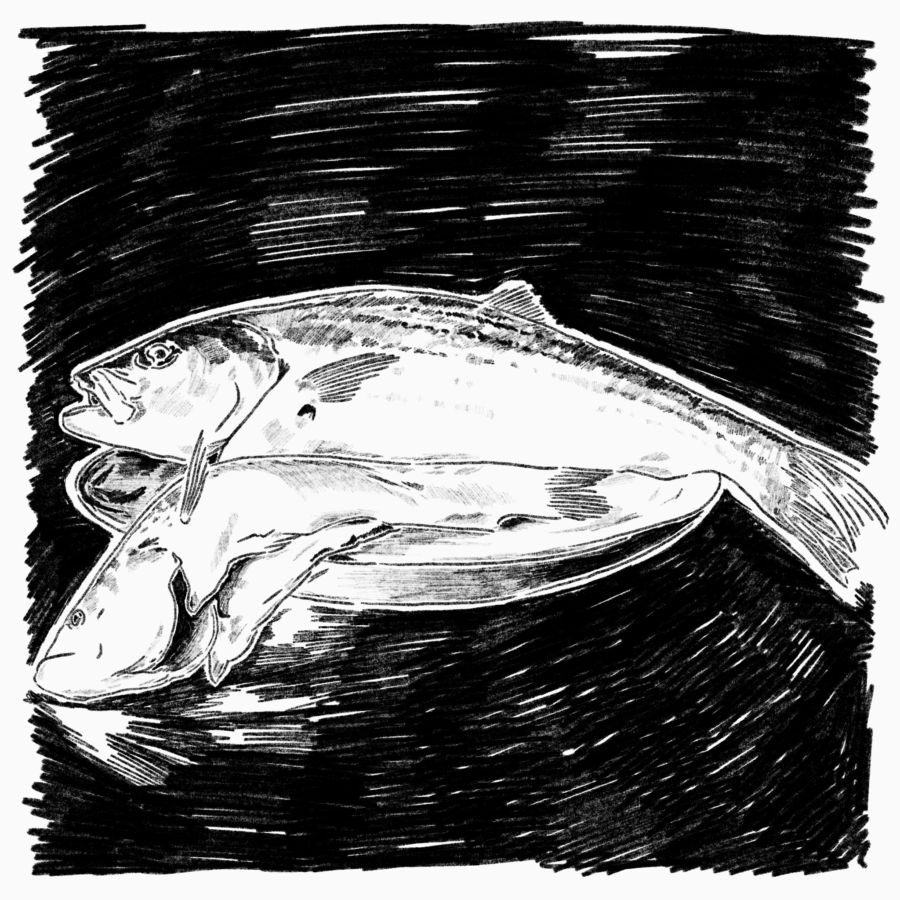
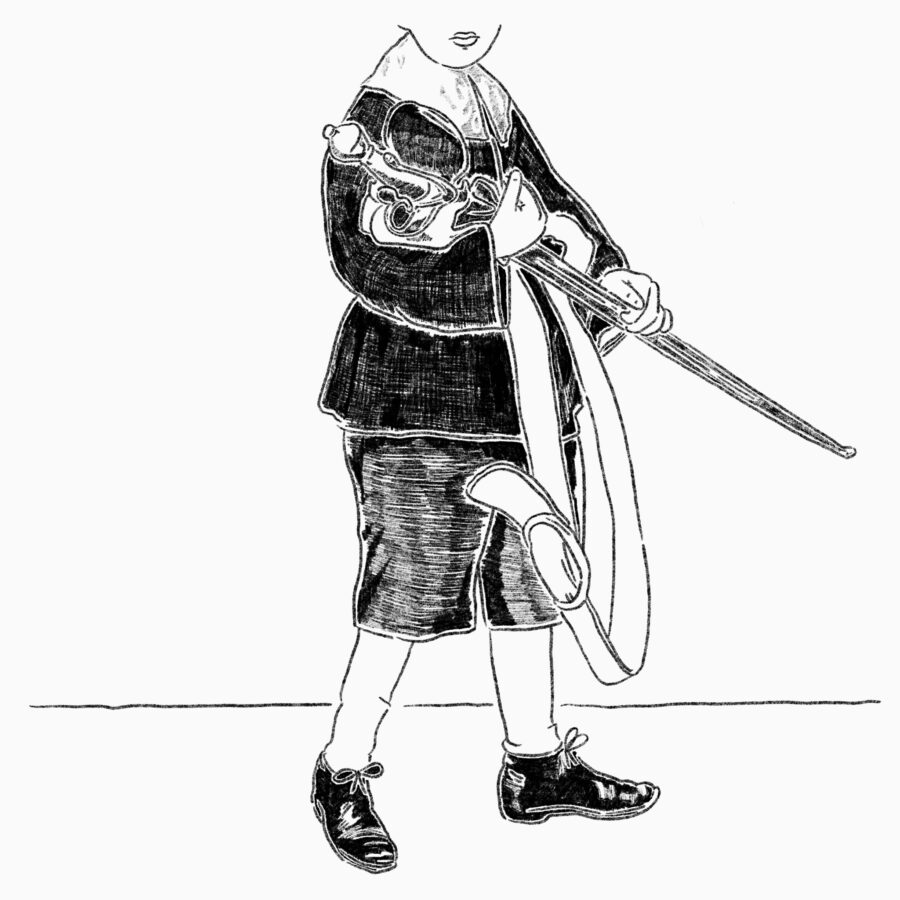
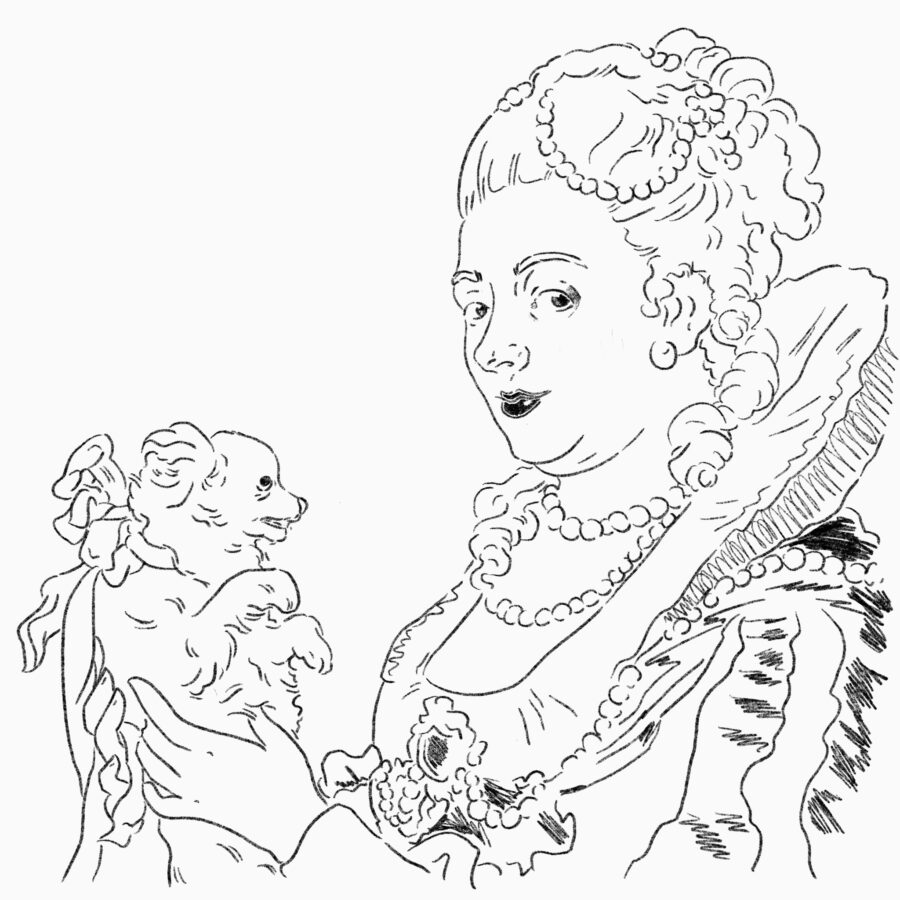
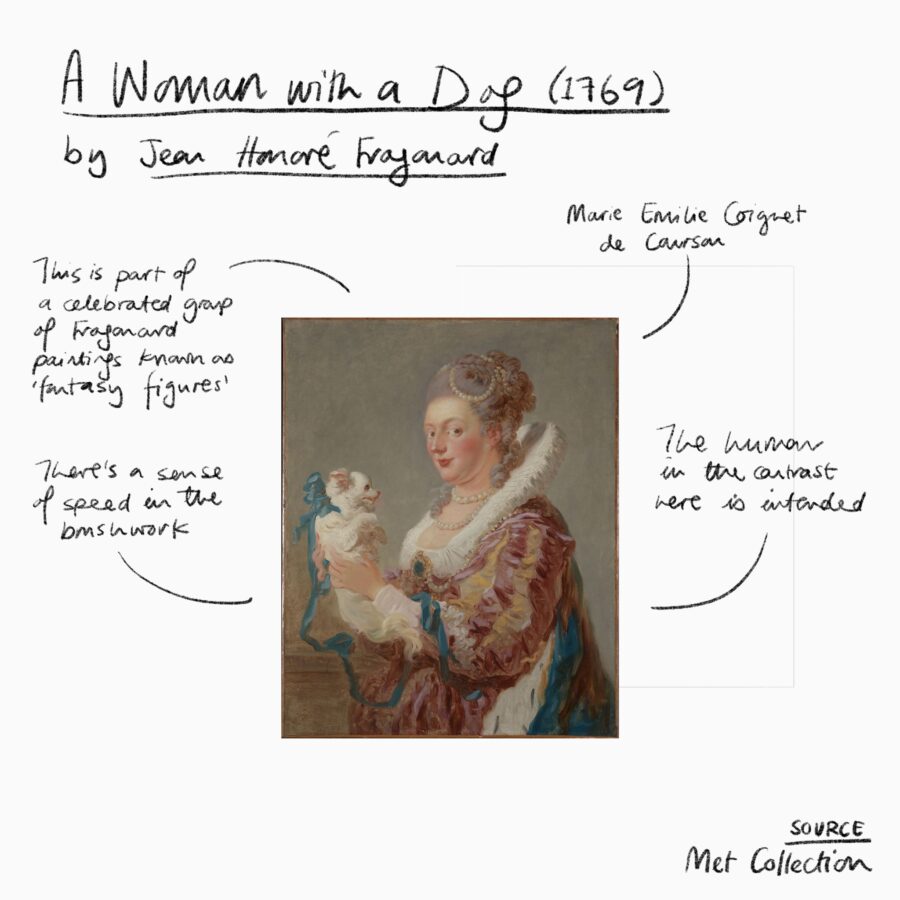
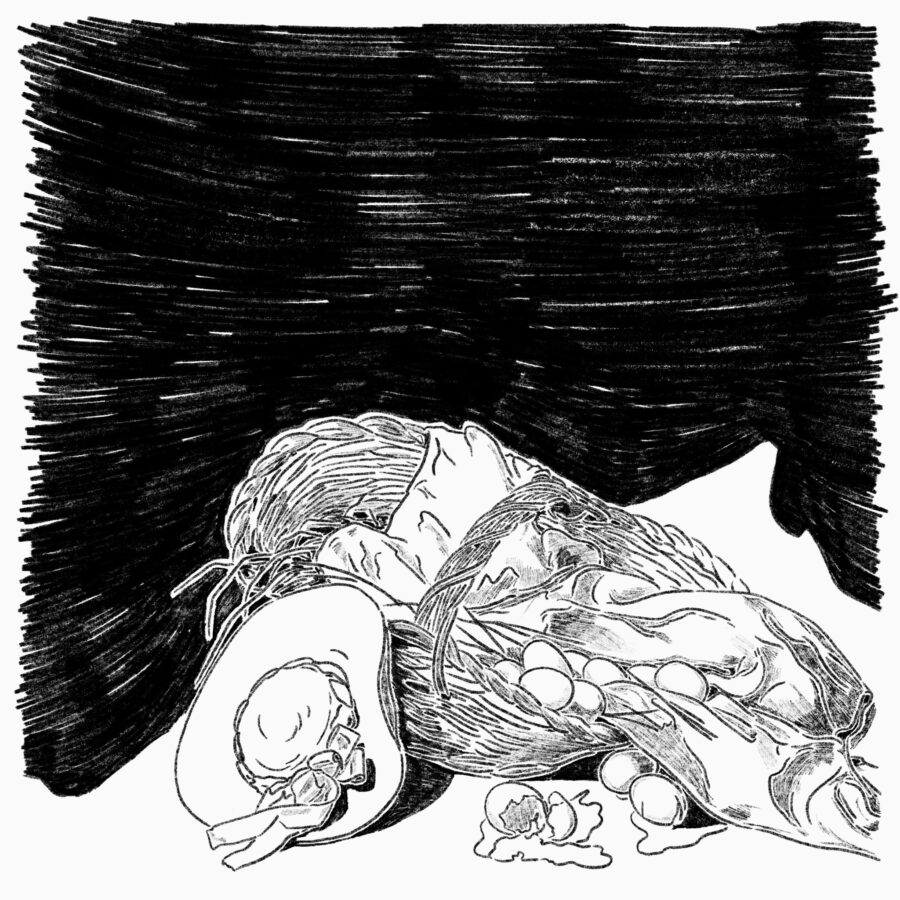
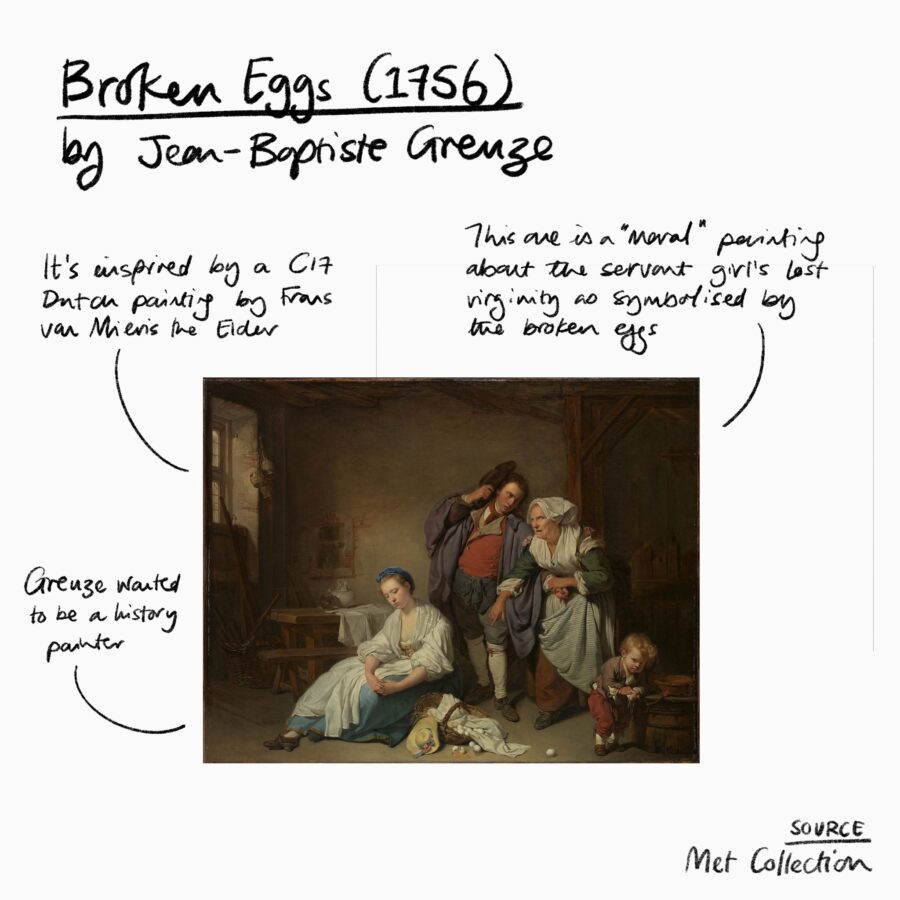
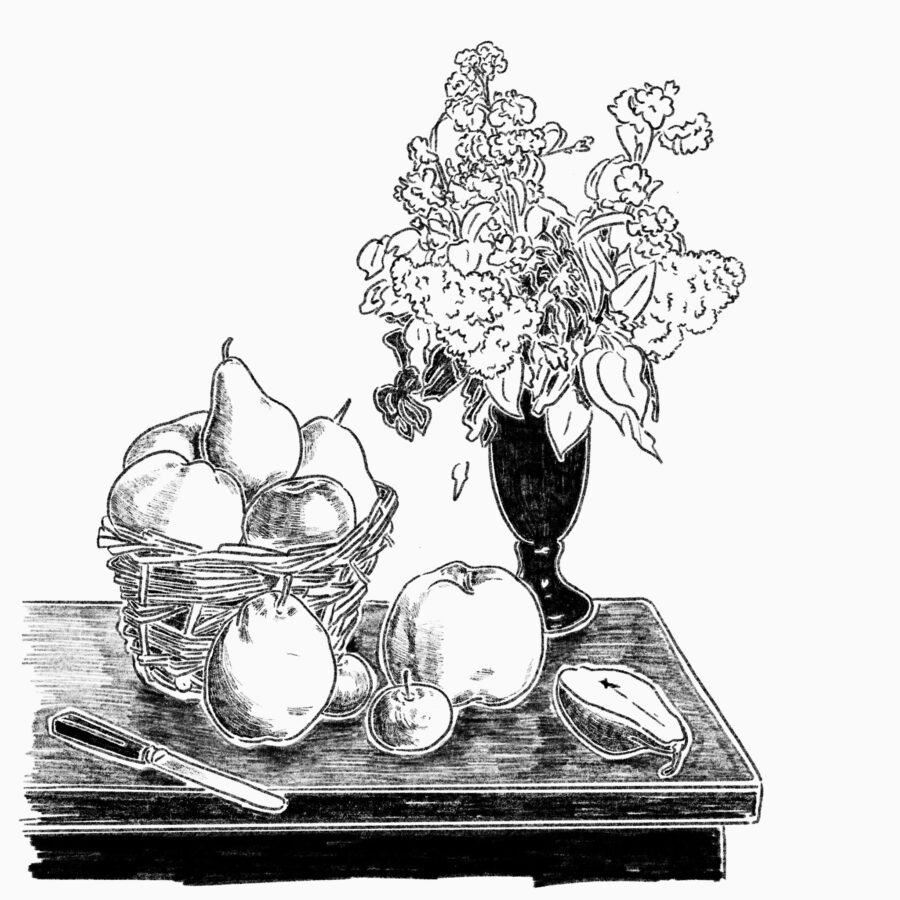
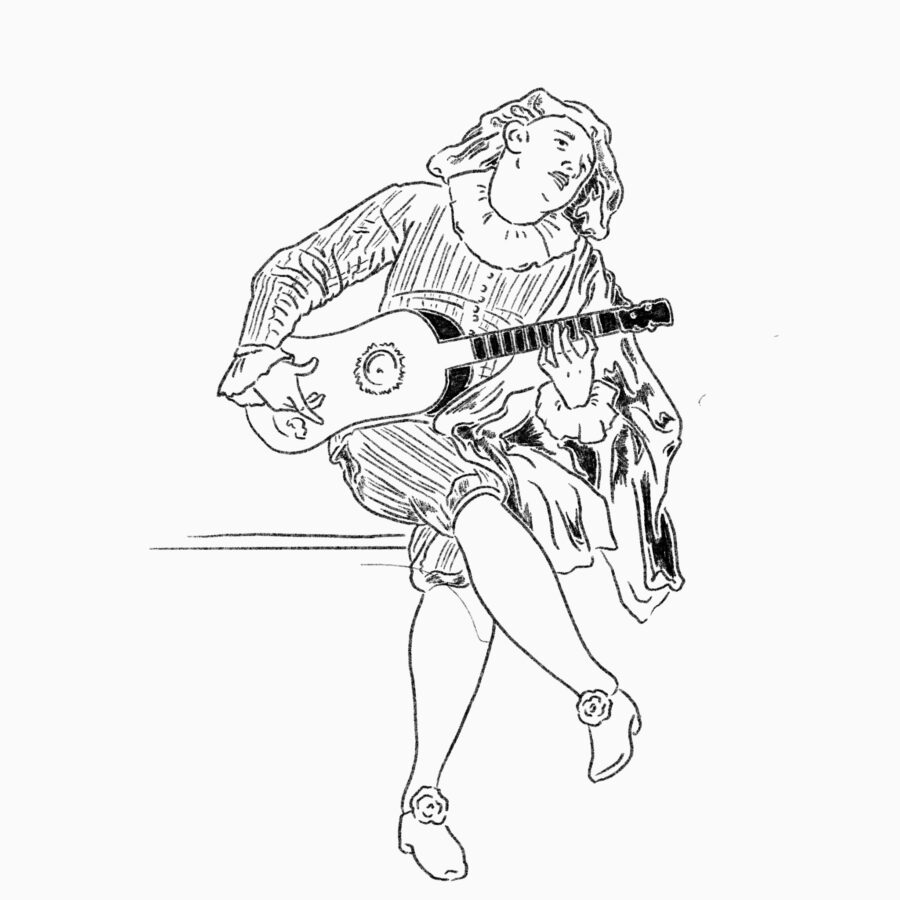
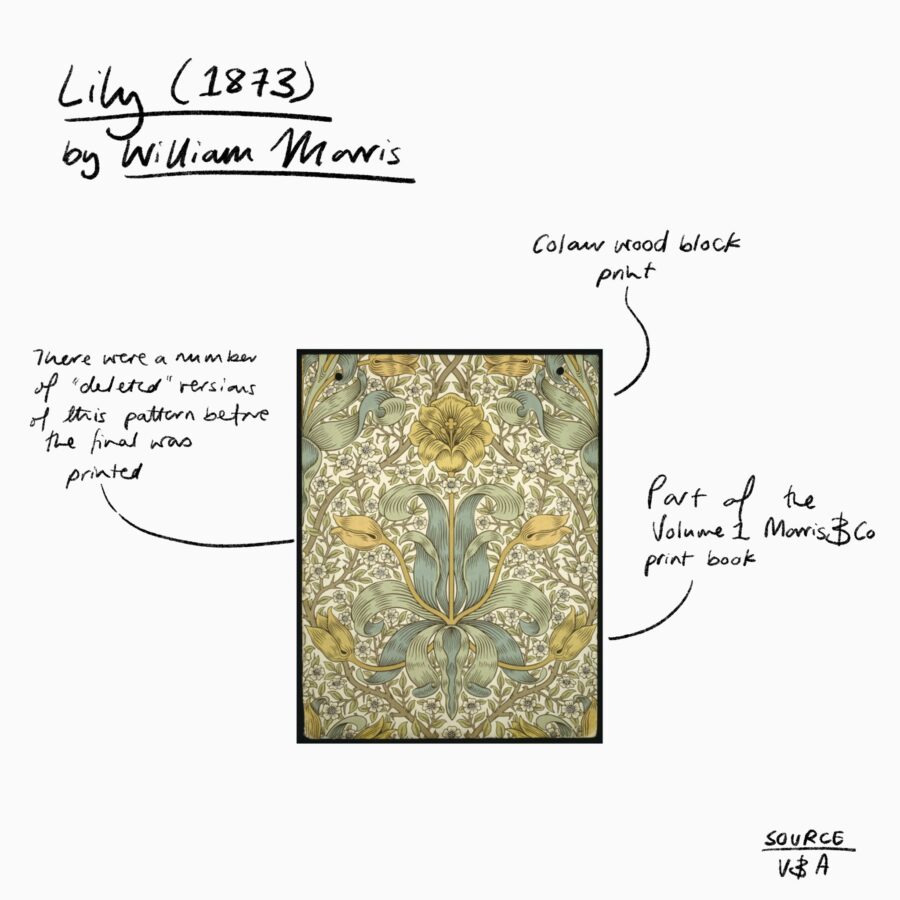
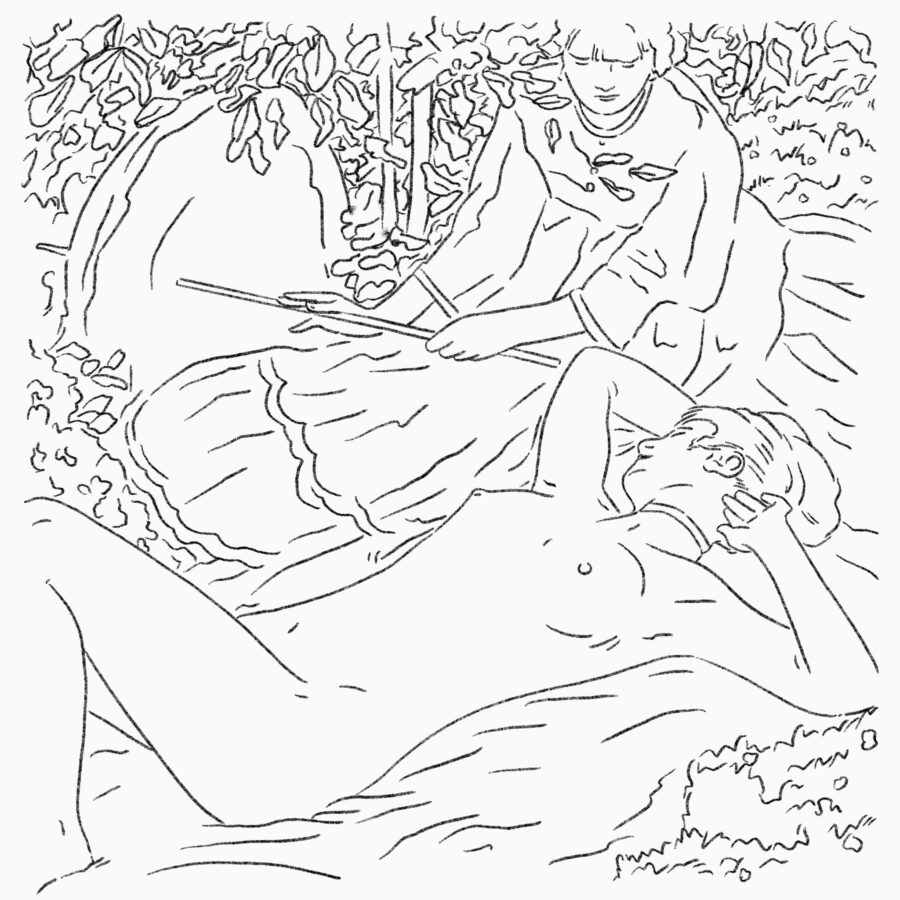
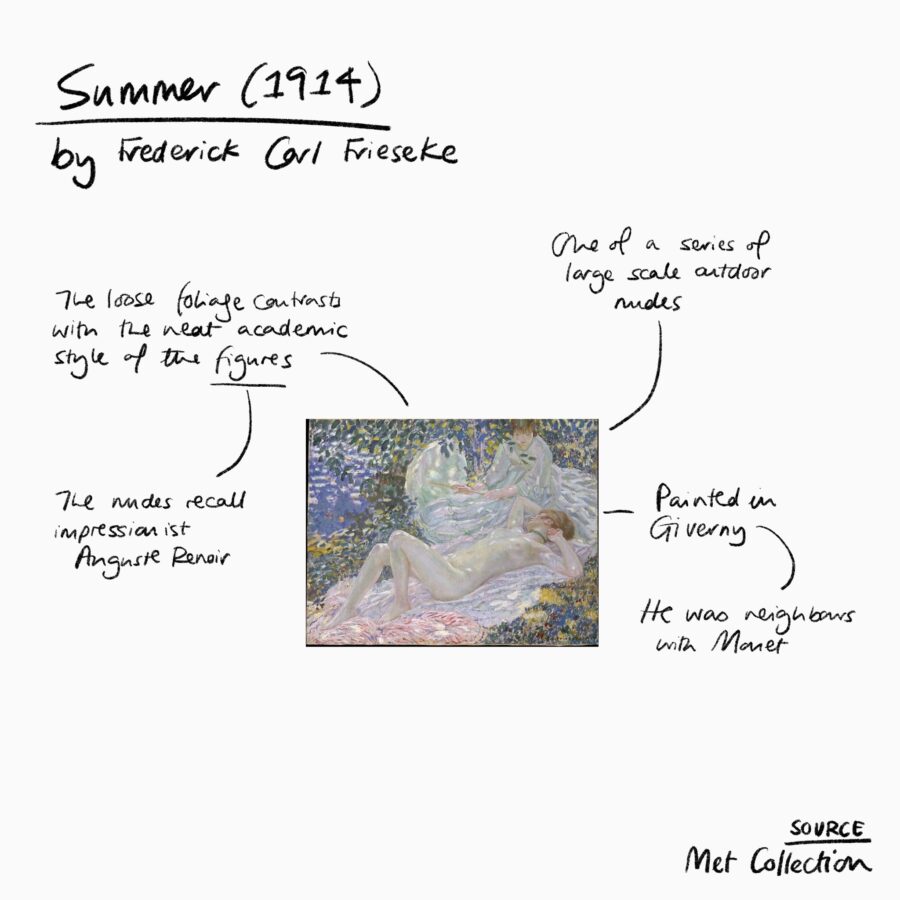
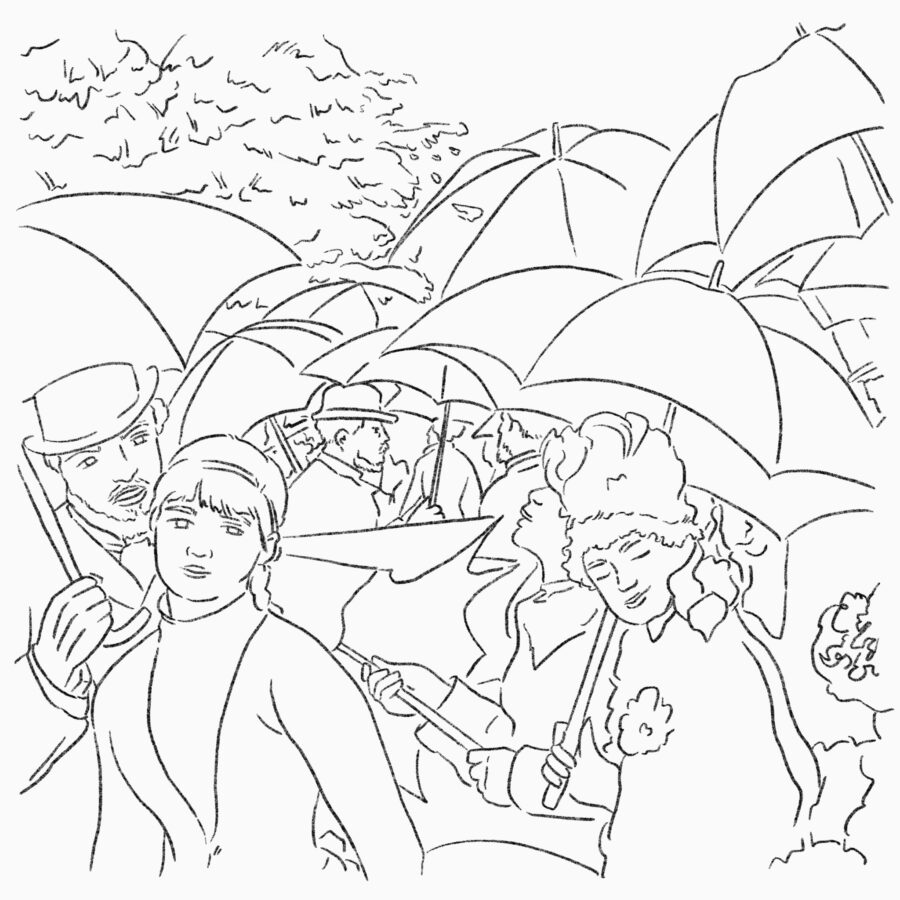
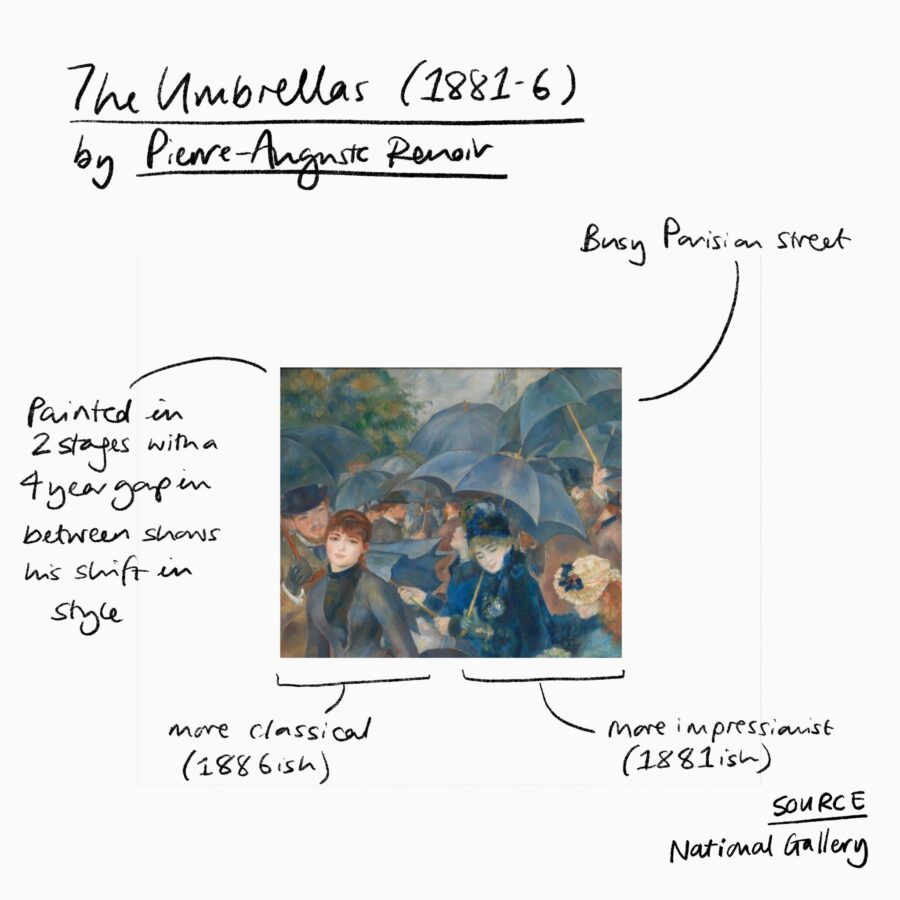
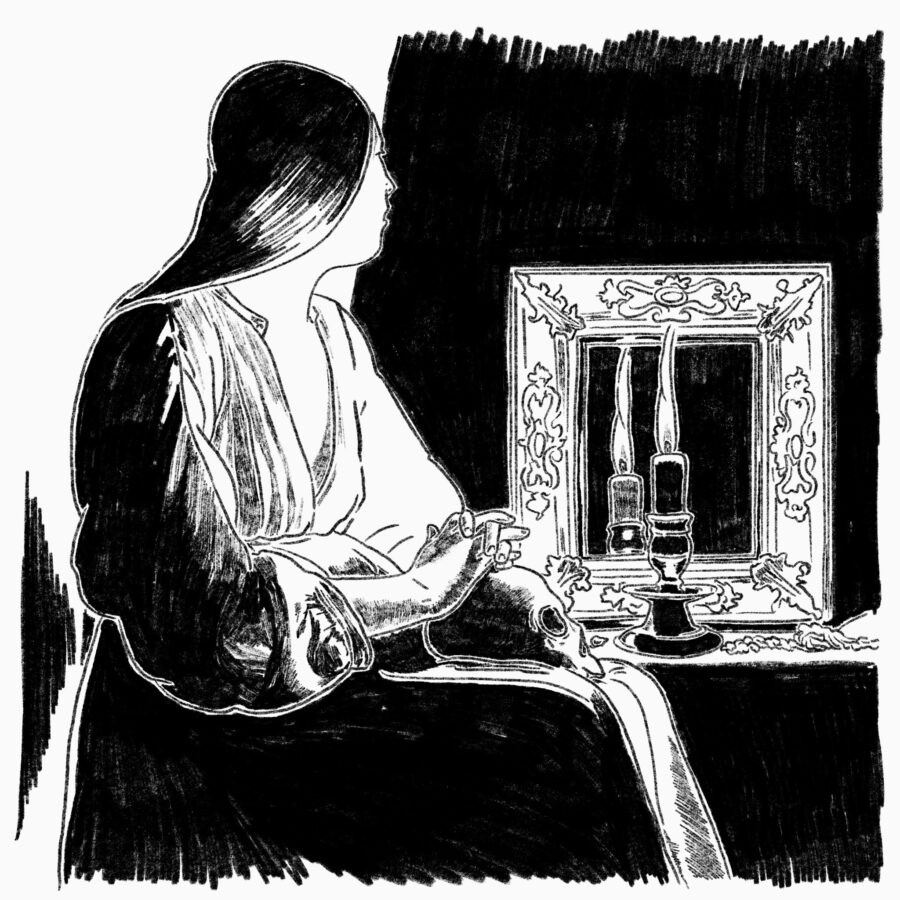
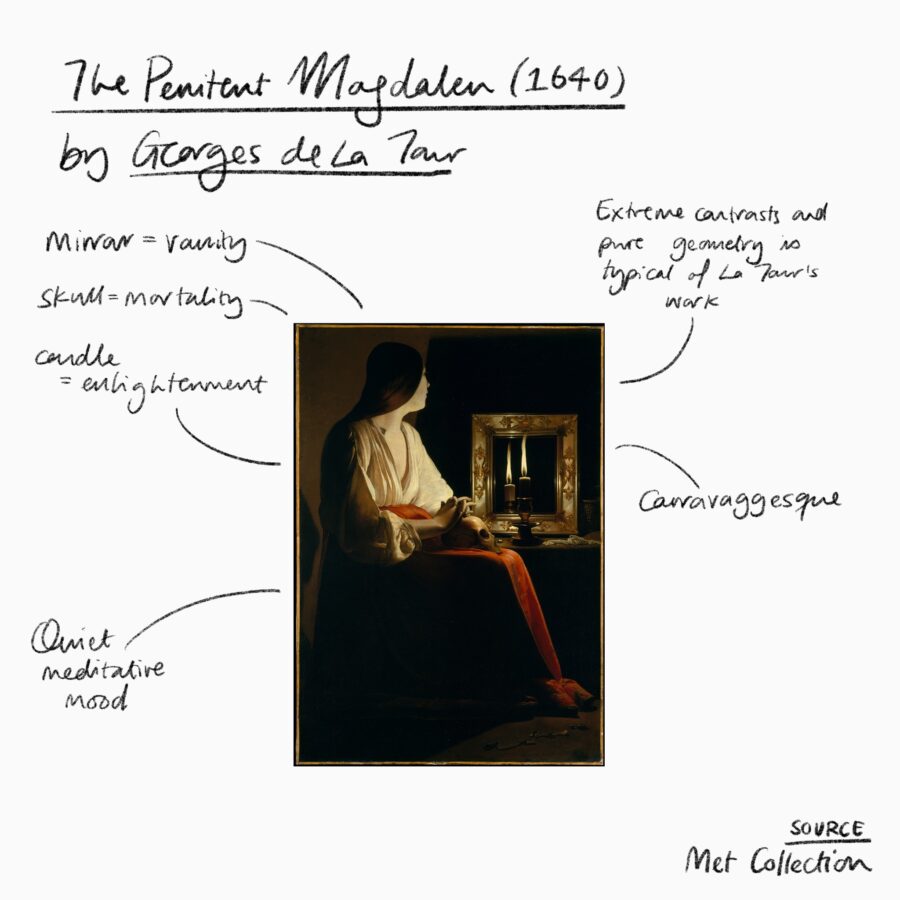
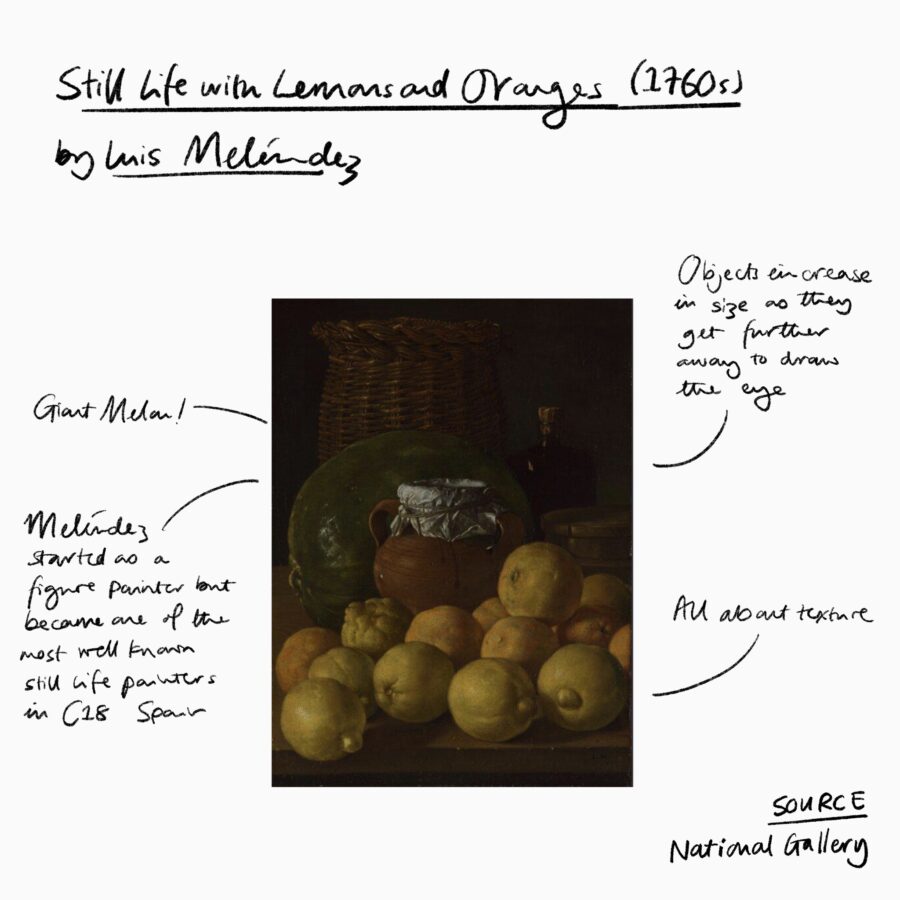
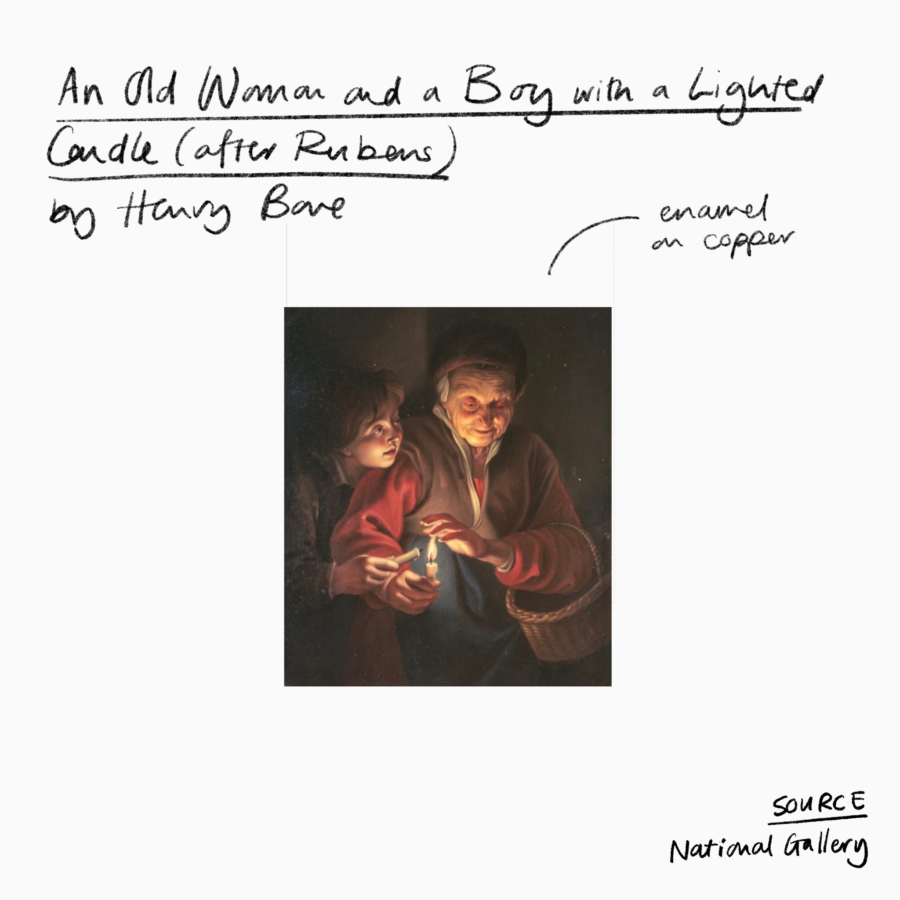
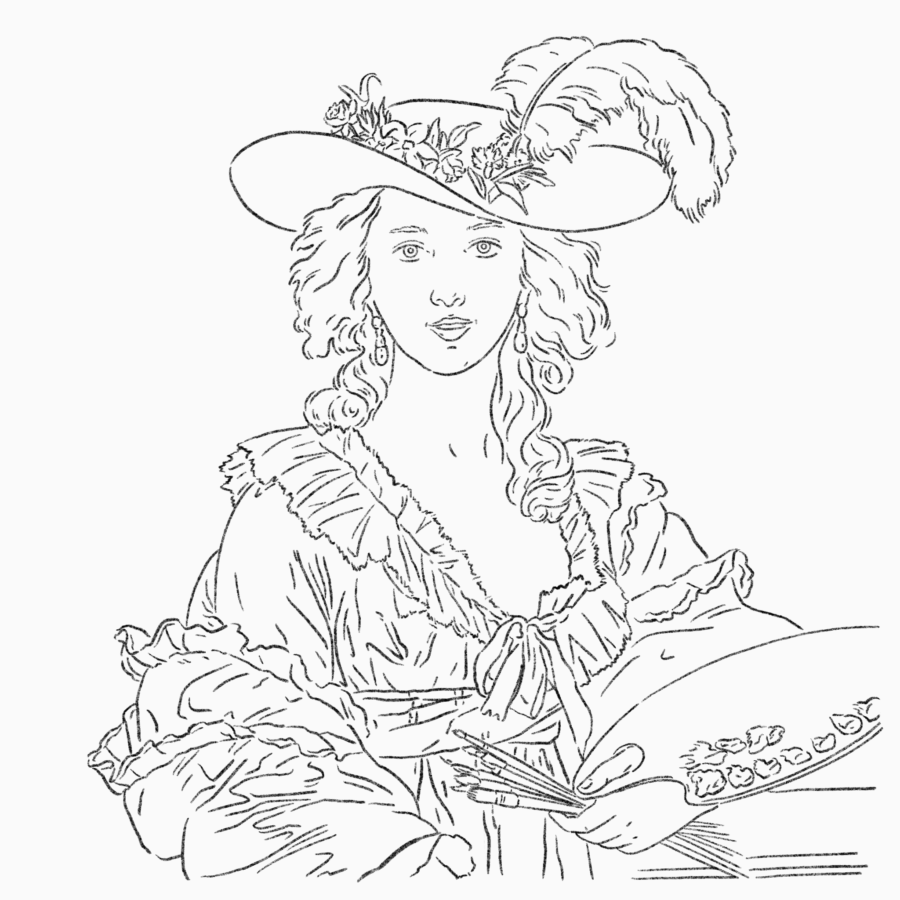
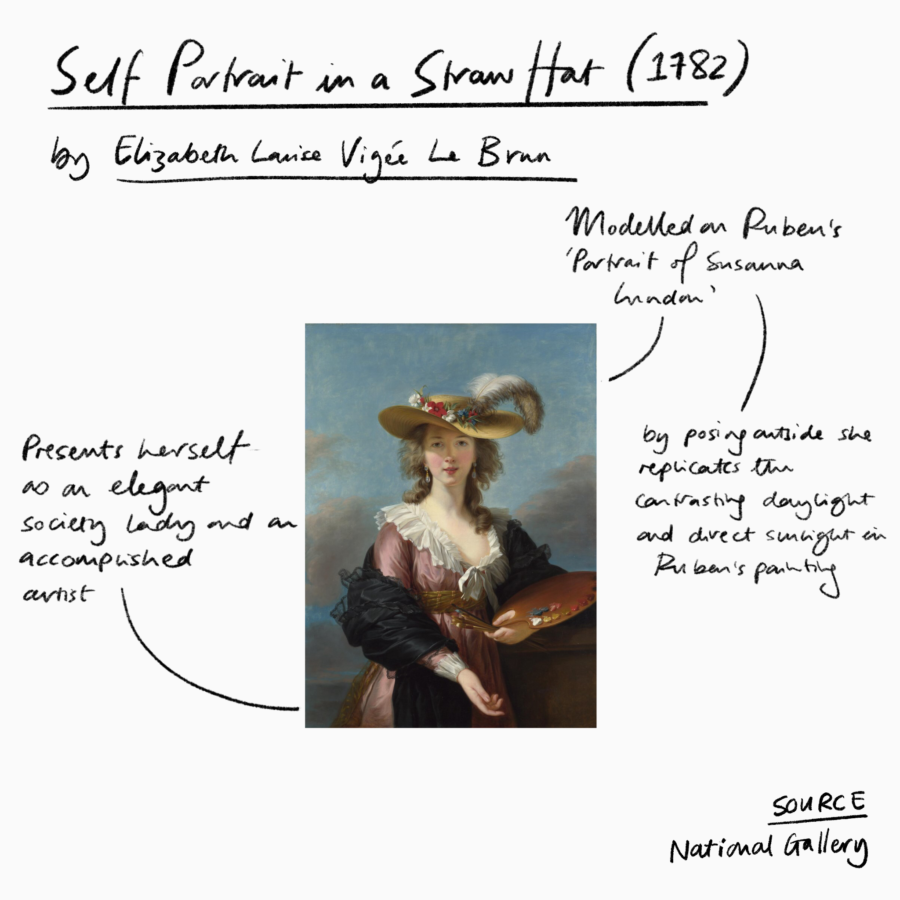
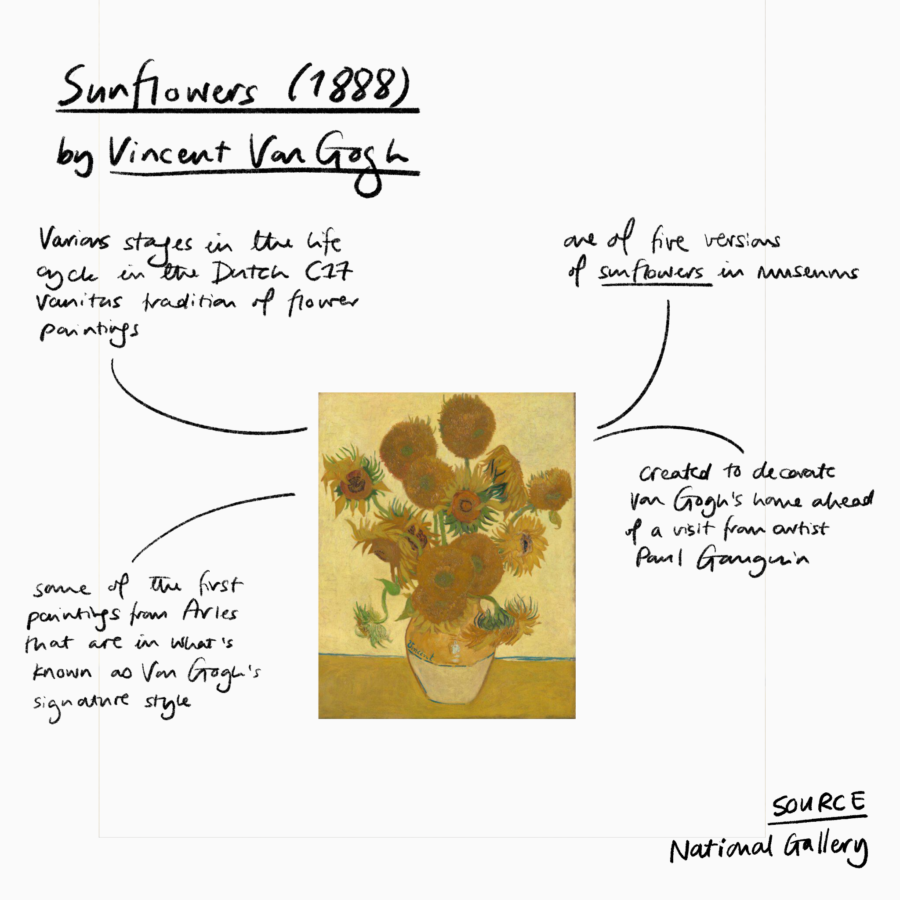
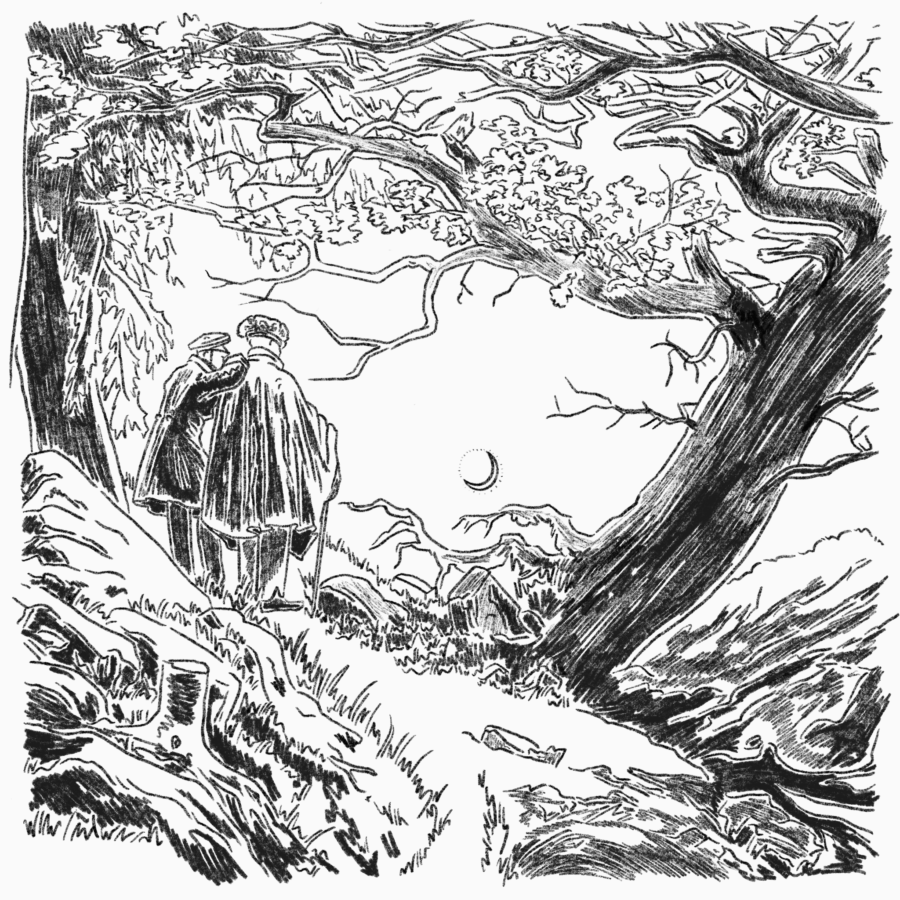
  1. Slow down – I wrote about the power of slowing down in museums a while ago and I loved to spend a whole lunch break with a single painting at the national gallery back when I was in an office nearby. When I’m researching I try to apply the same focus to busy areas, like book cases, and body language. Try to really look at one thing for a whole minute, then two, then four. See how long you can really spend with something and you’ll find so much more than you would have at first glance.
  2. Use your nose – wake up and smell the coffee, or the roses, or the fish and chip shop down the road. Take a big breath and really focus on what you can smell. Smells often give you much more subtle observations but they’re ones that really stay with you because your olfactory memory is particularly strong. 
  3. Follow your ears – we mainly rely on our eyes for observation. Why wouldn’t we? They’re a great primary source of information. But if you can follow your ears you might find something your eyes would miss. I find this one particularly good outside or in busier places, because there’s more to hear, but it’s a great challenge in quieter locales too. Take a moment to hear all you can hear and then try to follow a sound to its source. Take a little audio adventure. 
  4. Pick one thing – this is based on one of my favourite childhood games, “how many red cars can you see?” If you dedicate yourself to spotting one thing be that red cars, digital aids, or dogs you’ll start to see them everywhere. This isn’t how you should go about all of your observation, but it’s a great way to start to change your perception of what’s around you.
  5. Look up – we went on a walking tour of my home town as part of a school history project when I was 9 or 10 and the guide told us to look up. That one instruction did more to shape how I view the world than the whole rest of that project (which I can’t remember at all). When we’re walking we’re usually looking down, at our shoes or our phones. So we often miss the things that are above eye line, whether we’re inside or outside. Spend some time looking up and you won’t regret it, as long as you’re standing still because, speaking from experience, you might regret tripping over your own feet.
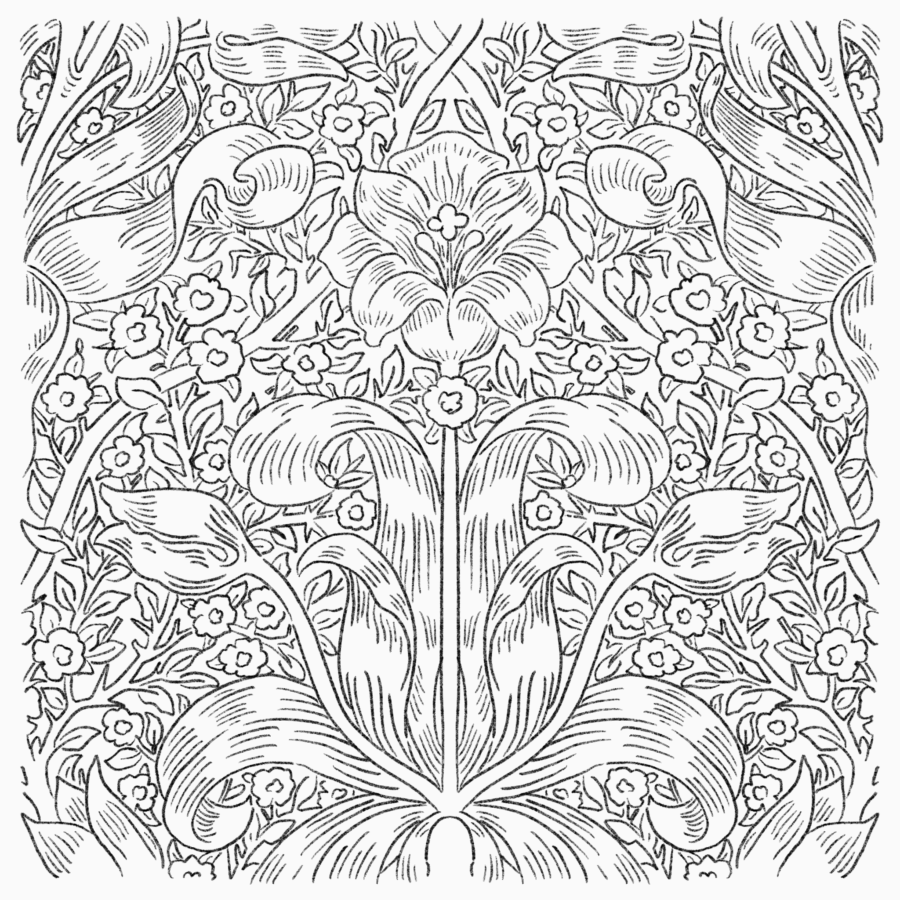
  6. Check for patterns – this is another one I learned in art class and then applied to my research, because looking for patterns is universal. When I’m looking at an artwork or a piece of literature, I’m always looking for composition. What’s been repeated? How are things structured in twos or threes? Where is there symmetry? Where is there not? While you’re unlikely to get perfect fibonacci sequences of mug placement, you can always spot patterns in nature and in movement.
  7. Take notes – if you’ve read anything on my blog before you know I’m a big fan of note taking (see here, here and here for just a few reasons why) but one of the best ways to tone your observational muscles is to use them to record your surroundings whether that’s in words or images. It forces you to slow down, to look for patterns and points of focus. It also challenges you to filter what you see. It’s a HIIT workout of observation if you will.

So those are just a few of the things that you can do to really work on your observational skills, whether you want to use them for a specific cause or you’re just looking for something new to spark your interest or ignite your passion for the place you’re in.

I survived Inktober, well Peachtober.

This month I created 31 pieces for the 31 days of the month. This was the first time I’ve ever tried a drawing challenge like this before. In the past, I’d either realised that it was inktober on the 12th of the month and decided it was too late or psyched myself out because I thought I couldn’t make work that was good enough. But after a long while of feeling quite stagnant in my work and seeing Sha’an’s approach to the challenge for the past few years, she’s tried out new materials and styles to improve her work, I decided to give it a go.

I followed the #peachtober20 prompts that Sha’an put together, they’re designed to be quite literal and easy to visualise which I appreciated. But I also wanted to use this as a chance to try something different. So I decided that for every prompt I would do a study of a piece of art history, using the vast array of works available online from galleries like The Met and The National Gallery. That meant I was just focused on drawing and drawing in new inspiration. Then to further differentiate this month from my usual work, I decided to focus on sketchier pieces with texture and more shading.

I followed those rules and made 31 pieces. I have to say I started a little before October so I could build up a little buffer of sorts to ensure I kept posting even if I had bad days, but I did pretty much draw something every day for the month (except for Sundays).

This is my month’s work.

Throughout the month I kept a little log of all of the challenges, my favourite pieces and things I wanted to continue after October and I wanted to share a few reflections more publicly. So here are 5 things I learned doing my first drawing challenge.

Just drawing was fun but that doesn’t mean it’s not hard

I really enjoyed just getting to work from other people’s pre-perfected compositions and focus on the skill of drawing. My illustration work is usually really focused on telling a story/making a point so I spend as much energy on the idea as the execution. But because this was all execution based I put way more time into details that I skip in my own work. 

Give into the prompts

Through the prompts Sha’an shared, I drew things I never would have thought to try on my own. It was so fun to just give over control and get inspired through a constraint. When it comes to personal work I usually have to come up with my own constraints and I haven’t had as clear a defined set of parameters for drawing since I was doing GCSE/IB art projects which had to respond to a theme.

I actually quite like texture

After years of very simple, flat line based drawings it was a bit of a surprise to see how much I liked working with texture and that I could even create something different. It was new but it still looked like my work, at least I think it did.

There needs to be more negative space in my work

Some of the pieces I liked the most were the ones with lots of darker areas and negative space. I want to take that away from this piece of work and bring it into work going forward.

You can do all the social things right and still not see results

Weirdly, I think the biggest lesson I learned wasn’t about my drawing but about Instagram. This month I think I did everything that you’re meant to do: I posted regularly, I had a consistent theme, I had interesting captions, I used an active hashtag, I engaged with other people using the hashtag, I made good stuff. But I lost followers. My engagement continued to be in the gutter. I’d already been trying to separate my work from its social reception but now I know I have to do that when it comes to Instagram.

Overall, inktober/peachtober was more exhausting than I had imagined and I thought it was going to be a tough slog. I was so burned out from drawing more detailed pieces that by the last week I couldn’t face doing more than finishing the last couple of posts when it came to illustration. Despite that I got so much out of doing it. I created work I never would have done without the prompts and made things I’m really proud of. 

Will I do it again? That’s a question for next October.

“I have a personal policy against taking on spec work.”

That was my response this week when I was asked, after being approached to do some illustration, to produce work with no contract or promise of payment so the client could decide which artist they wanted to take on the job.

The personal policy line is one of the few things that stuck with me from 2016’s it self-help book The Life-Changing Magic of Not Giving a F**k. The idea is that a personal policy is not only a clear boundary you can set, it’s also a way of expressing that boundary that isn’t specific (and so isn’t personal) to the situation. 

I’ve found myself having more and more of these difficult more confrontational conversations recently. Drawing those boundaries of what I will and won’t do for myself, as much as for anyone else has been so empowering. Having a list, a written down physical list, of what is and isn’t okay for me has started to relieve me of some of the guilt I feel when saying no to people. I know I’m late to jump on the boundaries bandwagon, but setting out my own work morals has been great. 

For me having personal policies has meant I have fewer and fewer conversations with myself before replying to someone where the dialogue loops round in an endless cycle of “I don’t want to me a bad person for not helping them … but I want to value my time … but I do this for myself, I have another job, I don’t need the money … but this is bad for the industry … but I don’t want to be a bad person because I’m not helping…” 

For the people I work with me having personal policies has meant I can be upfront and honest. It’s still been hard, but as someone who avoids conflict and hurt feelings at almost any cost, it’s been a low-risk way of me saying no and it’s one I’d wholeheartedly recommend in situations like this.

New pound coin design illustration

As well as advocating for personal policies, I also wanted to share why I’ve set this particular policy against spec work.

Spec work, short for speculative work, “is any kind of creative work, either partial or completed, submitted by designers to prospective clients before designers secure both their work and equitable fees” often in the form of competitions, pitches, or recruitment skills tests.

I don’t rely on illustration as my main, or even a significant, source of income. If I wanted to I could take on unpaid work. But I don’t. 

If I’m taking on work for a client, I work like a professional and expect to be compensated as such. That sets both of our frames of reference. Like offering a personal policy, it makes clear where we stand, particularly when you start with a contract that sets everything out in black and white. Getting paid also allows me to reinvest in training, tools and my own creative projects. That means I can work on those creative projects for free without pressure and at scale. I couldn’t have made Imagining Future Space without the income from my freelance work to pay for things like domains and fonts. I’ll work on my own projects for free because I’m free to make what I want, because they challenge me to grow and promote my passions.

But almost more importantly than that now for me is that it sets boundaries for illustration as a profession. Every time we take on spec work, unpaid work, or work for exposure we promote the “practice of designers ridiculously undercharging themselves in the hope of “outbidding” potential rivals, in the process devaluing their skills and those of the design profession.” Because I’m in a position to say no to opportunities that don’t align with the work I want to be making or the way I want illustrators to be treated I feel I have an obligation to do so.

I know there are illustrators and designers who don’t have that luxury, who because they rely on their creative output to live and so have to bid for every piece of work, will spend time on competitions, may undercharge out of fear that if they lose this job they may never get another gig again.

Where I can, I want to set a standard that supports them. That informs clients about what good looks like and means we’re all respected for what we do. 

So when I sent that message about my personal policy against spec work, I also sent an explanation about why I don’t take on speculative uncontracted work and other ways they might find out if the artist they’ve chosen will fit what they need.

I hope what I shared was helpful and respectful but clear. I said no, but I felt okay about it because I’d set my boundaries with myself and with them. It was professional but I don’t think it was cold. 

In short, I now have a personal policy with myself to use personal policies to protect the things I care about.

I’ve always been a bit suspicious of chatbots and conversational interfaces. There’s something about them I find unsettling, particularly those that learn as they are exposed to more conversation. So when I saw UAL’s Creative Computing Institute was offering an online course inspired by their Feminist Chatbot work through Future Learn, I leapt on the chance to learn more. I wanted to understand more about the designs that left me uncomfortable and have the tools to be part of building something better should the chance ever arise. 

The course itself was four weeks long, but because it was online I took it at my own pace. It offered exactly what it promised on the tin, or rather the course description:

On this course, you’ll study feminism and its relationship to technology in order to help you build a feminist chatbot. You’ll learn feminist design tools and basic coding skills, before applying them to designing and programming a chatbot of your own.” 

While each section only offered a high level introduction to each of the topics covered, those introductions were clear and offered lots of extra reading if you wanted it. 

The simple chatbot your build through the course is a scripted chatbot, one with predetermined questions and answers, rather than an AI chatbot which uses natural language processing, understandably there was no way anyone could teach someone how to build something using machine learning from scratch in 4 weeks. But it gives you plenty of information about the second kind, and for me it definitely demystified, and in some cases justified my discomfort with, conversational bots of this kind. The more I learned the more I felt empowered when I built my own to do something different.

I had inadvertently been using a lot of the tools and thinking that was covered as “technofeminism” in my work when trying to focus on equity and inclusion more generally, but it was great to have those ideas drawn together into their historical context.

Once we had a background in the context of feminist design and some tools to use in our work. There was a brief section on conversational design. This is the one section I would have liked more on in the course, which largely focused on the feminist aspects of designing the chatbot’s personality. So I sought out some extra reading on how to design conversations, the different kinds of call and response and how to take them beyond just being a flow diagram.

Then it was onto making the chat bot. I did this outside of the course time because I knew I wanted something to work alongside another project I had in the works, Imagining Future Space, and there’s a time limit on Future Learn courses if you’re not a premium member. So I made sure to take plenty of notes, including the handy feminist design prompt.

I mapped out my conversation using Miro. This wasn’t the tool that was recommended in the course, but it’s the tool I’m most comfortable using for this kind of task because it’s become a huge part of our remote working process. 

While mapping was fun, I was surprised that the bit I enjoyed most was actually coding the chat bot. I never consider myself a technical person. I found a real joy in just playing and learning how to do something outside of my normal skill set. There was more than one evening where I found myself typing away hours after I had planned to stop and take a break without even noticing, because I was so engrossed by what I was doing, by seeing something appear on the screen as I built it.

I think one of the big reasons I got so into the building process was how Glitch (the tool we used to code) is structured. I’ve tried to learn to code in the past and always get to a point where I lose interest because there are only so many abstract rules I can hold in my mind at once. But with Glitch you can “remix” other people’s work. In the case of the Feminist Chatbot course, the tutors had set up a project you could use as a starter. Being able to see in real time what changing different elements did (Glitch allows a live preview of your code) made it so much easier to grasp the rules. Pulling levers in something that’s already built rather than having to hold all of your own scaffolding in your mind makes those rules so much more tangible. Seeing something come together quickly gave me the confidence to challenge and expand what was already there, eventually building my own.

The chatbot I built is a toolkit to support my speculative project Imagining Future Space. It’s a starting place for resources about futures design and exercises to get people’s creative juices going, whether they need to warm up before starting one of the questions, want an extra challenge, or are just interested in exploring more. Just like the rest of Imagining Future Space, my plan is to expand the chatbot as the project grows and I learn more. 

If you have the chance I’d highly recommend getting involved in some courses outside of your comfort zone. I’m looking forward to learning more about conversational design and using glitch to expand my coding skill set, now I’ve got access to the resources and the confidence to try it out.

It’s no secret that portraits are some of my favourite things to draw. This blog really saw the start of what I would consider my current portrait style. In the past, I’ve enjoyed and learned a lot from breaking down how I make things, whether that’s a deep dive into composition or patterns. But I’ve never really shown the process I take when making a portrait, until today.

Recently I worked with The Browser, a writing and podcast recommendation service, to do a set of portraits of the brilliant people who work there (and me as their casual resident illustrator) for their site. We took inspiration from a portrait I made for social media of Michelle Obama that’s still one of my favourites. 

In a rare stroke of luck I realised I had kept all of layers of that illustration so I could break down how the final piece came about. So let’s jump right into the stages I go through to make a tonal or full colour portrait.

  1. I always start by gathering images. If I’m working with a client I’ll get them to send me a few over. Otherwise I’ll search google for a range that I like. I try to get more than I need so that I can take elements from a few images and bring them together. I have to be honest and say the image I used for the main reference for this image wasn’t in my original file and I couldn’t find it, but these are the side references I used.
  2. Then I like to do a rough sketch, often in a light colour or shade of grey, to give me a structure and an outline. In cases where I have to be really accurate to a specific image I might trace this first rough to help structure the outline. 
  3. Once I’ve got a rough outline. I’ll then use that as a base layer and start to add detail on top. I typically choose a finer more pressure sensitive brush to add these details in. I will almost always start with the eyes and eye brows, then move onto the shape of the face, leaving the nose and mouth to last (I usually find these the hardest). 
  4. I’ll flick the base layer off and on as I go, and typically do some final refinements when the rough lines are removed because having a base can distort how you see an image,
  5. When I’m adding colour to a portrait I decide the palette upfront. In this case I wanted something tonal. I really liked the light pink I had used for the rough draft, so I took that as a base to build up a range of shades.
  6. To colour the portrait I decided to use broader strokes than I normally would to make it feel loose and more gestural. I stated with the darkest tones then worked lighter leaving some sections of white as a highlight. For The Browser portraits I used a similar process but a slightly neater style.
  7. All that was left to do was clean up the image and refine the colouring. That’s how I got to the final image.