Christmas gifts are always best when they’re personal, which is where my new commission options come into play. If you’re looking for something special for someone you love, giving them a piece of art they can treasure, display, and use is really lovely.

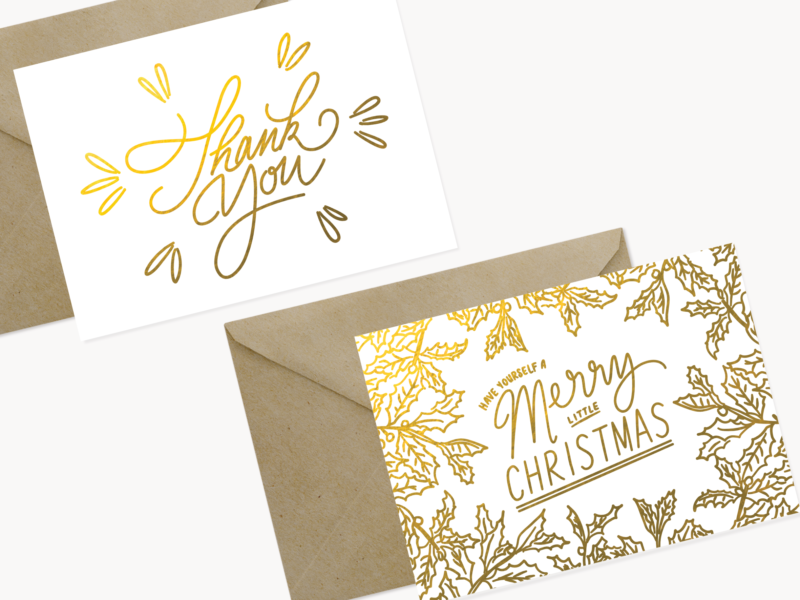
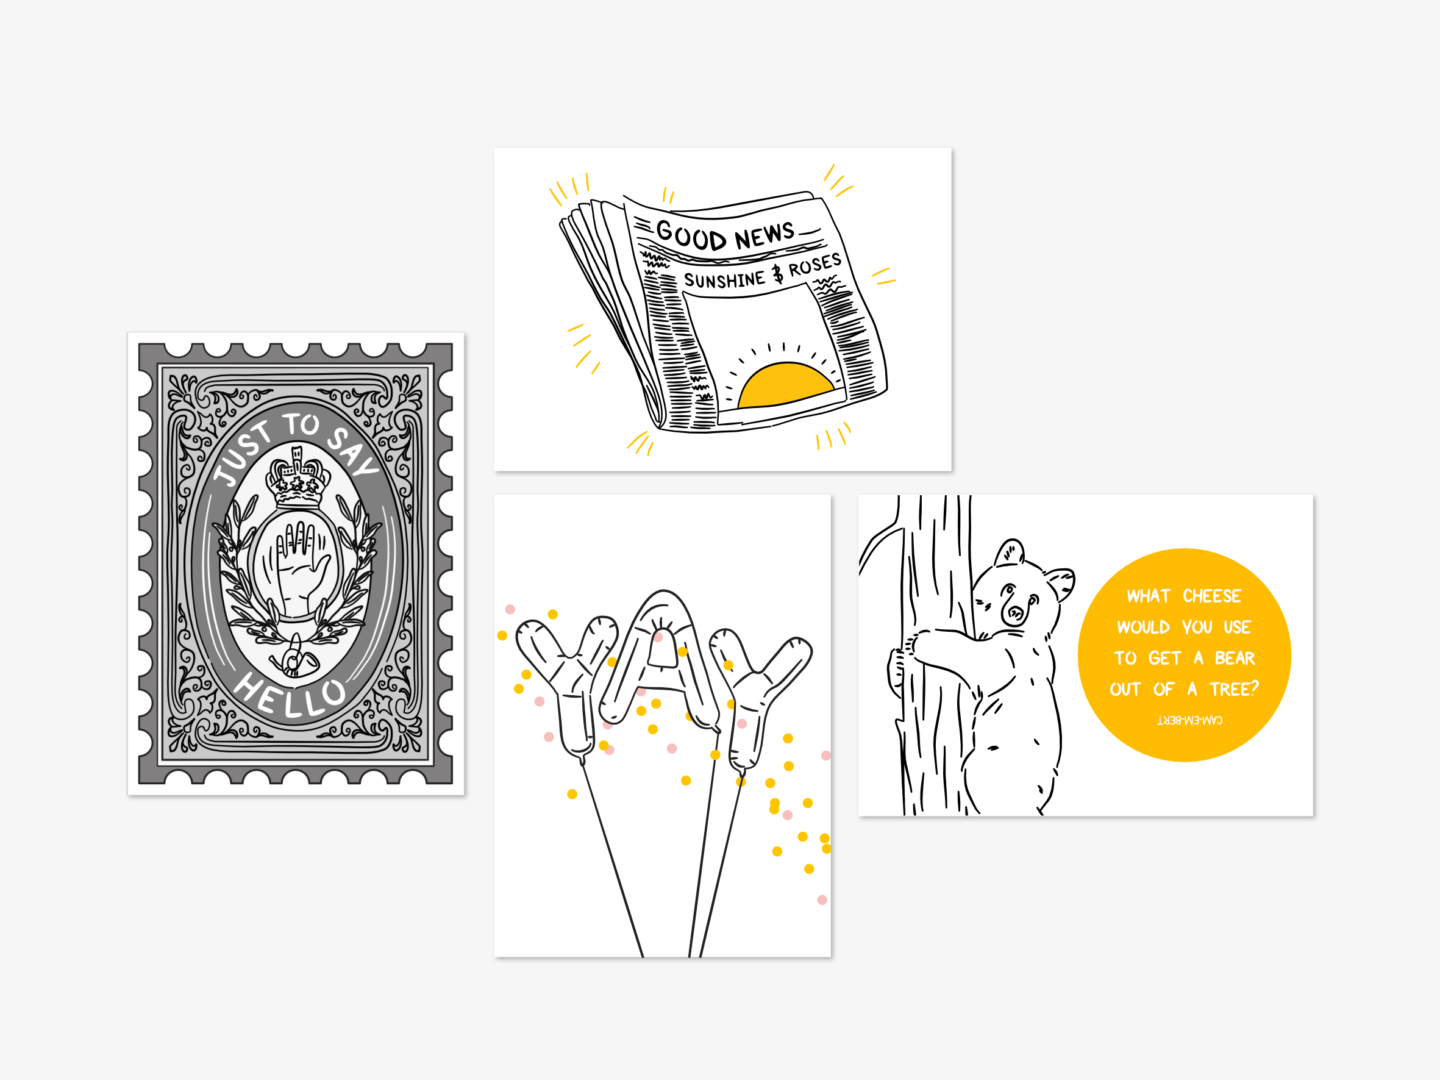
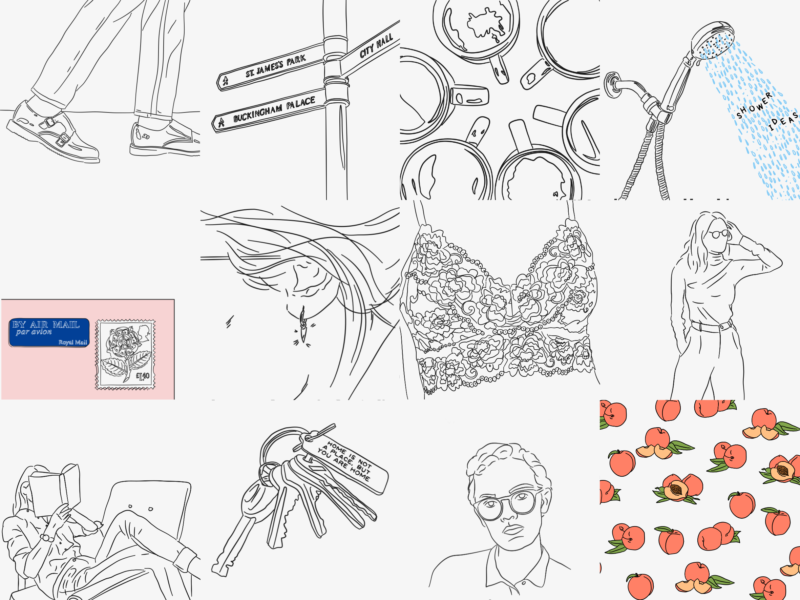
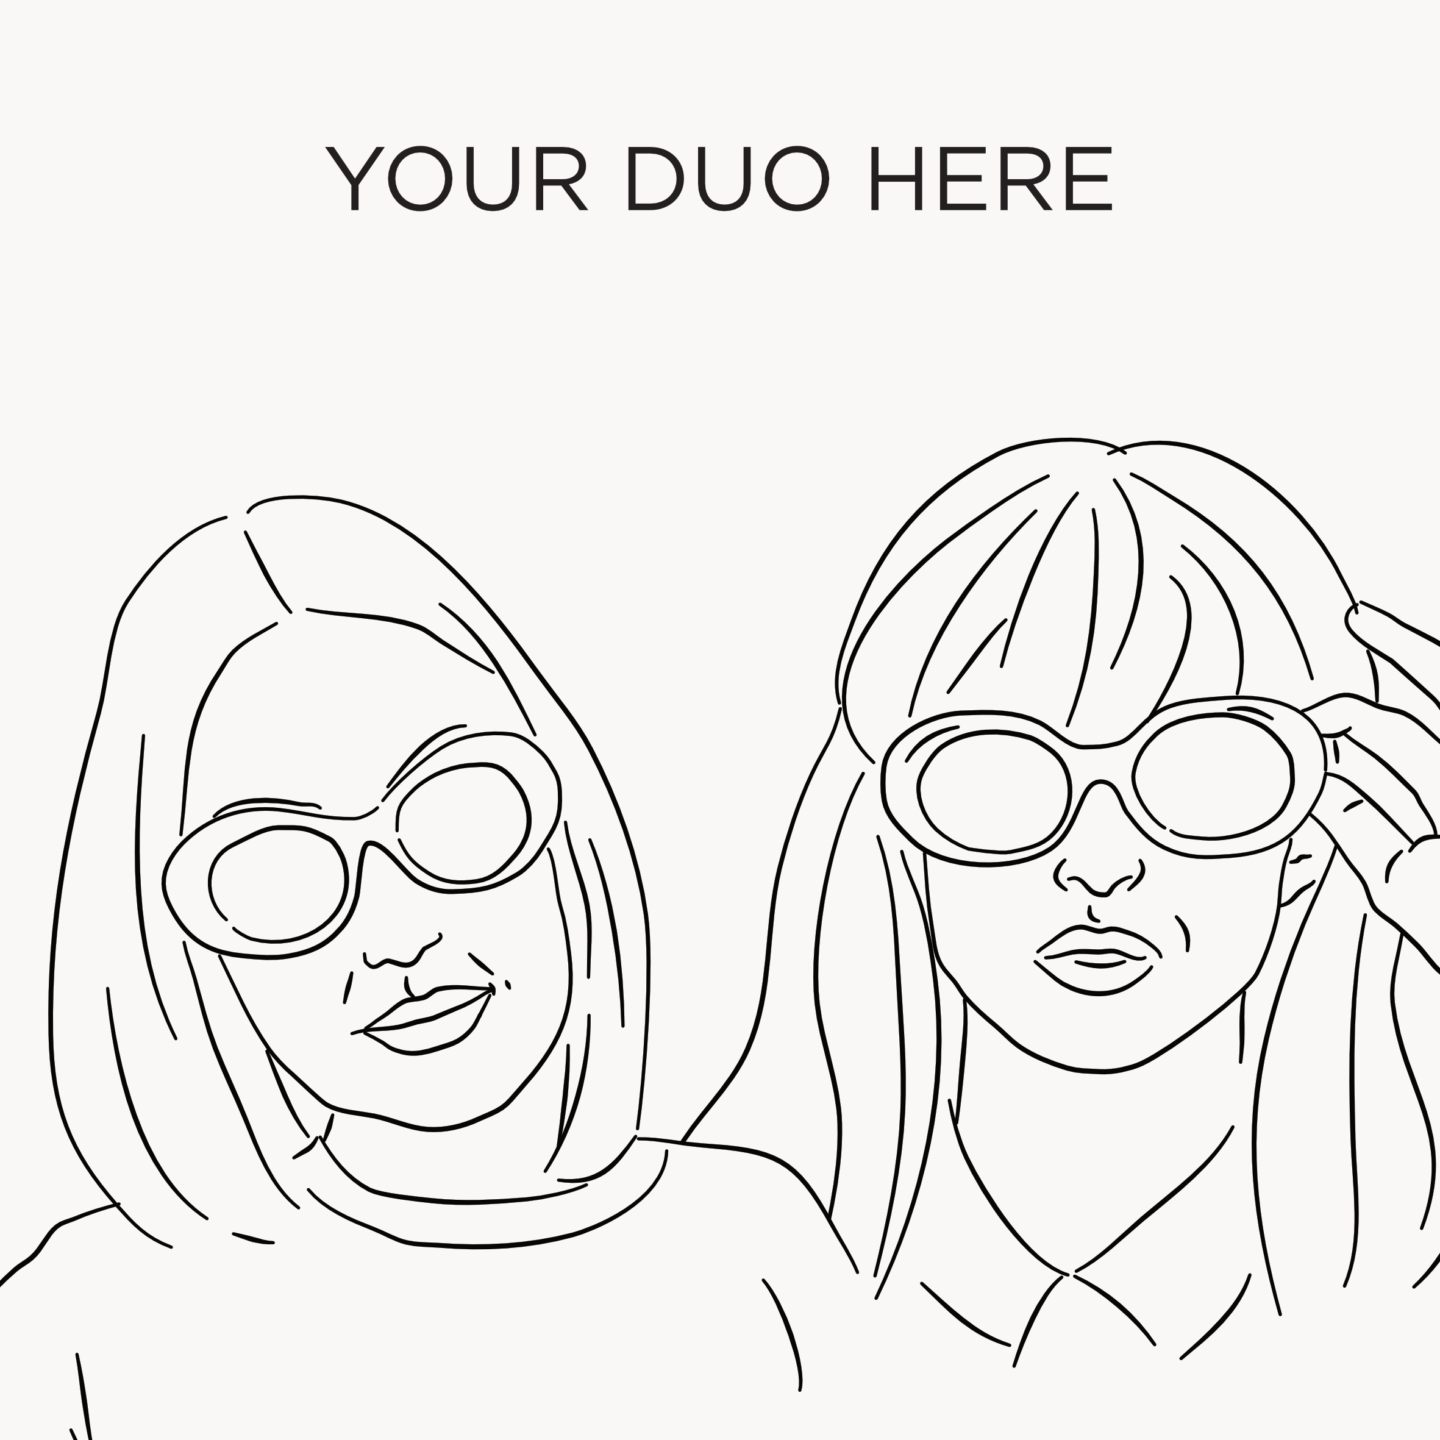
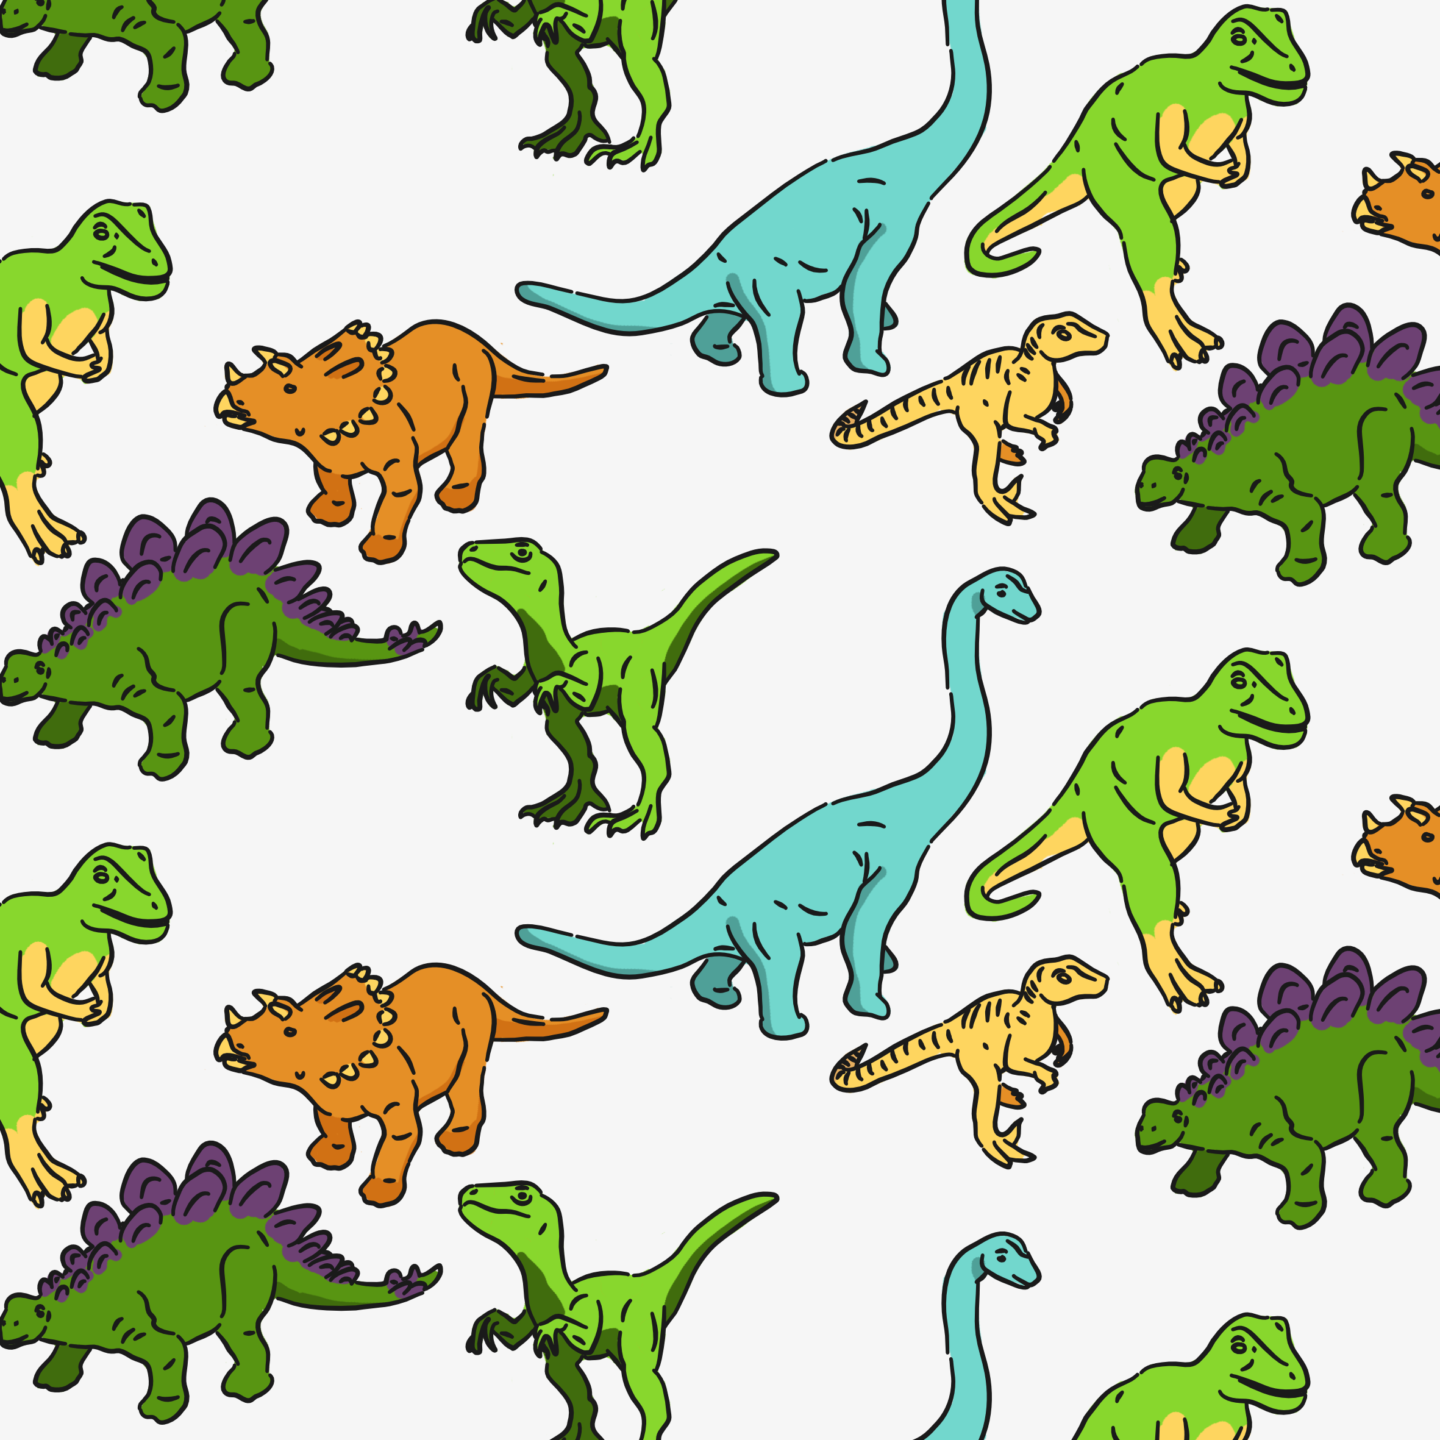
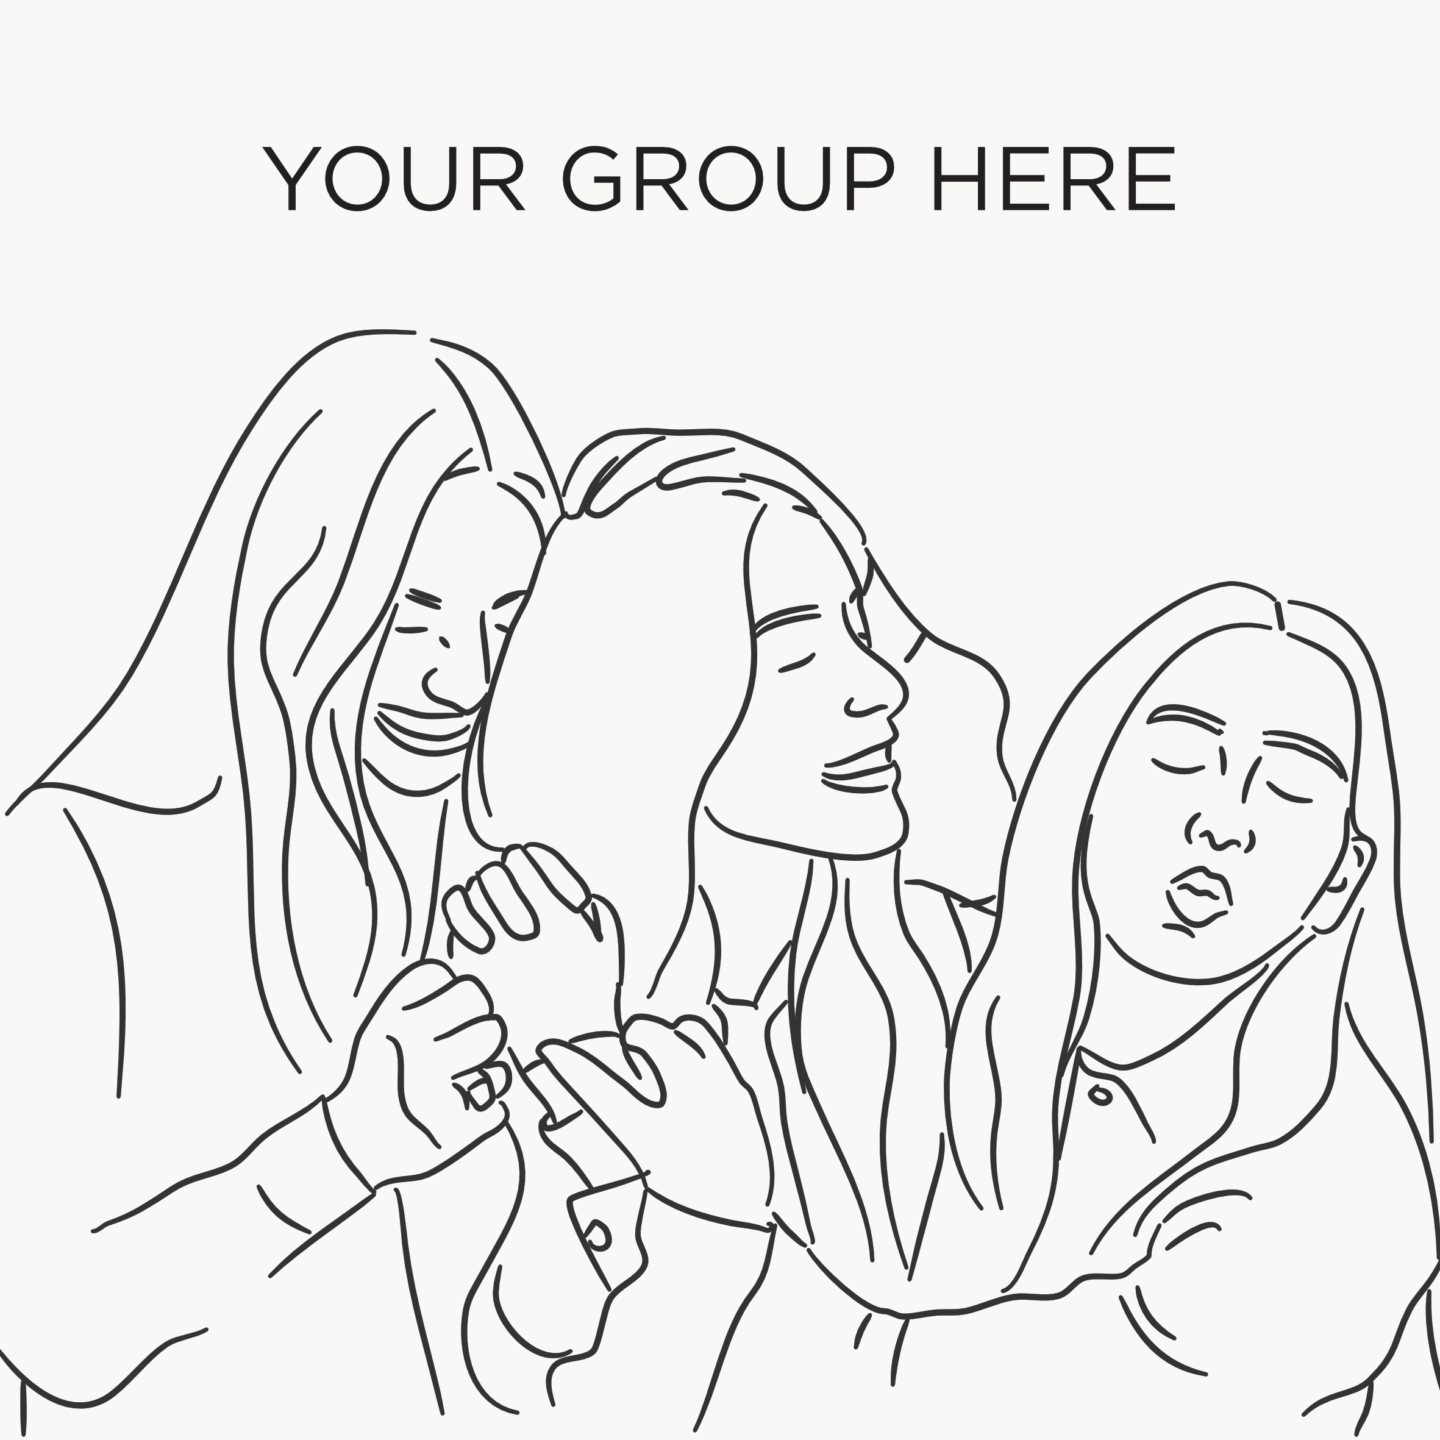
In my store, you can now buy pattern, and illustration commissions as well as portraits so the options are really endless. My prices start at just £15, so you should be able to find something within your budget whatever it is. Plus, I have a few spaces left in time for the holidays too!

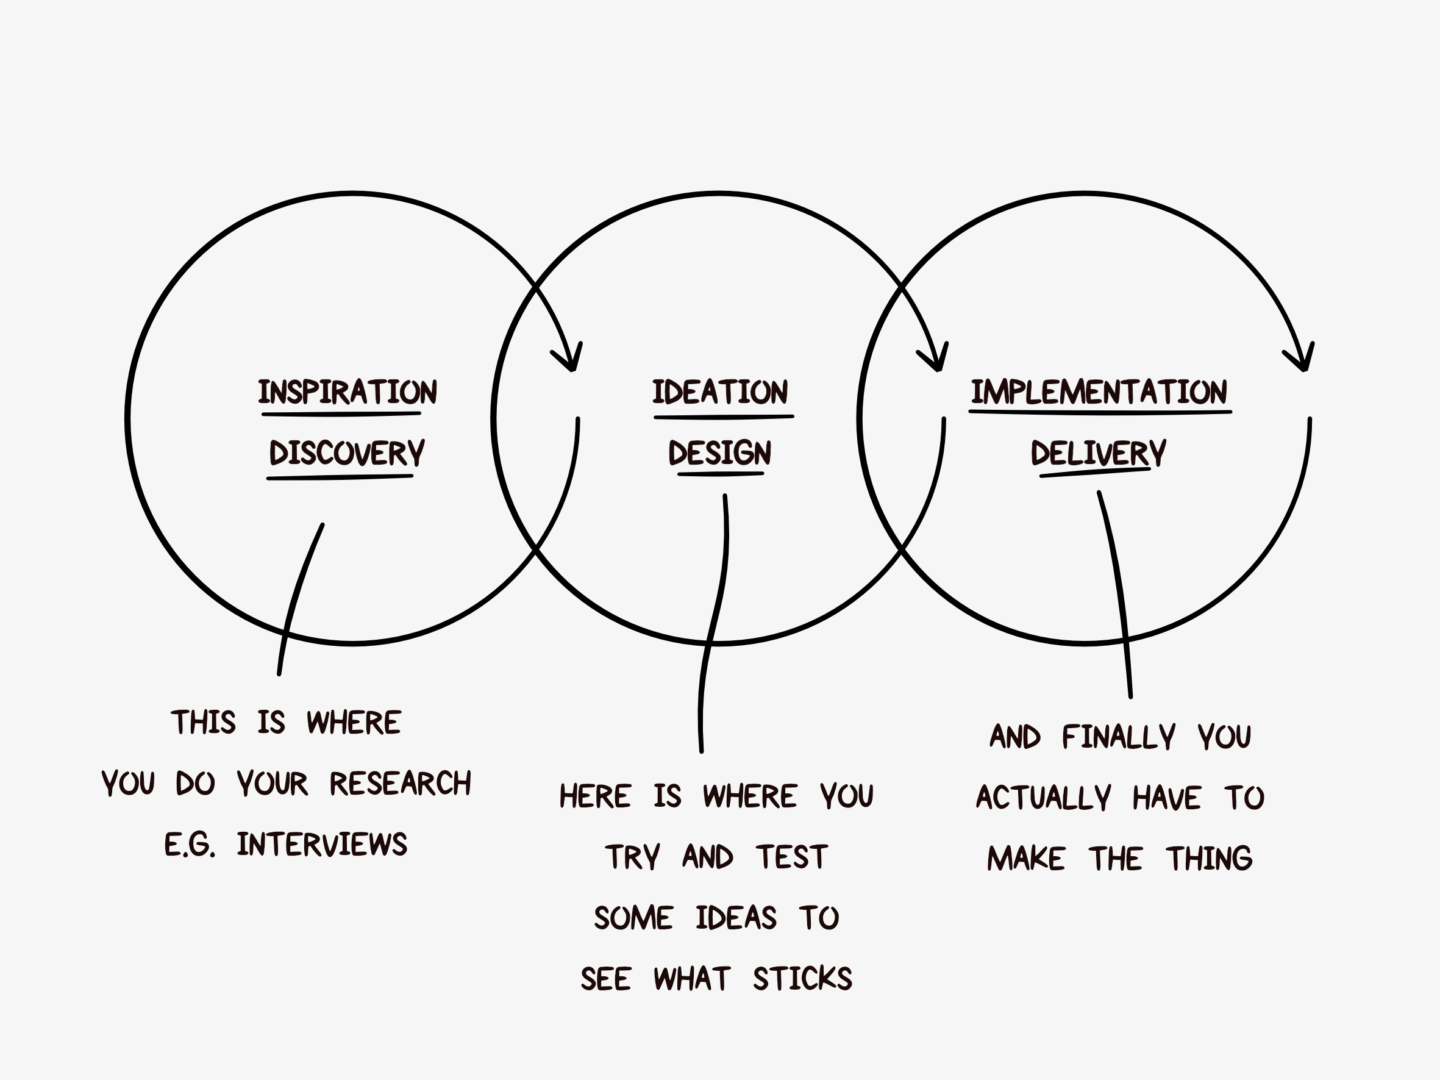
I’ve had a couple of questions, so I thought it was worth sharing my process for individual pieces*, even though it’s super-duper simple.

*If you have something bigger you’d like to work on please do get in touch and I can let you know what else will happen!


GET IN TOUCH

Step one is always you getting in touch with me. You can do that by buying a set commission like a portrait or a pattern through my shop, or sending me an email (or even tweet me) if you’ve got something a little different in mind or if you’d just rather reach out that way.

LET’S HAVE A CHAT

Then we’ll have a chat about what you want, I do this no matter how you’ve got in touch. This stage is really important to me because I want to make sure that you end up with something you’re really happy with. I’ll ask you what you’re planning on doing with the commission so we get all of the tech specs right, I’ll ask you about what kind of an outcome you’re after, and depending on the kind of piece I might end up asking you about the kinds of work you like and what your style is. This is where I’ll send you a contract if it’s a bespoke commission, and if it’s a large piece ask for a down payment.

SEND IN YOUR REFERENCE PHOTOS, IF NEEDED

If you’ve bought a portrait commission, I’ll ask you to send me some reference photos, because I unfortunately can’t sense through the computer what you or your friends look like. I’ll probably mainly work from one, but I prefer to have a couple to choose from so that I can properly get a sense of who I’m drawing.

I GO AWAY AND DO SOME DRAWING

This is the stage I enjoy the most if I’m honest. I can’t tell you exactly how long it will be here, as it depends on the kind of piece and how busy I am, but it’s something I’ll let you know in our initial discussion. As a general rule of thumb, most portraits or simple black and white (grey) illustrations will take about 3-5 working days.

I’LL PING YOU A PROOF

Once I’m done I’ll send you over a proof to check you’re happy with it. While 99% of people are because of that up front discussion, but if you’re not I’ll do the necessary tweaks, and then send you back another proof.

YOU GET YOUR ILLUSTRATION

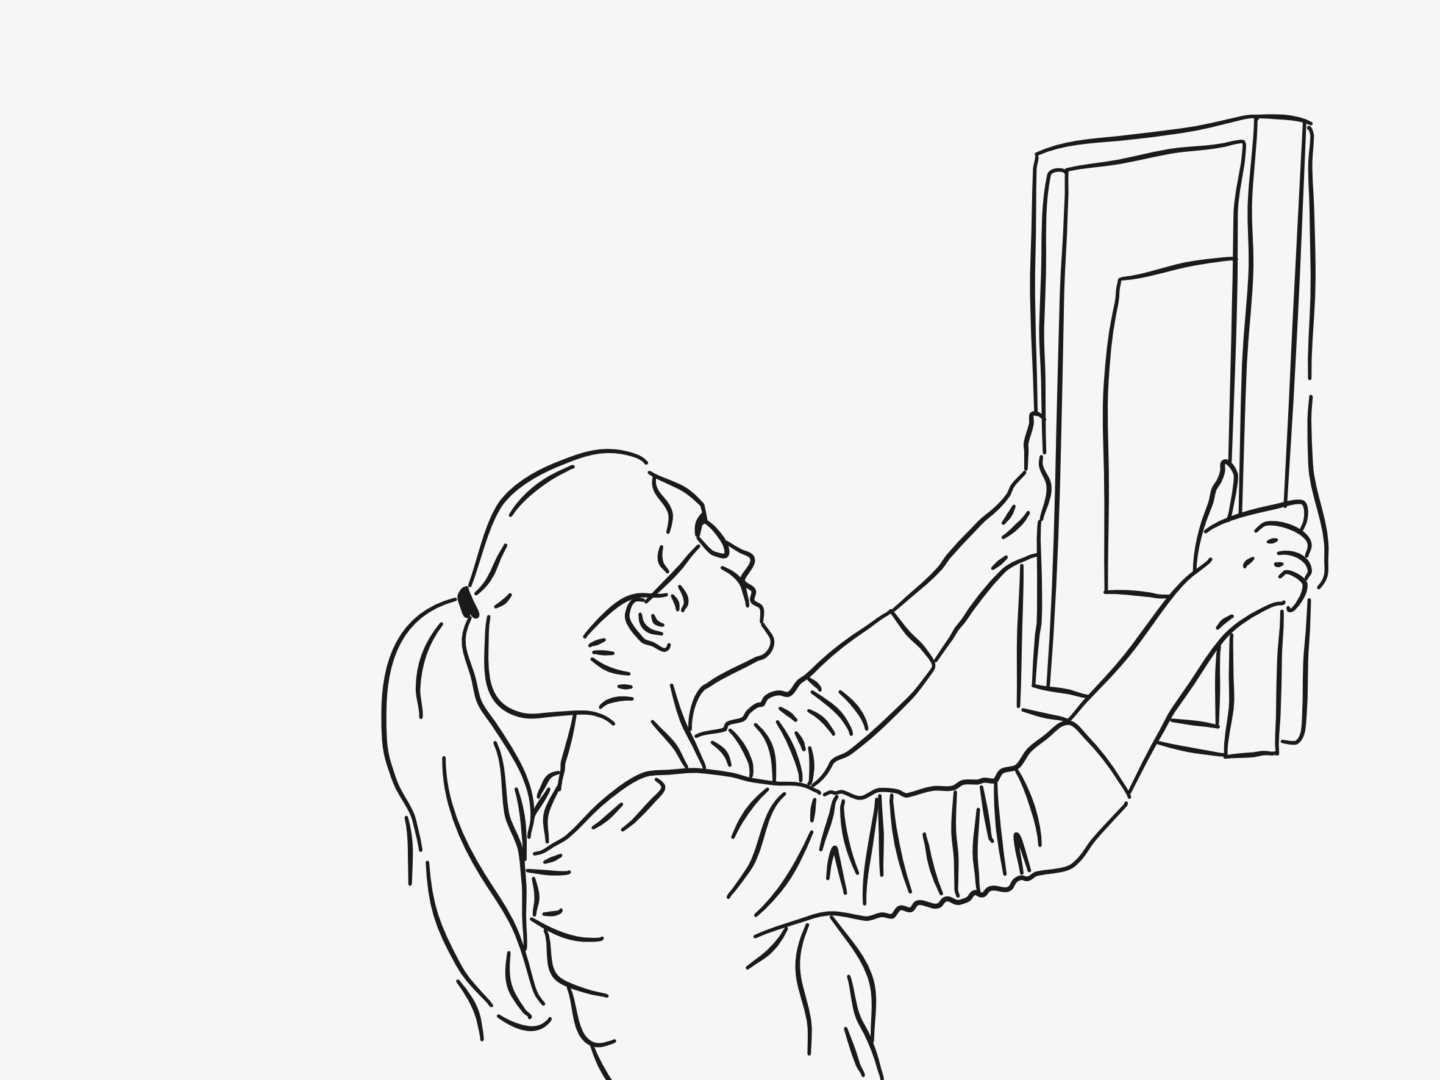
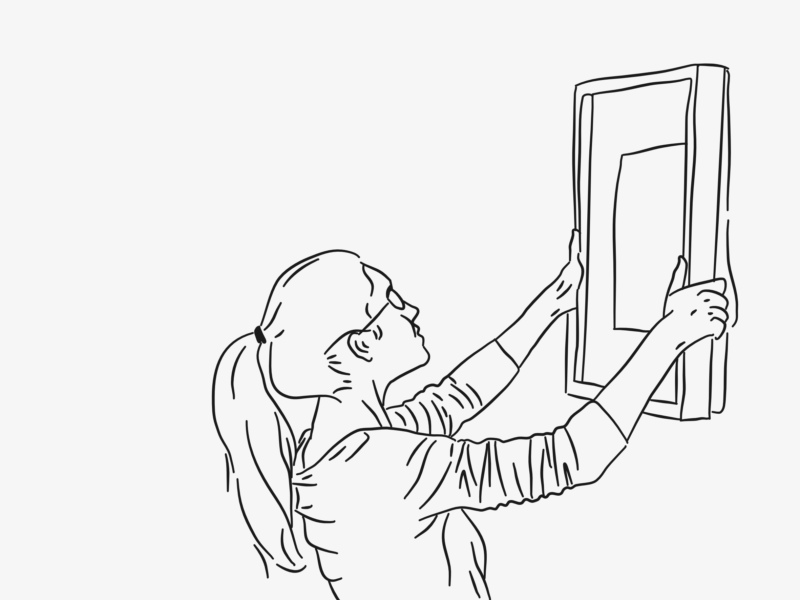
Once everything is signed off I’ll send you your illustration.

If you’ve bought a set commission like a pattern I’ll mark the product as shipped, so only then will the PayPal payment be finalised. If you’ve set up something bespoke I’ll send you an invoice.

One of the goals I set myself for the next year (of my life, rather than calendar) was to learn some new skills. There are a whole range of things I want to learn about from calligraphy to how to create animations digitally, but I’ve started with taking some time working on my design thinking skills. Along with a lovely group of colleagues I started Ideo’s human-centred design course.

The course is an introduction to design thinking essentially. It covers everything the theory of design thinking as well as leading you through a test project where you get to gain some hands-on experience of every stage of the design process from research to concepts to prototyping and actually making the thing. IDEO, a global design company who create positive impact through design, lead you through each step and give you tips and advice from their years of experience. It’s a completely free online course, that runs quite a few times throughout the year, so if you find anything in this post interesting at all I’d recommend it. It’s intended to be done as a group, so you might need to round up some friends too.

But what is human-centred design? According to Ideo it is a “process that starts with the people you’re designing for and ends with new solutions that are tailor-made to suit their needs. Human-centred design is all about building a deep empathy with the people you’re designing for; generating tons of ideas; building a bunch of prototypes; sharing what you’ve made with the people you’re designing for; and eventually putting your innovative new solution out into the world”. I’ve done a whole post on design thinking more generally that goes into a bit more depth, but in a nutshell, that’s the crux of what you need to know.

The human-centred design process follows 3 stages, that Ideo call inspiration, ideation and implementation. Where I work we call them discovery, design and delivery, but they cover the same ideas, as explained in the diagram below.

The first stage in making people the centre of your design universe is to engage with them. This user research phase is the part of the process I’ve had the most experience with at work, so I thought I’d walk you through it a little bit and give you some ideas for how you can apply the techniques to your own life, even if you’re not running a big design project.

User research can come in many forms with the most basic you might think of being desk research and interviews. But there are so many other ways to find out how people really behave. Observing how people go about their day to day lives can give you real insight into their unfiltered actions. You can also create diaries and have people share their thoughts and feelings, or work with your users to build something really hands on to see how they think. As well as researching the direct users of whatever you’re working it can also be fruitful to look for people doing whatever you’re looking to change well already in different sectors – find a group shows great team work, or an education process that’s really effective, or a product that service that caters really well to people with a specific need.

Human-centred design can be used to help you create products, services, spaces and systems. Those four areas cover a whole range of things that are super interesting, even if you’re not doing this for work. Here are just three:

  1. Could you use human-centred design to make your home work better? If you kept a log or a map of how you/your family use your space, you might find out that some areas are working better than others, and that there are some pain points that might be easily fixed. I’ve done this in my room in my bit of kitchen space, and little things like rearranging my cupboard so the things I use the most are easiest to reach has made such a difference.
  2. Could you use these methods to improve your commute? One of the first tasks in the course is to research your team’s commutes and work out how they could be improved. This is something anyone could do, either on your own by mapping out your journey or by getting someone else’s perspective by having a friend interview and vice versa.
  3. Could you improve how you, and your team work by researching the way that people actually handle their day to day tasks? Is there a better way to fulfil their needs so that everyone is at their best?

I’m planning on turning this into a bit of a running series/theme, so I might go into a bit more depth on how to get useful information out of people interviews, as well as some thoughts on the other stages of the design process. Let me know if there’s anything else you’d like to read about though!

I know I’m super behind in doing this but I’ve finally updated my shop ready for the festive season, including some new card designs!

As I’m still starting out in this game I only wanted to design one set of cards this year, a Christmas card and an updated Thank You card just in case Santa stops by.

I kept the designs themselves line based, going back to the kind of work I love. But I still wanted a little bit of festive cheer. That’s where my new love/hate relationship with gold foil comes in. I love how shiny and magical these cards are. I didn’t quite love getting the artwork uploaded as much, but it’s all a learning process right?!

I basically just designed the cards I wanted to send out this year, and I’m so pleased with how they turned out. I can’t wait to send them out to my friends and family, and hopefully to you too.


I’ve also updated my commission options because I’ve had few requests for things that weren’t up there. So now you can get group and couples portraits as well as custom patterns.

Gifts are best when they’re personal, and nothing says personal like having your face all over something. So get your Christmas orders in soon, because I only have a limited number of spaces before I go home for the holidays.

Plus, if you needed any more of an incentive I’m offering free shipping on all orders over £25 with the code SANTASHELPER

I’ve never considered myself to have an illustration style. That felt like something that was reserved for “proper artists”. I’m just someone who was goofing around and had a side hobby. But recently I’ve had lots of comments from other people on “my style” saying how distinctive it is, or that they wanted something commissioned in that style. For me, that was a bit of a revelation. But going back through my work over the last few months I do have a style – you can see it just from Instagram – and it’s so exciting. So I thought I’d share some thoughts on finding and having a style, because it’s been something I’ve been thinking about a lot.

The Story Behind: My Greeting Card Designs

So how did I get here? The style I have now wasn’t so much developed out of a choice of a set process it’s come more from making so much over the last year and finding a way of working that I really enjoy. I guess the age old idea that the only way to find your style is to put the work in is true. You can really see the difference between what I was producing a year ago, say in my alphabet series and the images you see on my blog and Instagram now. There’s a certain quality of line and an obvious colour palette which I think is probably which ties my work together most obviously.

As I said I always wanted to have a style, growing up I would see illustrator’s whose work you could identify instantly and whose work really came together as a consistent body of pieces. Their styles not only made their work identifiable their style really added something of their own personality and character into their pieces when if they were on vastly different subjects or commissions.

My Colour Challenge

However, now that I kind of have a style I want to change things up a bit. I love having something consistent and identifiable but I don’t want my work to become static. That’s part of the reason I’m doing the 10 week colour challenge I recently wrote about. I want my style to grow and evolve with me a bit more, I don’t just want to be black lines on an off-white background. So I’m thinking of playing with materials and colours, or perhaps stylising my lines more and keeping my colour palette. I want to experiment.

As I was feeling kind of hesitant about that experimentation because I don’t want to lose the style I’ve put so many hours in to create. So I went back through the work of those artists I used to, and still do, take inspiration from. I dug through their archives, and even the ones I thought of as being so distinctive have changed year on year, sometimes only subtly but they’ve certainly refined and evolved. That was such an exciting revelation. Style doesn’t have to be fixed at any point, it can change with you.

The Story Behind: My Zine

So I’m going to just keep working, and playing and hopefully the next stage of my style will creep up on me just like this one did. Also, if you see some wildly out of character pieces in the next few weeks and months know that I don’t plan on being a completely different illustrator but one who has the scope to work in a new way.

This is the third and final installment of my mini-series about my room (read parts one and two). I’m closing the series, for now at least, with a bit of an insight into how I used design thinking to shape my room and make the most of the space, as well as some top rental room renovation tips.

First off, I thought it would be worth doing a quick recap of what design thinking is, in case you haven’t come across it before. Design thinking is all about taking a user-centric approach to a problem and then solving it in a hands-on iterative way. You focus on the real user to build something they actually need, rather than what you think they need. Taking this insight and working with it iteratively, prototyping and testing means you fail small and often as part of a process rather than dedicating a huge amount of time and resources to a project that might have an underlying flaw you hadn’t noticed. This process can take slightly longer at first, but it becomes more time and energy efficient overall because you work out more of the kinks at the start. If you’d like to know more about design thinking, check out the full post I wrote about it. 

So how do you apply that relatively abstract concept to designing your space?

  1. Work out how you use a space – live in the space for a while. Where do you spend the most time? Is there anything you can’t do that you want to? Is there anything you don’t need?
  2. Start with the bare minimum and find out what you need as you want to reach for things – can you hack a solution to see if it will fulfill your needs, can you prototype the solution you want to see if it works?
  3. Test before you buy – measure your space and get a feel for what will fit, and try things in store – especially if you’re buying furniture.
  4. Research the most user-friendly option – write up a list of requirements and shop according to those rather than blankly looking for a chair within a certain budget – what is that chair for? What do you want it to do? Where do you want it to fit?
  5. Consider the future life of your space – what you need your space to do will evolve with you, make sure you consider your future needs/changes when your designing. Where possible make life easier for future you.

In practice, what this meant for me was living in my space for a while before I started really getting into designing it and buying any new pieces. There are some things in my room that are completely fixed, my bed can’t go anywhere, the shower and sink and plumbed in, I’m not sure I could fit my desk in another space even if I tried.

But when I moved in there was a second desk in what is my living area, there were no drawers in the wardrobe, there was no extra shelving, there were no towel hooks and there certainly wasn’t an armchair. For the first few weeks, I worked out what I needed and what I didn’t, and started by priority. I needed somewhere to store my socks stat. The second desk just got in my way and I never touched it because I preferred the natural light in my office. I wanted some more shelves to store bits that I reached for a lot whether that was paper or face wash.

Illustrated Room Tour

The big space design project I’ve been working on is the seating/living area. I started with a minimum viable product (MVP) solution which was a floor cushion. It gave me somewhere to sit and was easy to put away to give me extra space. But after a while, I found it wasn’t comfortable enough, and I didn’t get any joy out of sitting on the floor – I wanted to feel like a grown-up. I trialed using my desk chair but it became a pain point for me to move the chair and not to have the separation of work and rest. So, I knew I had to find another solution. I wrote a list of user (my) requirements that included: something big enough that I could tuck my feet up, something light that was easily moveable for when I leave, something that was neutral and not too bulky to fit with my space. I also knew I would need a side table for tea and books because I would always have them with me when I sat down on the floor. Then I did my research and found a chair and table I thought would work. Then I marked out the space it would fit in with washi tape and attempted to move around it for a week to check it wouldn’t hamper my routine. Only then did I buy my new chair, and you know what it’s absolutely perfect for what I needed (and within budget).

And finally…here are just a few extra rental room renovation top tips:

  1. Find out what you’re allowed to change – check your contract before you do anything substantial
  2. Command hooks and washi tape are your best friends
  3. There’s a lot you can do with soft furnishings – rugs make rooms more homely. Changing your bedding can change a room try something more neutral if a space is too loud or small, or picking a statement colour if the space needs a little life. New curtains (as long as you hold onto the old ones) can be used to let more light in and can almost be as good as repainting
  4. Measure your doors before you buy any furniture – this is just a general life thing
  5. Use lighting to transform a small space for different occasions – I have a working light, a daytime light, and a set of evening time lights (aka fairy lights) which help me differentiate the space for different uses without having to really change anything

How have you made your room your own? Would you like more mini-series like this?